
Best AI Upscaler in 2026 한국어 요약
이 페이지는 ZView Space의 영어 원문을 한국어 검색 사용자도 이해할 수 있도록 정리한 SEO 요약입니다. 핵심은 단순한 얼굴 중심 이미지가 아니라 패션 에디토리얼, 룩북, 아웃핏, 프롬프트 테스트, 이미지 생성 워크플로우를 실제로 어떻게 구성할지입니다.
핵심 요약
- 원문 주제: Best AI Upscaler in 2026
- 목적: AI 이미지 생성에서 outfit, silhouette, fabric, pose, location, camera framing을 더 명확하게 설계합니다.
- 활용 범위: Z-Image Turbo, Krea2 Turbo, Qwen Image, Anima, SeedVR2 같은 이미지 생성 및 업스케일 워크플로우에 적용할 수 있습니다.
- SEO 관점: 제목, 설명, 이미지 alt, 프롬프트 예시가 실제 검색 의도와 맞아야 색인 가능성이 높아집니다.
한국어 사용자를 위한 체크포인트
1. 프롬프트가 얼굴 묘사에만 머물지 않고 전체 스타일과 의상 구성을 설명하는지 확인합니다. 2. 패션 이미지라면 상의, 하의, 아우터, 신발, 액세서리, 소재감, 촬영 장소를 분리해서 씁니다. 3. 생성 결과는 바로 게시하지 말고 디테일, 손, 의상 형태, 배경 일관성, 이미지 품질을 비교합니다. 4. 글 본문에는 실제 테스트 기준과 실패를 줄이는 방법이 들어가야 검색엔진에서 얇은 콘텐츠로 보일 가능성이 줄어듭니다.
원문 미리보기
AI upscaling in 2026 is less about making an image bigger and more about choosing how much the tool is allowed to reinterpret the image. The best option depends on whether you need faithful enlargement, sharper AI art, print ready files, product images, or cre
---
AI upscaling in 2026 is less about making an image bigger and more about choosing how much the tool is allowed to reinterpret the image. The best option depends on whether you need faithful enlargement, sharper AI art, print-ready files, product images, or creative re-detailing.
For most creators, the best AI upscaler is not a single universal winner. It is the one that preserves the parts of the image that matter: faces, typography, product edges, texture, lighting, and composition.
Quick verdict
If you want a simple recommendation:
- Best overall desktop upscaler: Topaz Gigapixel / Topaz Photo AI
- Best creative upscaler for AI-generated art: Magnific-style creative upscalers
- Best browser-based visual workflow: Krea-style enhancement tools
- Best free or local option: Real-ESRGAN, SwinIR, Upscayl, and similar open-source workflows
- Best for fast AI image generation workflows: the native upscaler inside your image model or platform
- Best for product and ecommerce images: tools focused on clean edges, background control, and batch processing
The important distinction is faithful upscaling vs. creative upscaling. Faithful tools try to keep the original image intact. Creative tools may invent new texture, pores, fabric, hair strands, architectural detail, or brushwork. That can be useful, but it can also change the image.
What makes a good AI upscaler in 2026?
A good AI upscaler should do more than increase pixel dimensions. It should improve usable detail while avoiding obvious artifacts.
Key criteria:
- Edge integrity: Clean outlines without halos or crunchy sharpening
- Face preservation: Natural eyes, teeth, skin texture, and facial symmetry
- Text handling: Minimal distortion on labels, signs, UI, and typography
- Texture control: Fabric, skin, foliage, metal, and wood should look believable
- Noise control: Sharper output without turning grain into fake detail
- Batch support: Useful for ecommerce, asset libraries, and large AI image sets
- Local vs. cloud processing: Important for privacy, speed, and cost
- Creative strength slider: The ability to decide how much the model invents
The best tools give you control. An upscaler that looks impressive on fantasy portraits may be a poor choice for product photography or brand assets.
Best overall: Topaz Gigapixel / Topaz Photo AI
Topaz remains one of the safest recommendations for creators who need high-quality enlargement without completely changing the image. It is particularly useful when you need reliable results for print, photography, scans, and finished AI images.
Its strength is restraint. It can sharpen, recover detail, reduce noise, and enlarge images while generally preserving the source composition. For editorial and production work, that matters more than dramatic before-and-after samples.
Best use cases:
- Upscaling AI-generated images for posters or prints
- Restoring low-resolution reference photos
- Preparing portfolio images for large screens
- Cleaning up noisy renders or compressed files
- Enlarging concept art while keeping the original style intact
Watch for:
- Over-sharpening on skin or painterly artwork
- Artificial detail in foliage or hair if settings are too aggressive
- Large files and slower processing on weaker machines
For most professional users, this is the best place to start because it is predictable.
Best creative upscaler: Magnific-style tools
Creative upscalers are designed for situations where you want the image to become richer, not merely larger. They are especially popular with AI image generation users because they can add micro-detail to images that feel slightly flat at native resolution.
This type of upscaler can improve:
- Fantasy and sci-fi character art
- Interior concepts
- Fashion editorials
- Cinematic portraits
- Product mockups that need more surface detail
- Highly stylized scenes from diffusion models
The tradeoff is control. A creative upscaler may change facial features, invent jewelry, alter fabric patterns, add skin texture, or modify background objects. That can be desirable for ideation, but risky for final brand work.
Use creative upscaling when:
- The source image is already approved compositionally
- You want more believable local detail
- Small changes are acceptable
- The image is illustrative, conceptual, or artistic
Avoid it when:
- The product must remain exact
- Text or logos need to stay accurate
- A real person’s likeness must be preserved
- You are working with medical, legal, or documentary imagery
Creative upscalers are powerful, but they should be treated like a second image generation pass.
Best browser workflow: Krea-style enhancement
Browser-based enhancement tools are useful when speed and iteration matter. They fit naturally into visual development workflows where you are generating, selecting, improving, and comparing images in one session.
The advantage is convenience. You can upscale, enhance, adjust strength, and compare results without exporting between multiple desktop apps. For designers and AI artists who work quickly, this can be more valuable than maximum technical fidelity.
Good uses:
- Enhancing selected generations from Midjourney, Stable Diffusion, Ideogram, or similar tools
- Improving moodboards and pitch visuals
- Testing stronger detail before committing to a final upscale
- Creating social media-ready images from lower-resolution concepts
- Producing alternate detail levels for client review
The main limitation is consistency. Browser tools often update models and settings, which means a workflow that works today may produce slightly different results later. If repeatability matters, save settings and export intermediate versions.
Best free and local option: open-source upscalers
Open-source tools such as Real-ESRGAN, SwinIR, and user-friendly wrappers like Upscayl remain important in 2026 because they offer privacy, low cost, and local control.
They are not always as polished as commercial options, but they are practical for many workflows. They are especially useful for creators who process many images or do not want to upload private assets to cloud services.
Best use cases:
- Batch upscaling AI image folders
- Enlarging textures for 3D and game projects
- Processing private client work locally
- Upscaling old renders or screenshots
- Building repeatable pipelines with scripts
Open-source upscalers can be excellent for clean illustrations, anime-style art, game textures, and general enlargement. They may struggle more with realistic faces, complex typography, and fine photographic detail compared with premium commercial tools.
If you are comfortable testing models, local upscaling is one of the most flexible choices.
Best built-in option: native upscalers in image generation platforms
Many AI image platforms include their own upscale or enhance button. These are often the fastest option because they are built into the generation workflow.
Native upscalers are best when you want to move quickly:
- Generate several variations
- Pick the best composition
- Upscale inside the same platform
- Export for web or further editing
They are useful for drafts, social posts, thumbnails, and early-stage concept work. They are less ideal when you need the highest possible quality, predictable print output, or careful control over detail hallucination.
For AI image generation, a good workflow is:
1. Generate at the highest useful native resolution. 2. Select only the strongest composition. 3. Use the native upscaler for a first pass. 4. If needed, finish in a dedicated upscaler or image editor.
This avoids wasting time upscaling weak images.
Best for ecommerce and product images
Product images need different priorities from AI art. The goal is not dramatic detail. The goal is clarity, accuracy, and trust.
For ecommerce, look for tools that support:
- Batch processing
- Background cleanup or consistency
- Clean product edges
- Accurate color preservation
- Compression-ready exports
- Minimal distortion of labels, logos, and packaging
Use cases include:
- Upscaling marketplace product shots
- Improving supplier images
- Standardizing catalog assets
- Preparing images for ads and landing pages
- Enlarging AI-generated product mockups for presentation
Be careful with creative enhancement on products. If the upscaler changes stitching, material, label text, buttons, or proportions, the image may become misleading. For commercial product work, faithful upscaling is usually the safer choice.
AI image generation workflows: where upscaling fits
Upscaling is most effective when it is planned as part of the creative pipeline, not added as a rescue step at the end.
Common workflows:
1. Concept art to presentation image
Generate a strong scene at medium resolution, choose the best composition, then upscale for pitch decks, thumbnails, or editorial layouts. Use creative upscaling only if extra environmental texture improves the concept.
2. Character design refinement
For AI-generated characters, upscale after you have locked the face, pose, outfit, and silhouette. Use a face-aware or conservative setting if character identity matters across multiple images.
3. Print preparation
For posters, covers, and wall art, upscale before final color correction and grain. Inspect the image at 100% and 200%. Pay attention to hands, eyes, jewelry, background patterns, and text.
4. Product mockup enhancement
When using AI to create packaging, furniture, fashion, or industrial design mockups, upscale carefully. Preserve proportions and avoid tools that invent new seams, labels, or materials.
5. Texture and asset production
Game artists and 3D designers can use upscalers to enlarge generated textures, decals, terrain references, and material studies. Tile consistency and edge behavior matter more than dramatic sharpness.
How to test an upscaler before committing
Do not judge an upscaler from one image. Test it on the kind of files you actually produce.
Use a small test set:
- One portrait
- One image with text
- One product or hard-surface object
- One detailed environment
- One stylized illustration
- One low-light or noisy image
Run each image at 2x and 4x. Compare results at actual size, not only zoomed out. Look for repeated artifacts: waxy skin, fake pores, broken text, jagged edges, haloing, melted jewelry, and unnatural fabric.
A practical rule: if the upscaled image looks better from a distance but worse at 100%, it may be fine for social media but not for print or professional delivery.
Recommended settings by use case
For portraits, use moderate detail recovery and avoid excessive sharpening. Preserve likeness over texture.
For AI art, test both conservative and creative modes. Some images benefit from invented detail; others become overworked.
For product images, keep enhancement low. Check labels, logos, dimensions, and edge accuracy.
For illustration, avoid settings that turn brushwork into photographic texture unless that is the intended style.
For architecture and interiors, creative upscaling can add convincing material detail, but inspect straight lines, furniture edges, windows, and repeated patterns.
For print, upscale first, then finish with manual cleanup, color correction, grain, and export sharpening.
Common mistakes
The most common mistake is upscaling too early. If the image has weak composition, bad anatomy, or wrong lighting, higher resolution will not fix it.
Other mistakes:
- Using 4x when 2x is enough
- Applying creative upscaling to logos or typography
- Trusting preview images without checking full resolution
- Upscaling every generation instead of only the best selects
- Ignoring final output size
- Over-sharpening before compression
Upscaling should support the image, not become the image.
Final recommendation
The best AI upscaler in 2026 depends on your tolerance for change.
Choose a faithful upscaler like Topaz-style desktop software when accuracy, print quality, and consistency matter. Choose a creative upscaler when you want AI-generated images to gain richer detail and are comfortable with reinterpretation. Choose open-source local tools when privacy, cost, and batch control matter. Use native platform upscalers when speed is more important than maximum quality.
For most creators working with AI images, the strongest workflow is simple: generate carefully, select ruthlessly, upscale conservatively, then finish manually. That produces better results than relying on any single tool to solve every image.
<!-- zview-noindex-rewrite-media -->
Hands-on image prompt examples for testing AI upscalers
Add a practical visual section that turns the article from a general roundup into a more testable guide. These prompts are designed to generate editorial comparison images that make faithful versus creative upscaling visible across text, texture, edges, faces, products, and print-style detail.
Faithful desktop upscaler comparison scene
Topic:
AI upscaler comparison workflow
Genre:
Editorial tech illustration
Camera:
Sony A7R IV
Lens:
50mm prime
Lighting:
Soft studio key light with subtle monitor glow
Location:
Modern editing desk with calibrated display and print samples
Style:
Clean realistic product-and-workflow editorial image
Final Prompt:
A realistic editorial scene showing an image editor comparing AI upscaler results on a large calibrated monitor, split screen with three versions of the same city poster artwork: original low-resolution file, faithful upscale, and overly creative upscale. Visible details include small typography on signs, brick texture, window frames, hairline edges on buildings, and a printed proof sheet on the desk. The workspace has a keyboard, pen tablet, color chart, and notes labeled edge integrity, text handling, face preservation, and texture control. Neutral gray and blue palette, precise composition, three-quarter desk angle, crisp screen reflections, believable detail, no brand logos, image should clearly prove the difference between clean enlargement and invented detail.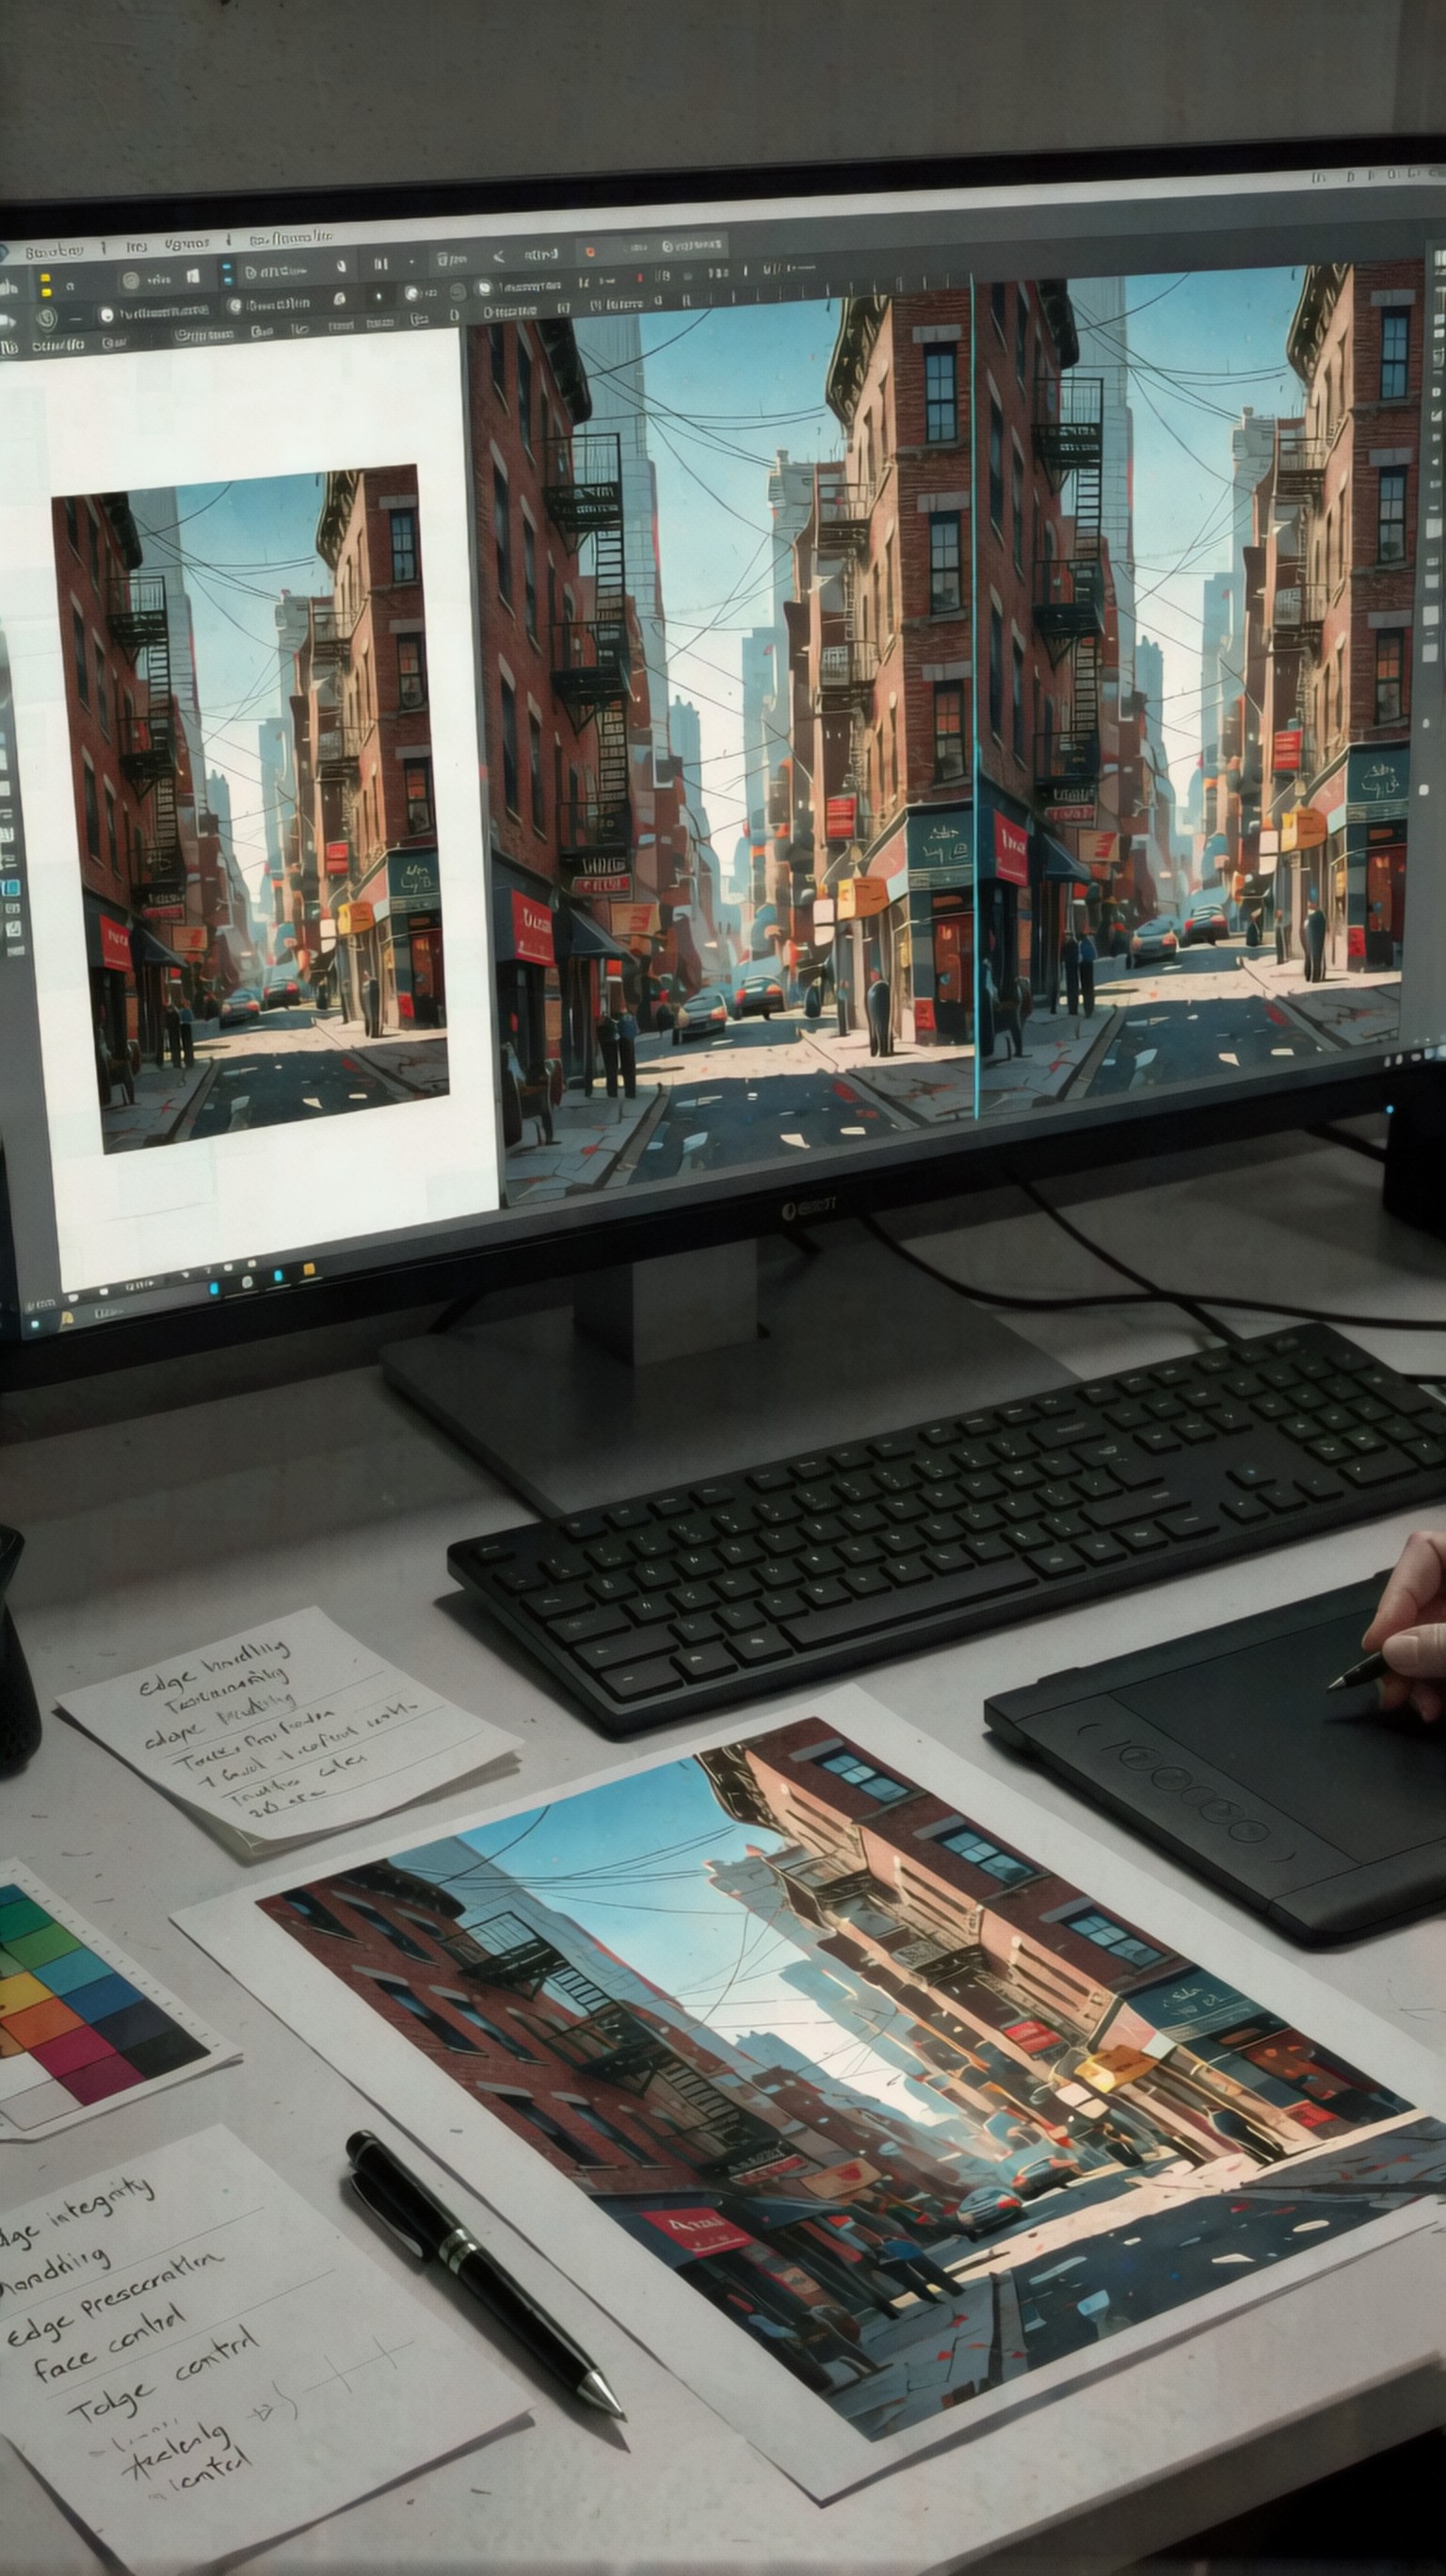
Use this image as a result check for the prompt above. Inspect whether the composition, lighting, subject clarity, and model-specific details match the article topic.
Product image edge and label test
Topic:
Ecommerce upscaling quality test
Genre:
Commercial editorial still life
Camera:
Canon EOS R5
Lens:
85mm macro
Lighting:
Bright diffused softbox lighting with controlled highlights
Location:
Minimal studio sweep background
Style:
High-detail product photography illustration
Final Prompt:
A studio product comparison image designed to test AI upscalers on ecommerce assets, featuring a glass skincare bottle, a matte cardboard box, and a folded fabric pouch arranged on a seamless light gray backdrop. The composition highlights fine printed label text, sharp package edges, transparent reflections, embossed logo texture, stitching on the pouch, and subtle shadows beneath each item. Include a side-by-side panel concept within the image language: original low-res crop, faithful upscale preserving label readability, and creative upscale adding unrealistic texture. Clean white and gray palette with muted pastel accents, front three-quarter composition, highly controlled reflections, realistic materials, image should prove whether the upscaler preserves product edges, typography, and surface texture without halos.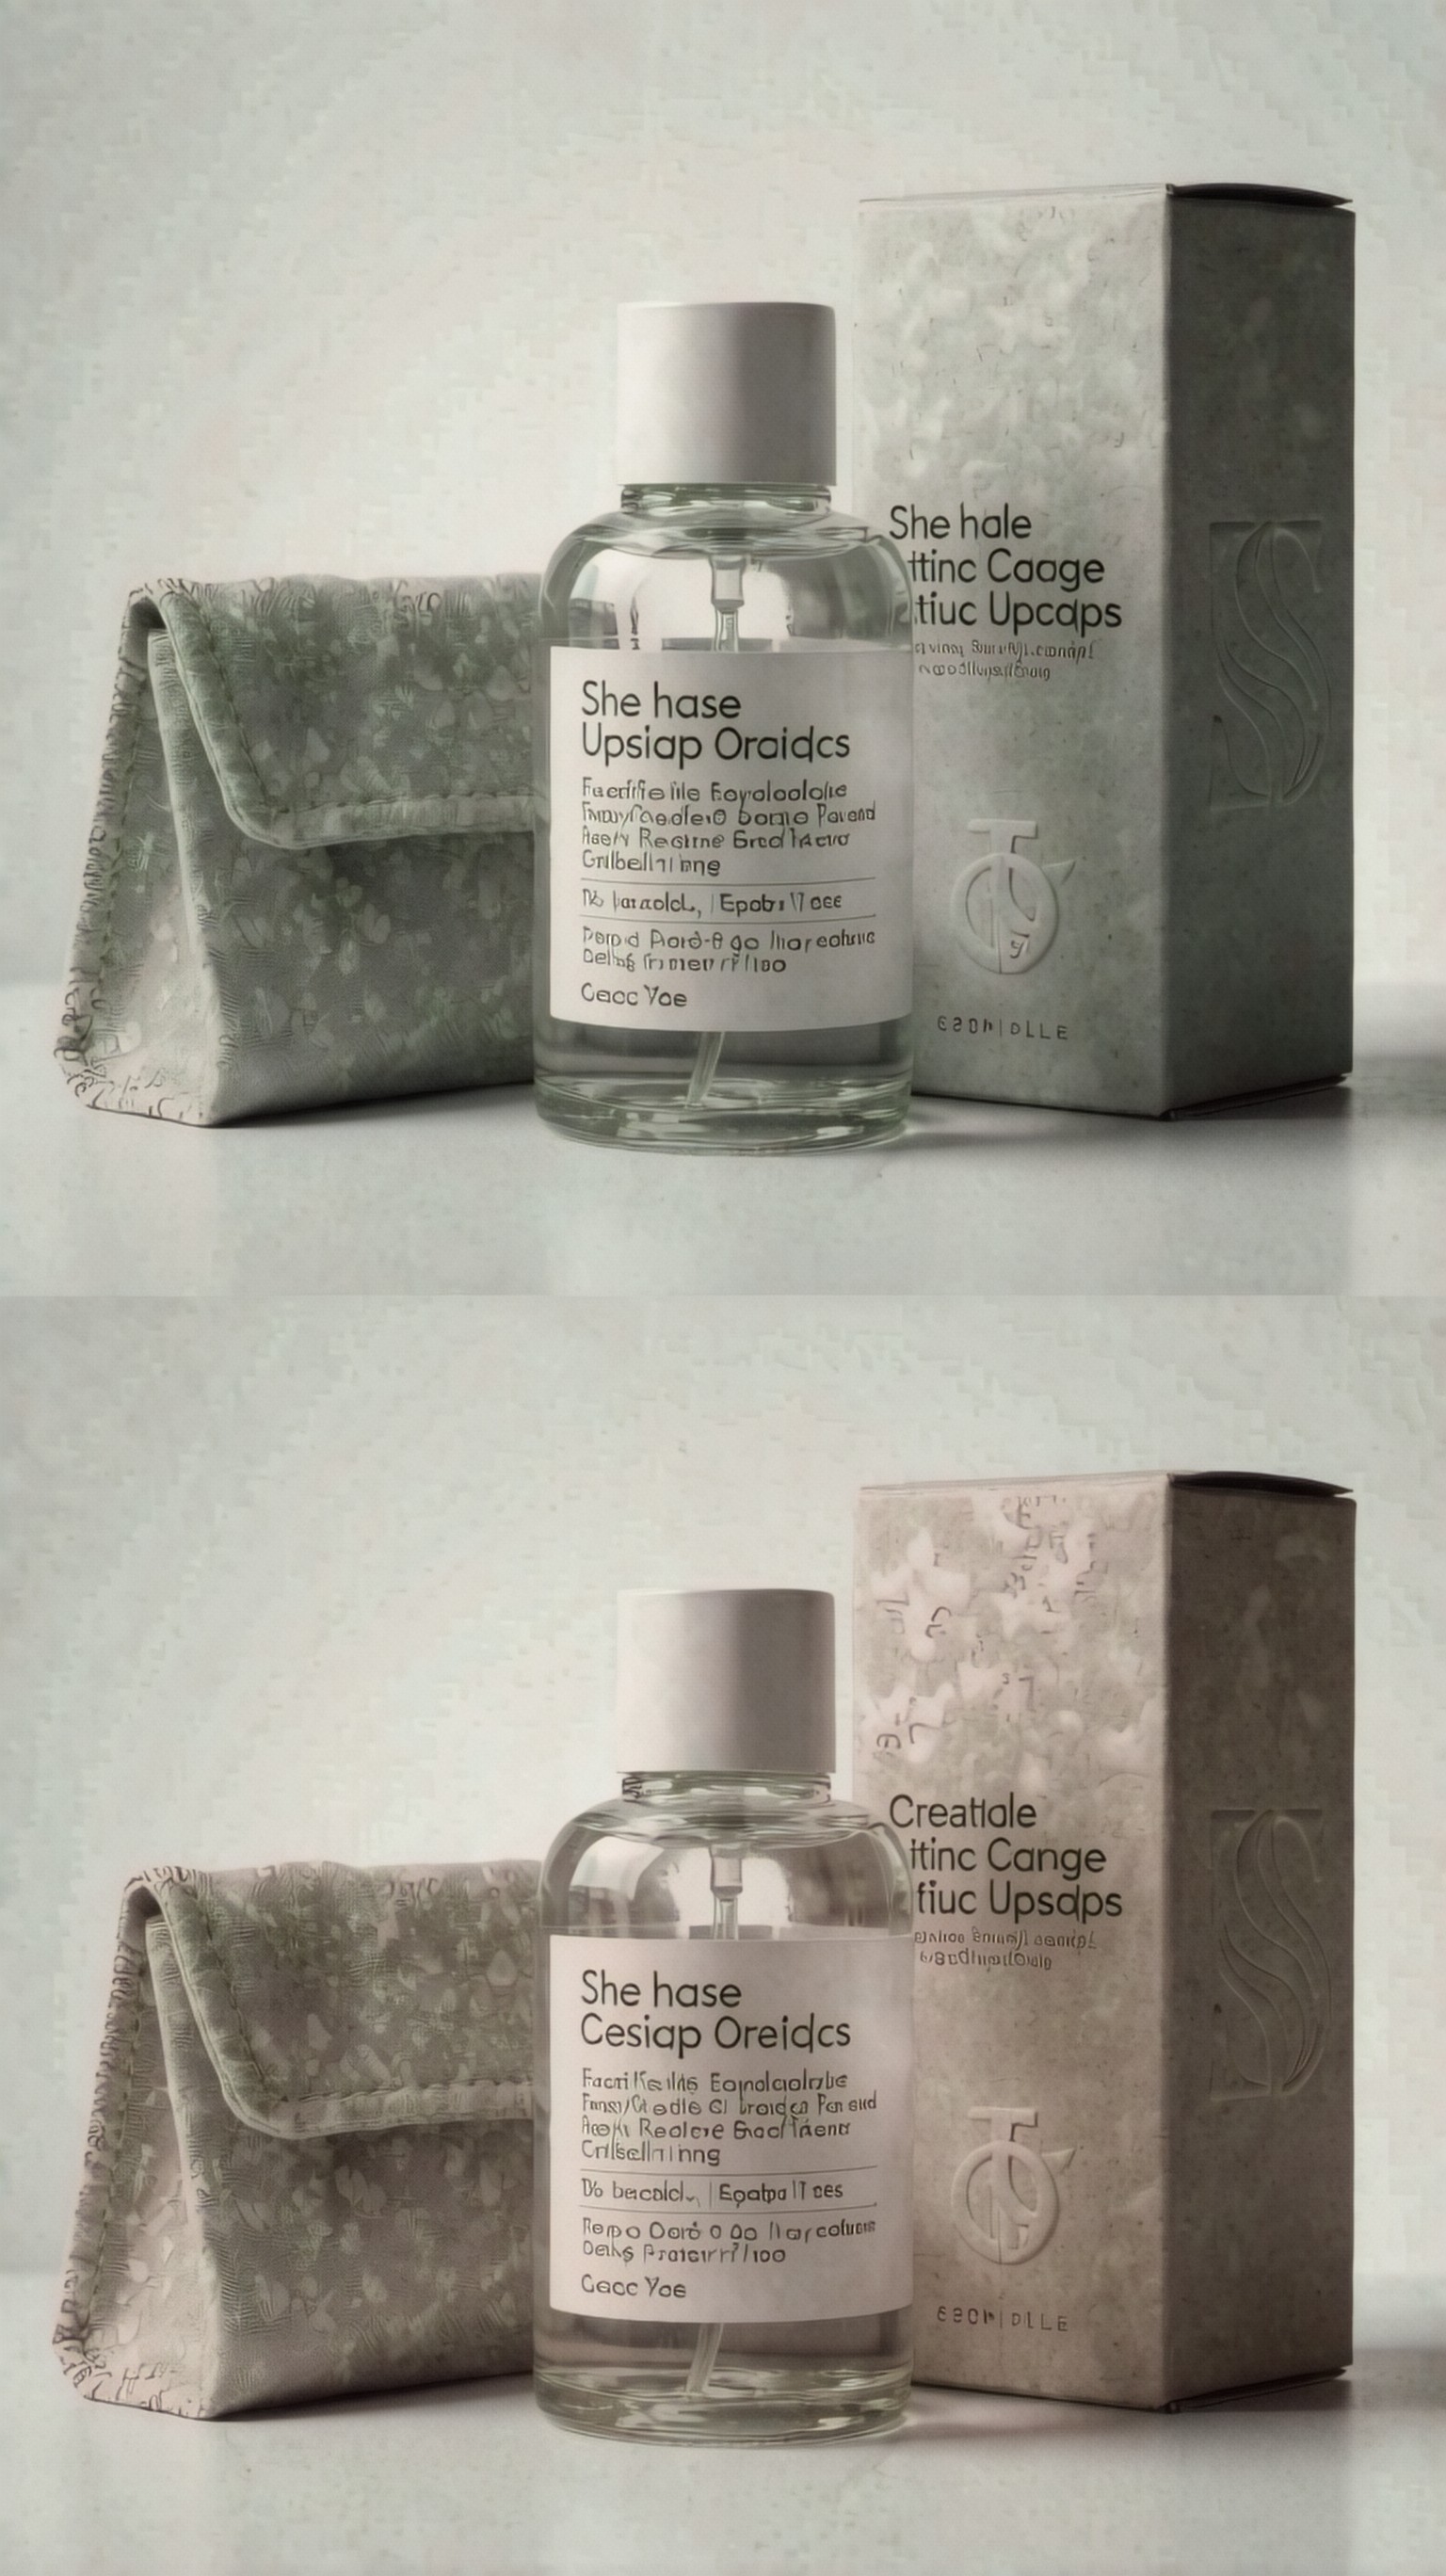
Use this image as a result check for the prompt above. Inspect whether the composition, lighting, subject clarity, and model-specific details match the article topic.
Portrait skin and hair preservation test
Topic:
Face preservation in AI upscaling
Genre:
Editorial portrait test image
Camera:
Nikon Z8
Lens:
105mm portrait lens
Lighting:
Large window light with soft fill and gentle rim light
Location:
Indoor studio corner with neutral textured wall
Style:
Natural high-resolution editorial realism
Final Prompt:
A close editorial portrait created specifically for testing face preservation during upscaling, showing an adult subject with natural skin texture, fine hair strands, eyebrows, eyelashes, catchlights in the eyes, and subtle fabric weave in a charcoal jacket. Framing is head-and-shoulders with slight turn toward camera, neutral expression, minimal retouching, visible pores, realistic lips and teeth, and a softly textured plaster wall behind the subject. Include secondary detail elements such as a thin eyeglass frame and a small printed card pinned in the background to test fine edges and text. Warm neutral palette, shallow depth of field but sharp eyes and hairline, image should prove whether the upscaler keeps facial anatomy natural instead of inventing waxy skin, distorted eyes, or artificial pores.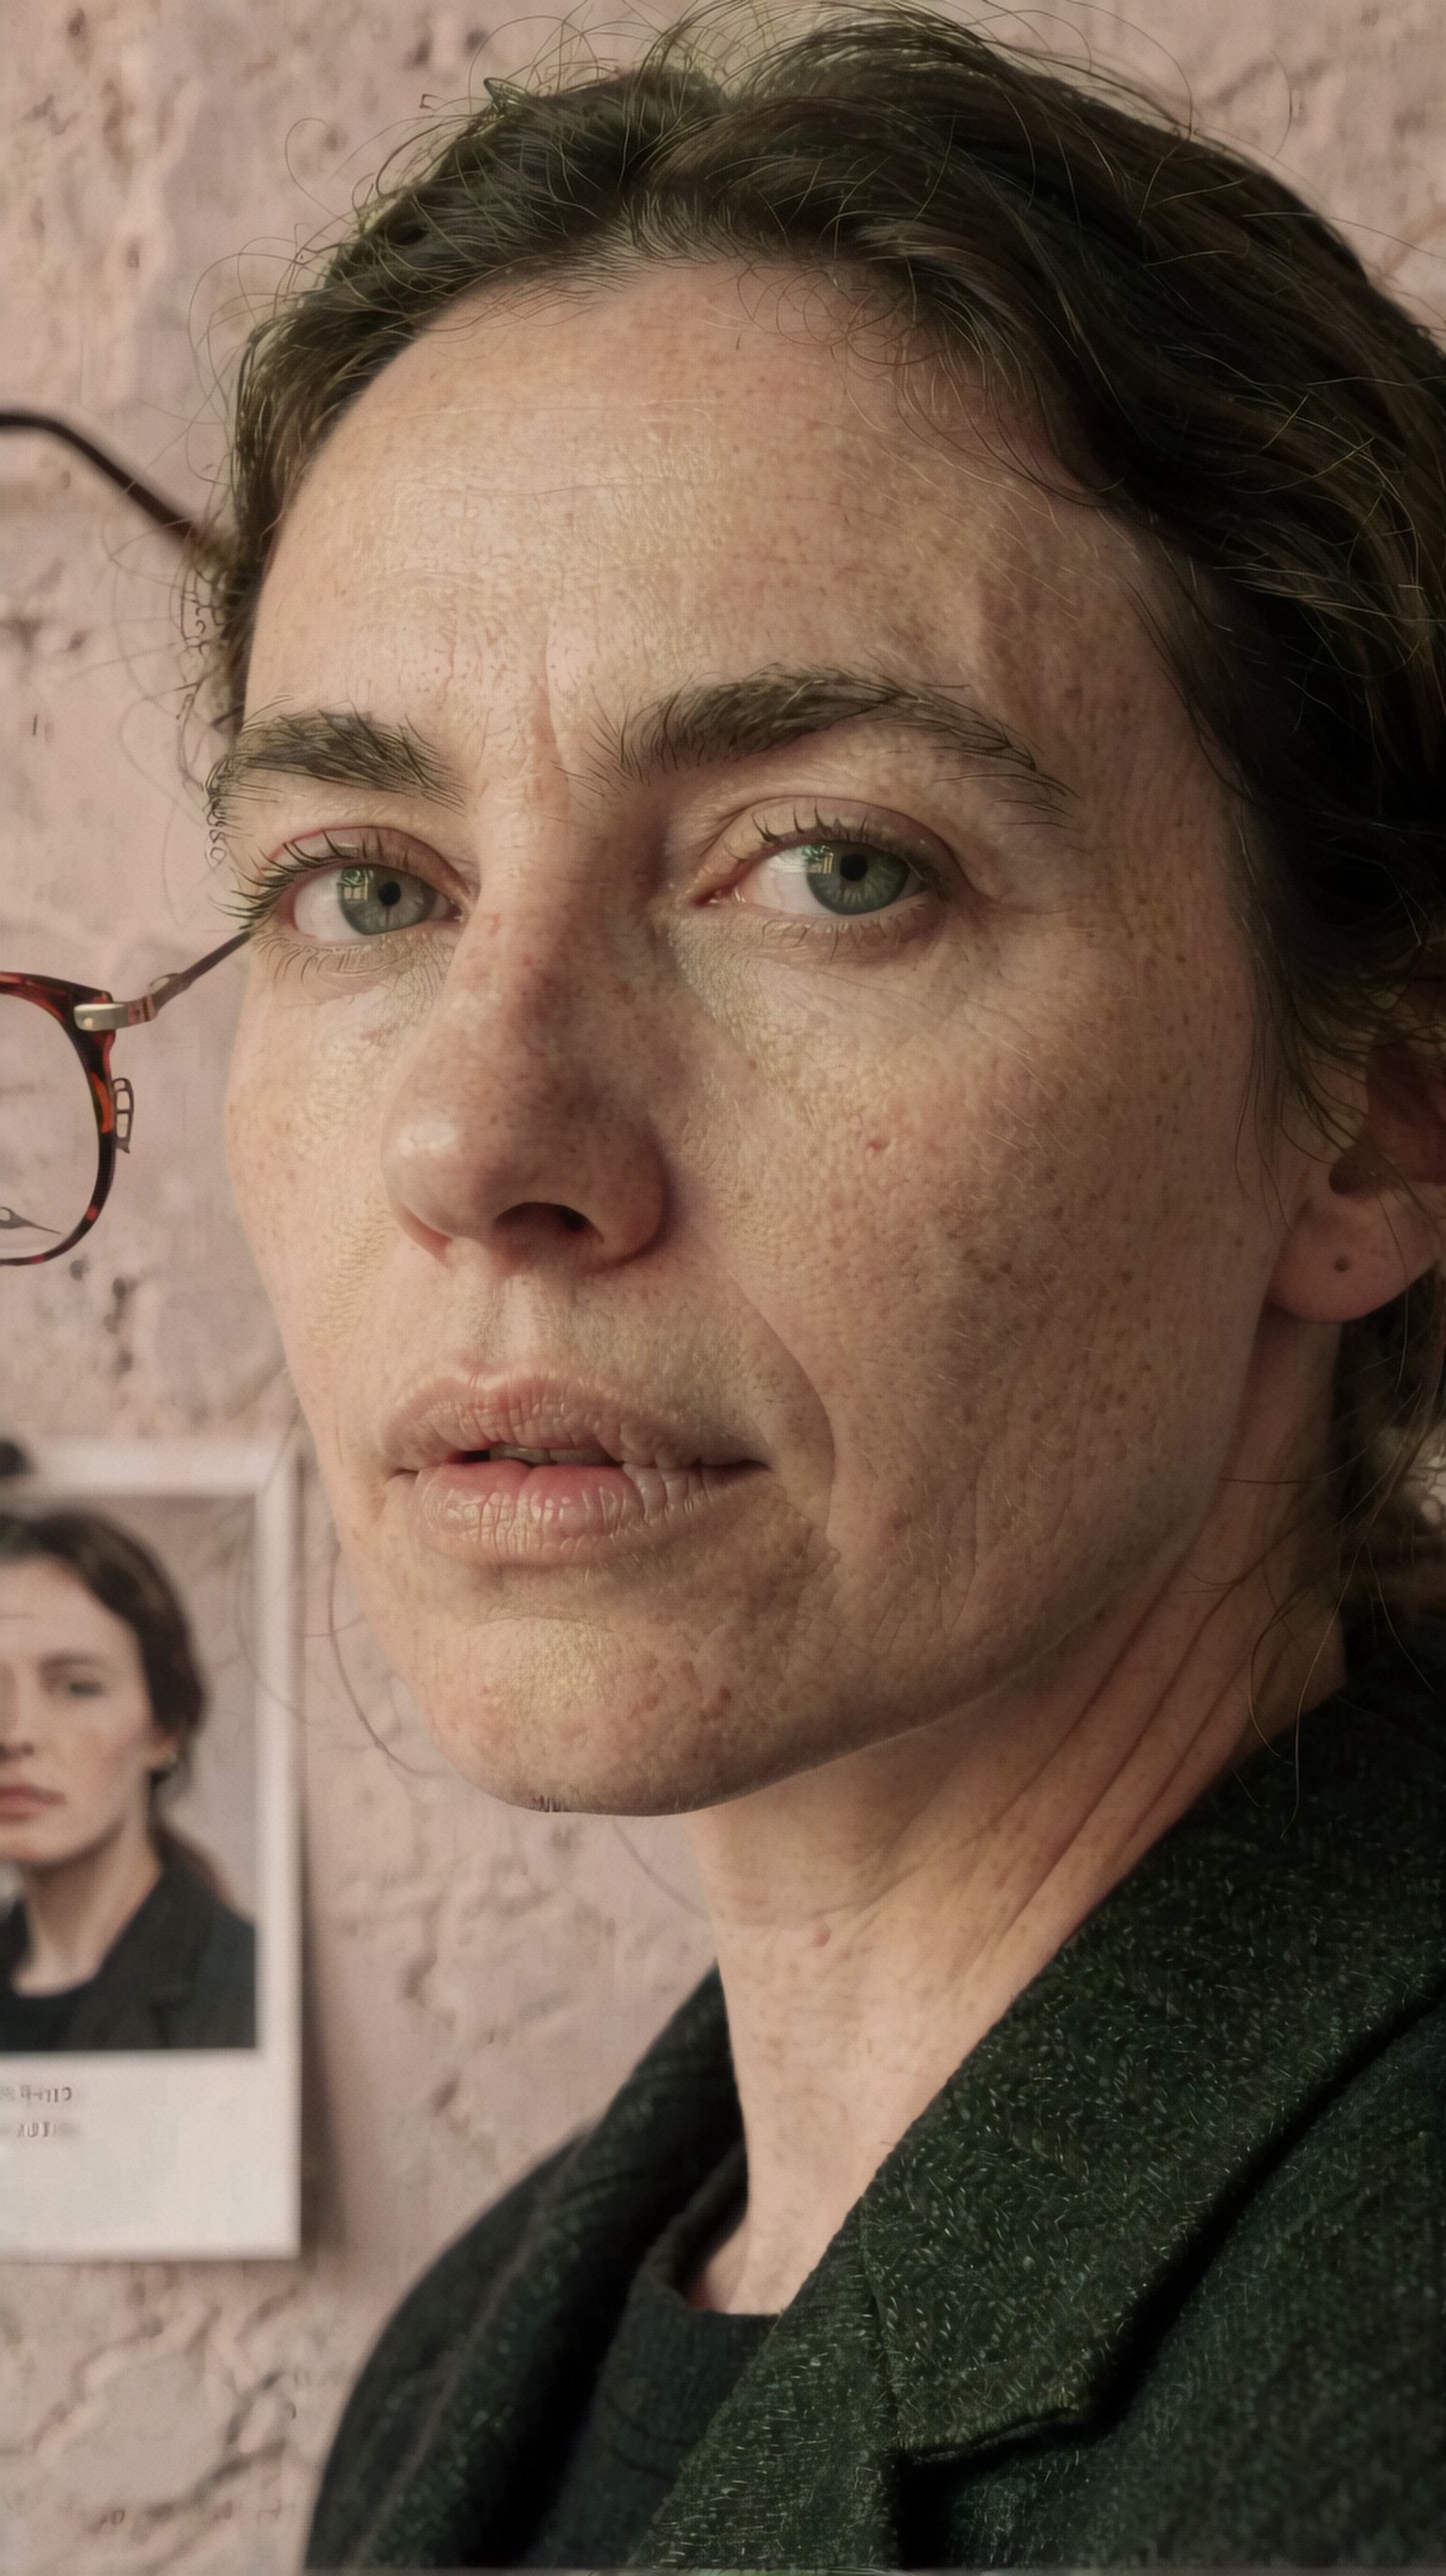
Use this image as a result check for the prompt above. Inspect whether the composition, lighting, subject clarity, and model-specific details match the article topic.
Print-ready art and poster detail test
Topic:
Print-focused AI art upscaling evaluation
Genre:
Editorial poster and print mockup
Camera:
Fujifilm GFX 100S
Lens:
63mm standard lens
Lighting:
Gallery-style directional lighting with soft ambient fill
Location:
Contemporary print studio with wall-mounted posters
Style:
Premium large-format print editorial visualization
Final Prompt:
A realistic print studio scene showing large-format poster output used to evaluate AI upscaling for print, featuring one fantasy cityscape artwork displayed as three vertical poster panels: original soft image, faithful upscale with controlled sharpness, and creative upscale with extra invented stone texture, clouds, and brushwork. Include visible paper grain, ink density variation, clean poster borders, a magnifier loupe on the worktable, and small swatch prints showing foliage, roof tiles, and tiny architectural windows. The environment includes a cutting mat, rolled prints, and neutral studio walls. Rich but balanced color palette with deep blues, copper lights, and off-white paper tones, straight-on composition with slight depth, image should prove how different upscalers affect print detail, texture realism, and overall trustworthiness of the source artwork.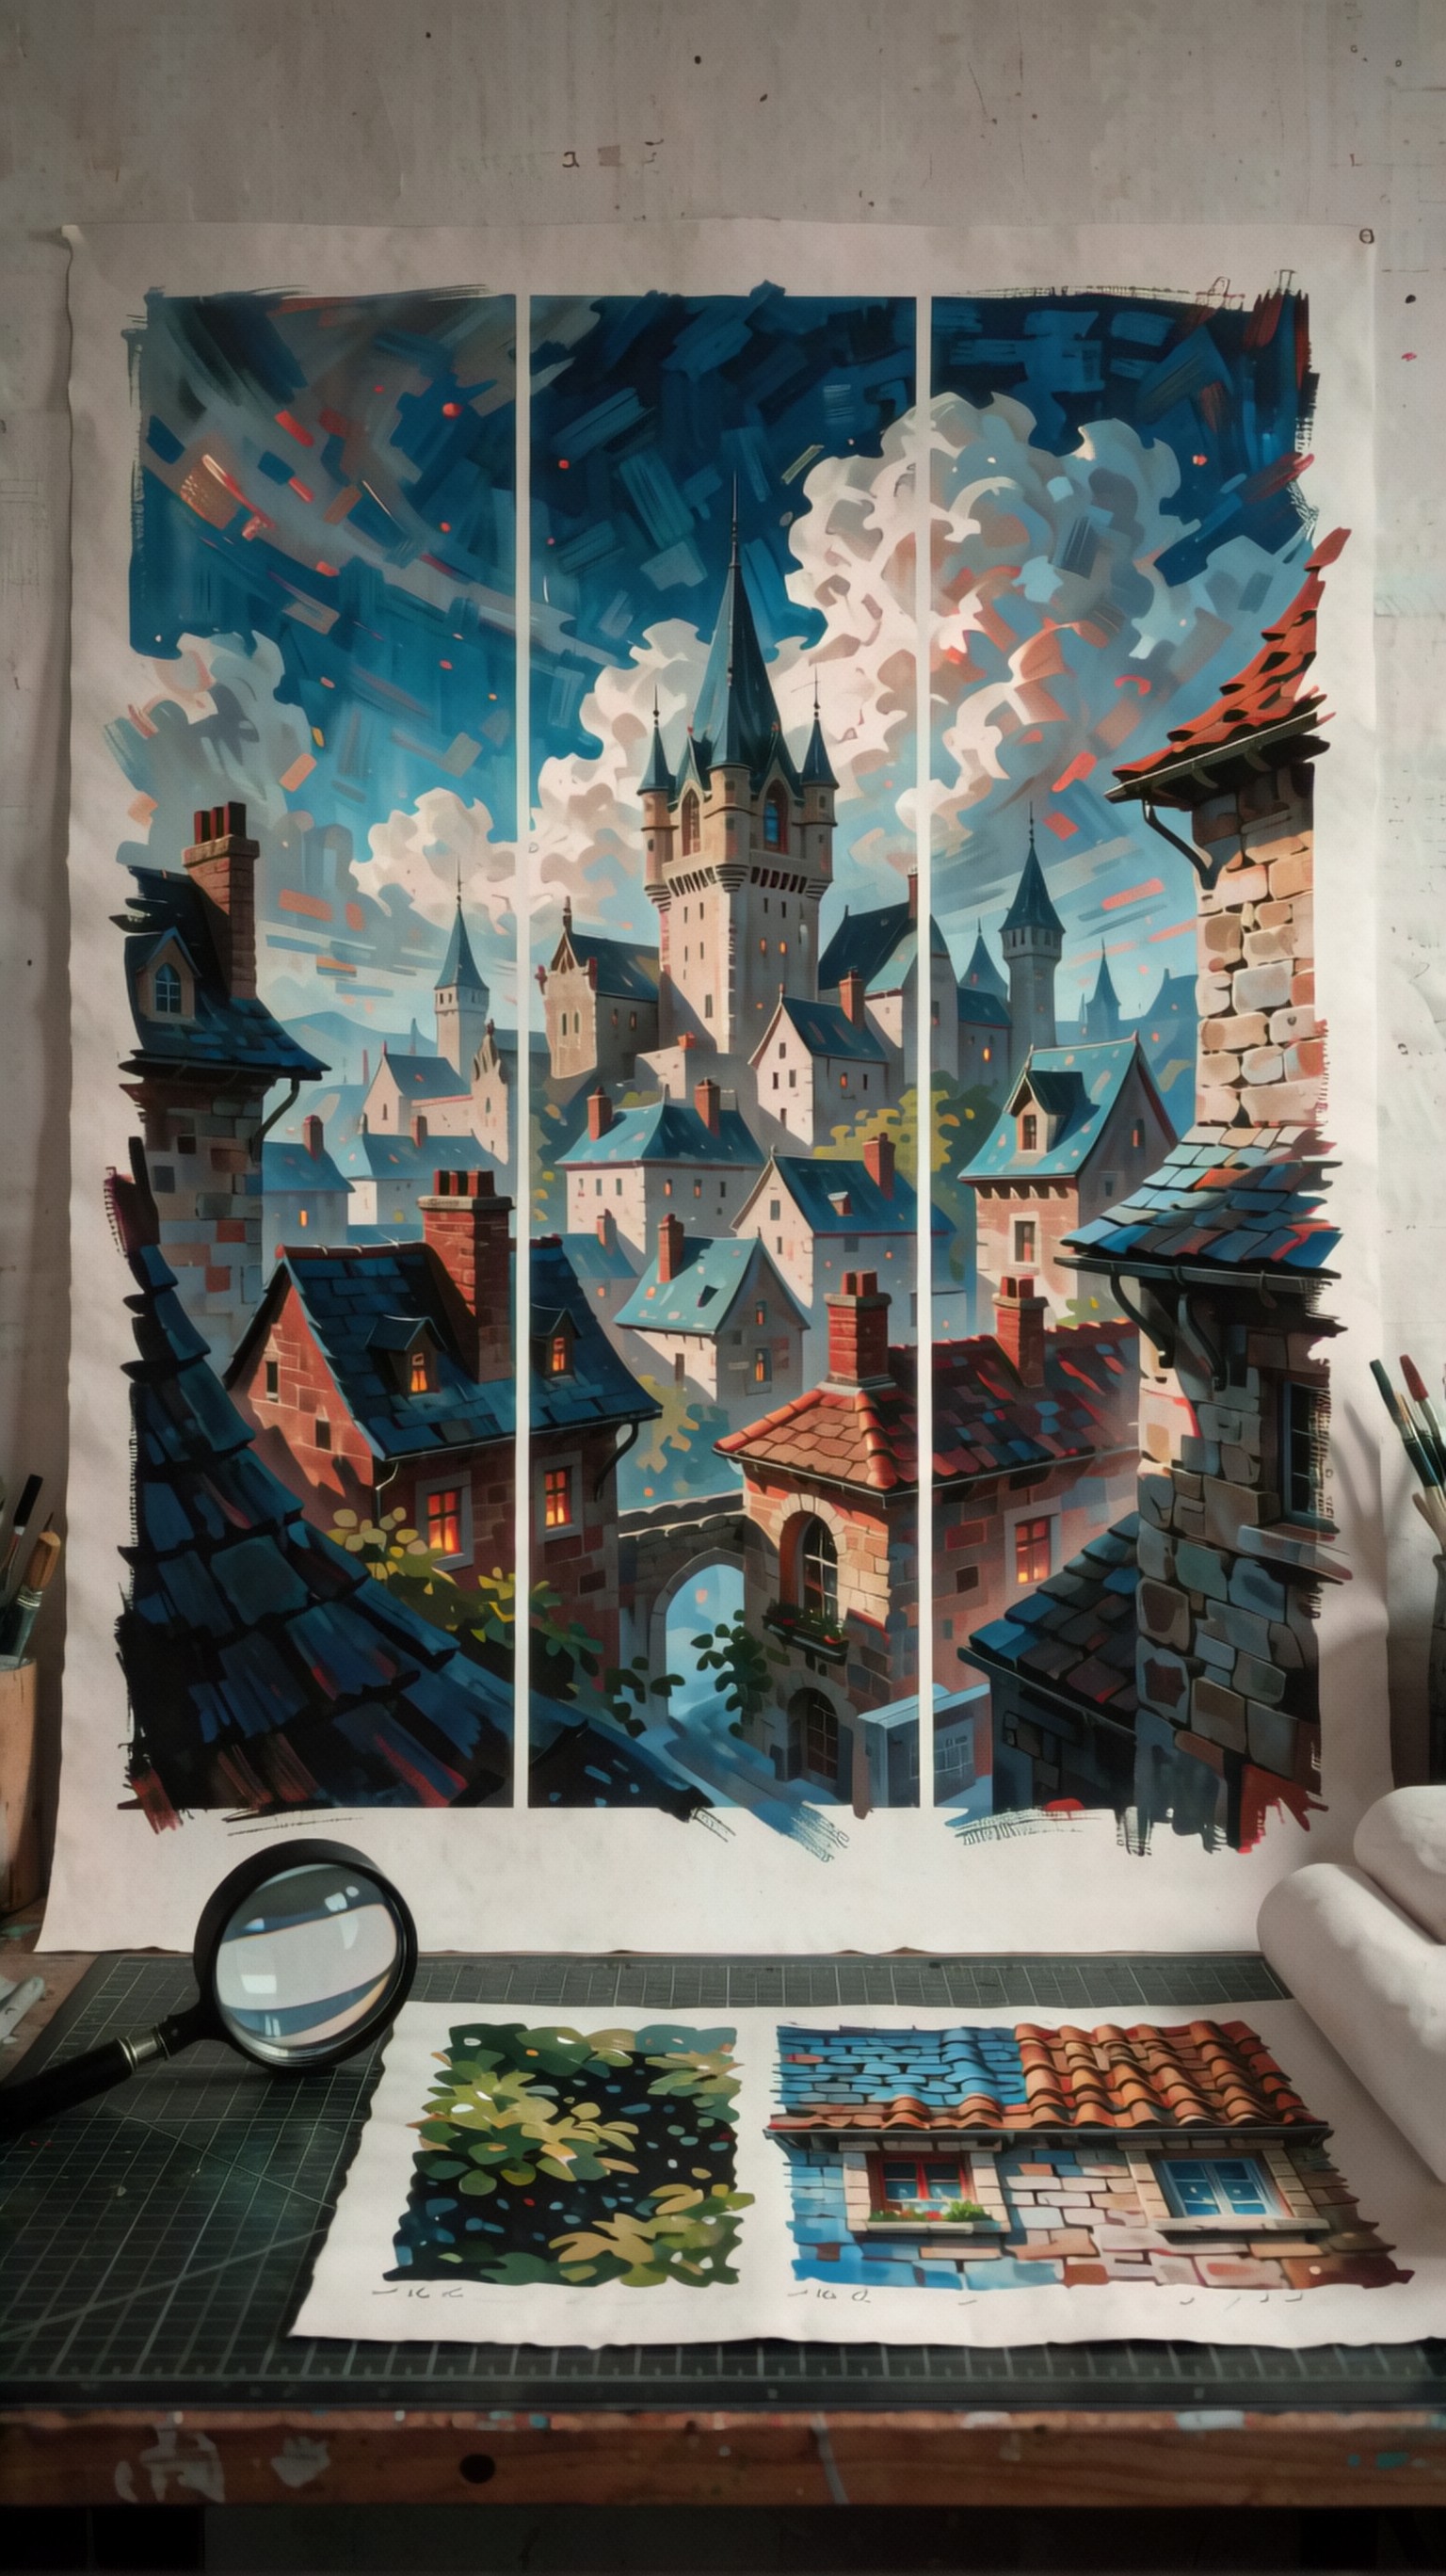
Use this image as a result check for the prompt above. Inspect whether the composition, lighting, subject clarity, and model-specific details match the article topic.
Result checks
- Check whether small text, labels, signs, and UI-like details stay readable instead of melting or being replaced with fake glyphs.
- Inspect edge integrity on product outlines, eyeglass frames, buildings, and poster borders; strong results avoid halos, double lines, and crunchy oversharpening.
- Zoom into skin, hair, fabric, brick, foliage, and paper grain to see whether detail looks recovered from the image or artificially invented.
- Compare faithful versus creative outputs by asking whether the composition, lighting, anatomy, and brand-relevant details remain consistent with the source.
- For print use, review whether enlarged output still looks believable at poster scale and does not introduce obvious repeating texture or synthetic micro-detail.
Failure risks
- Creative upscalers may invent pores, hair strands, fabric weave, or architectural texture that looks impressive in isolation but no longer matches the original image.
- Typography and packaging can degrade quickly, with readable labels turning into fake text even when the overall image appears sharper.
- Faces are a common failure point: eyes, teeth, symmetry, and skin can become plastic, over-smoothed, or subtly distorted after aggressive enhancement.
- High-contrast edges may develop halos or brittle sharpening, which is especially damaging for ecommerce cutouts, UI imagery, and print layouts.
- Side-by-side comparisons can mislead if crop size, denoising, or source compression differ, so results should be judged on the same image area and scale.
Practical recommendation
Use these four prompt-driven visuals as a practical add-on section beneath the roundup. They make the article feel more hands-on by showing what a good upscaler should preserve in real scenarios: text, faces, products, and print detail. Pair each generated image with short captions about faithful versus creative behavior, and the article will read more like a tested buyer’s guide rather than a generic tool list.
_Image model used for these examples: krea2_turbo._