ComfyUI Workflow vs Automatic1111: Which Is Better for Repeatable Image Generation? 한국어 요약
이 페이지는 ZView Space의 영어 원문을 한국어 검색 사용자도 이해할 수 있도록 정리한 SEO 요약입니다. 핵심은 단순한 얼굴 중심 이미지가 아니라 패션 에디토리얼, 룩북, 아웃핏, 프롬프트 테스트, 이미지 생성 워크플로우를 실제로 어떻게 구성할지입니다.
핵심 요약
- 원문 주제: ComfyUI Workflow vs Automatic1111: Which Is Better for Repeatable Image Generation?
- 목적: AI 이미지 생성에서 outfit, silhouette, fabric, pose, location, camera framing을 더 명확하게 설계합니다.
- 활용 범위: Z-Image Turbo, Krea2 Turbo, Qwen Image, Anima, SeedVR2 같은 이미지 생성 및 업스케일 워크플로우에 적용할 수 있습니다.
- SEO 관점: 제목, 설명, 이미지 alt, 프롬프트 예시가 실제 검색 의도와 맞아야 색인 가능성이 높아집니다.
한국어 사용자를 위한 체크포인트
1. 프롬프트가 얼굴 묘사에만 머물지 않고 전체 스타일과 의상 구성을 설명하는지 확인합니다. 2. 패션 이미지라면 상의, 하의, 아우터, 신발, 액세서리, 소재감, 촬영 장소를 분리해서 씁니다. 3. 생성 결과는 바로 게시하지 말고 디테일, 손, 의상 형태, 배경 일관성, 이미지 품질을 비교합니다. 4. 글 본문에는 실제 테스트 기준과 실패를 줄이는 방법이 들어가야 검색엔진에서 얇은 콘텐츠로 보일 가능성이 줄어듭니다.
원문 미리보기
This test looks at ComfyUI workflow vs Automatic1111 from one specific angle: repeatable image generation when you need to revisit a prompt days later and get results that are still directionally consistent. Instead of asking which interface is easier on day o
---
This test looks at ComfyUI workflow vs Automatic1111 from one specific angle: repeatable image generation when you need to revisit a prompt days later and get results that are still directionally consistent. Instead of asking which interface is easier on day one, I ran both setups through the same production-style image tasks and tracked where outputs stayed stable, where they drifted, and which tool made corrections easier.
The short version is this: Automatic1111 is faster for quick iteration and simpler prompt-led testing, while ComfyUI is stronger when you need a saved, inspectable pipeline that can be rerun with fewer hidden variables. If your work depends on consistency across model swaps, ControlNet branches, upscaling stages, and reusable parameter chains, ComfyUI has the edge. If your work is mostly single-shot prompting with occasional fixes, A1111 still holds up well.
Quick answer
- Best for repeatable pipelines: ComfyUI, because the graph makes every step explicit and reusable.
- Best for fast prompt iteration: Automatic1111, because changing seeds, samplers, CFG, and extensions is quicker in one screen.
- Most common failure in A1111: forgetting which extension, VAE, LoRA weight, or ControlNet setting changed between runs.
- Most common failure in ComfyUI: overbuilding graphs that are technically reproducible but too slow to adjust under deadline.
- What matters most: lock the full generation chain, not just the text prompt and seed.
What was tested
I used one recurring editorial scenario: generating a small series of product-led lifestyle images for the same fictional campaign, then returning later to reproduce the look with minor prompt edits.
The test focused on:
- text-to-image repeatability
- image-to-image correction passes
- ControlNet pose/layout stability
- upscaling handoff consistency
- LoRA and model swap behavior
- how easy it was to document the exact generation chain
The same prompts, seeds where possible, core model family, and target image dimensions were used in both interfaces. I also checked how easy it was to move the output into adjacent tools like [PromptLab](/promptlab), the [Upscaler](/upscaler), and saved creation flows in [Create](/create).
The scenario: one campaign, three reruns, small changes only
The use case was not abstract. I wanted a repeatable workflow for a visual set where the subject, styling direction, lighting feel, and framing had to stay consistent across multiple exports.
That is exactly where many model tests look fine on first pass and then break on rerun.
The practical brief was simple:
- premium cosmetic product in hand
- clean studio-meets-editorial portrait
- stable facial proportions across variations
- same general camera distance and palette
- one base hero image, then three revised versions
This is the kind of work where a tool either helps you preserve structure or slowly introduces drift through hidden settings.
Why repeatable image generation is harder than it sounds
On paper, repeatability sounds like seed control. In practice, it is a chain problem.
The output can shift because of:
- sampler changes
- scheduler changes
- VAE differences
- latent upscale order
- ControlNet weight drift
- denoise strength in img2img
- extension interactions
- LoRA stacking order
- prompt edits that alter composition more than expected
In ComfyUI vs A1111 for image generation, this was the core divide. Automatic1111 makes many of these controls available, but they can be spread across tabs, scripts, extensions, and remembered UI state. ComfyUI makes them visible as connected nodes, which reduces ambiguity but adds setup overhead.
First attempt in Automatic1111: fast to start, harder to audit later
My first pass was in Automatic1111 because it is still the faster place to test a creative direction from scratch. I could prompt, adjust CFG, test a sampler, add a LoRA, and compare a few seeds quickly.
That speed helped in the exploration phase. The problem appeared on rerun two days later.
I could reproduce something close, but not with full confidence. The issue was not one dramatic failure. It was small uncertainty:
- Was the previous ControlNet preprocessor exactly the same?
- Did I change denoise from 0.35 to 0.45 in img2img?
- Was the upscale pass done in the main tab or an extension?
- Was the VAE loaded manually or inherited from the checkpoint?
The result still looked usable, but not auditably identical in process.
Prompt test 1: baseline portrait consistency
This first prompt was used to check how well each interface held a clean campaign look before any structural controls were added. It is a useful baseline because face shape, product placement, and camera distance tend to drift quickly with small prompt edits.
Topic: Premium skincare campaign portrait with product in hand
Genre: Beauty Campaign
Camera: Canon EOS R5
Lens: 85mm f/1.8
Lighting: Studio butterfly light with soft fill
Location: Minimal beige studio set with matte backdrop
Style: High-end beauty advertising
Final Prompt: premium skincare campaign portrait of a woman holding a frosted glass serum bottle near her cheek, clean symmetrical composition, calm direct gaze, natural polished skin texture, structured white blazer over neutral silk top, soft beige matte background, studio butterfly key light with subtle fill, gentle catchlights in the eyes, elegant hand pose, product label facing camera, restrained luxury palette of cream sand and soft gold, Canon EOS R5 look, 85mm f/1.8 depth compression, crisp cosmetic packaging detail, premium editorial finish, realistic pores, controlled highlights, centered framing, commercial beauty image quality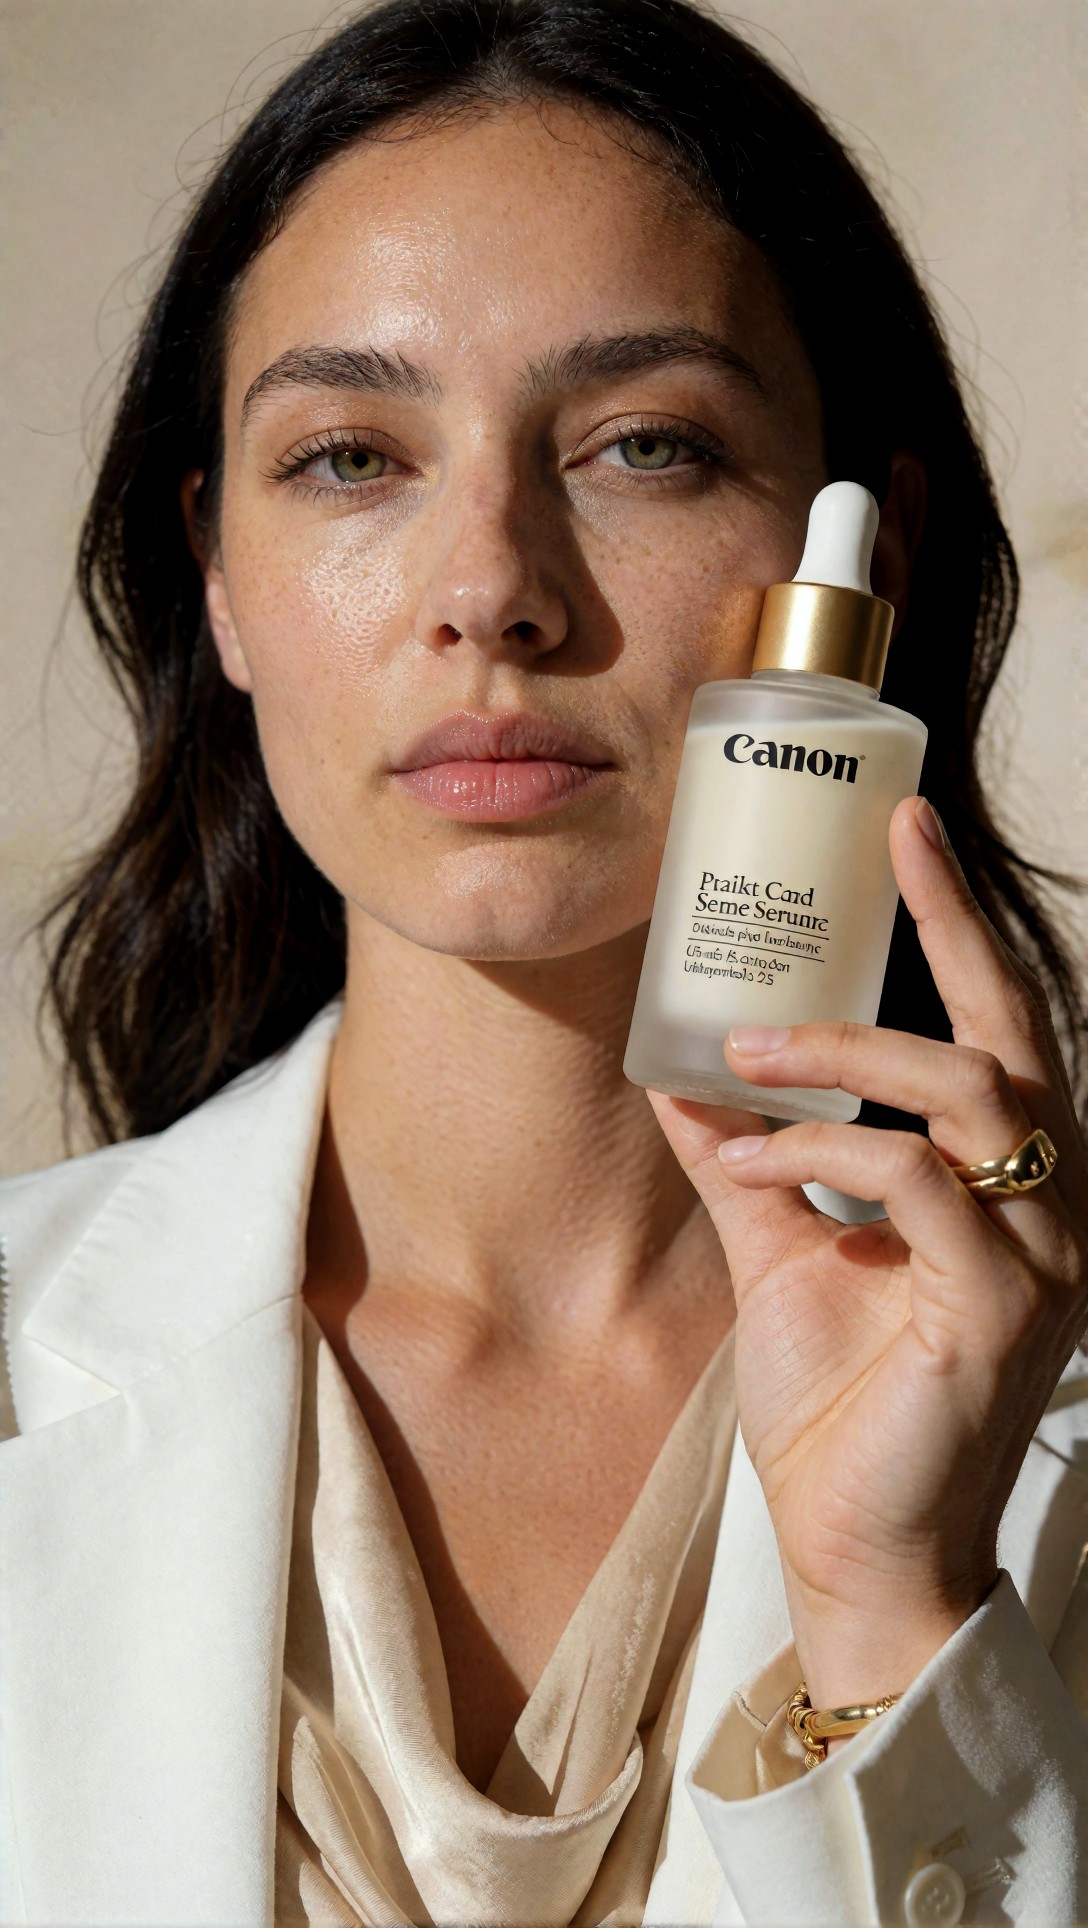
Inspect whether the bottle stays readable, the fingers wrap naturally, and the face remains proportionate when you rerun with minor wording changes. In my test, both tools produced usable first images, but A1111 showed more variation run to run once additional adjustments began stacking.
Prompt test 2: same concept, slight framing revision
This second prompt introduced only a modest composition shift. The goal was to see whether the interface encouraged consistent revision or accidental reinvention.
Topic: Premium skincare half-body portrait with product emphasis
Genre: Product Editorial
Camera: Nikon Z7 II
Lens: 50mm f/2
Lighting: Large softbox key light with weak rim light
Location: Neutral editorial studio with curved cove wall
Style: Clean commercial look
Final Prompt: half-body editorial portrait of a woman presenting a premium skincare serum bottle at chest height, body angled slightly three-quarters, face turned toward camera with composed expression, tailored ivory suit, minimal gold jewelry, soft neutral makeup, curved cove studio wall in warm greige, large softbox key light for smooth skin, subtle rim light separating hair from background, product held upright and fully visible, clean luxury campaign composition, Nikon Z7 II realism, 50mm f/2 natural perspective, refined shadows, clear packaging edges, balanced negative space for magazine layout, understated premium color grading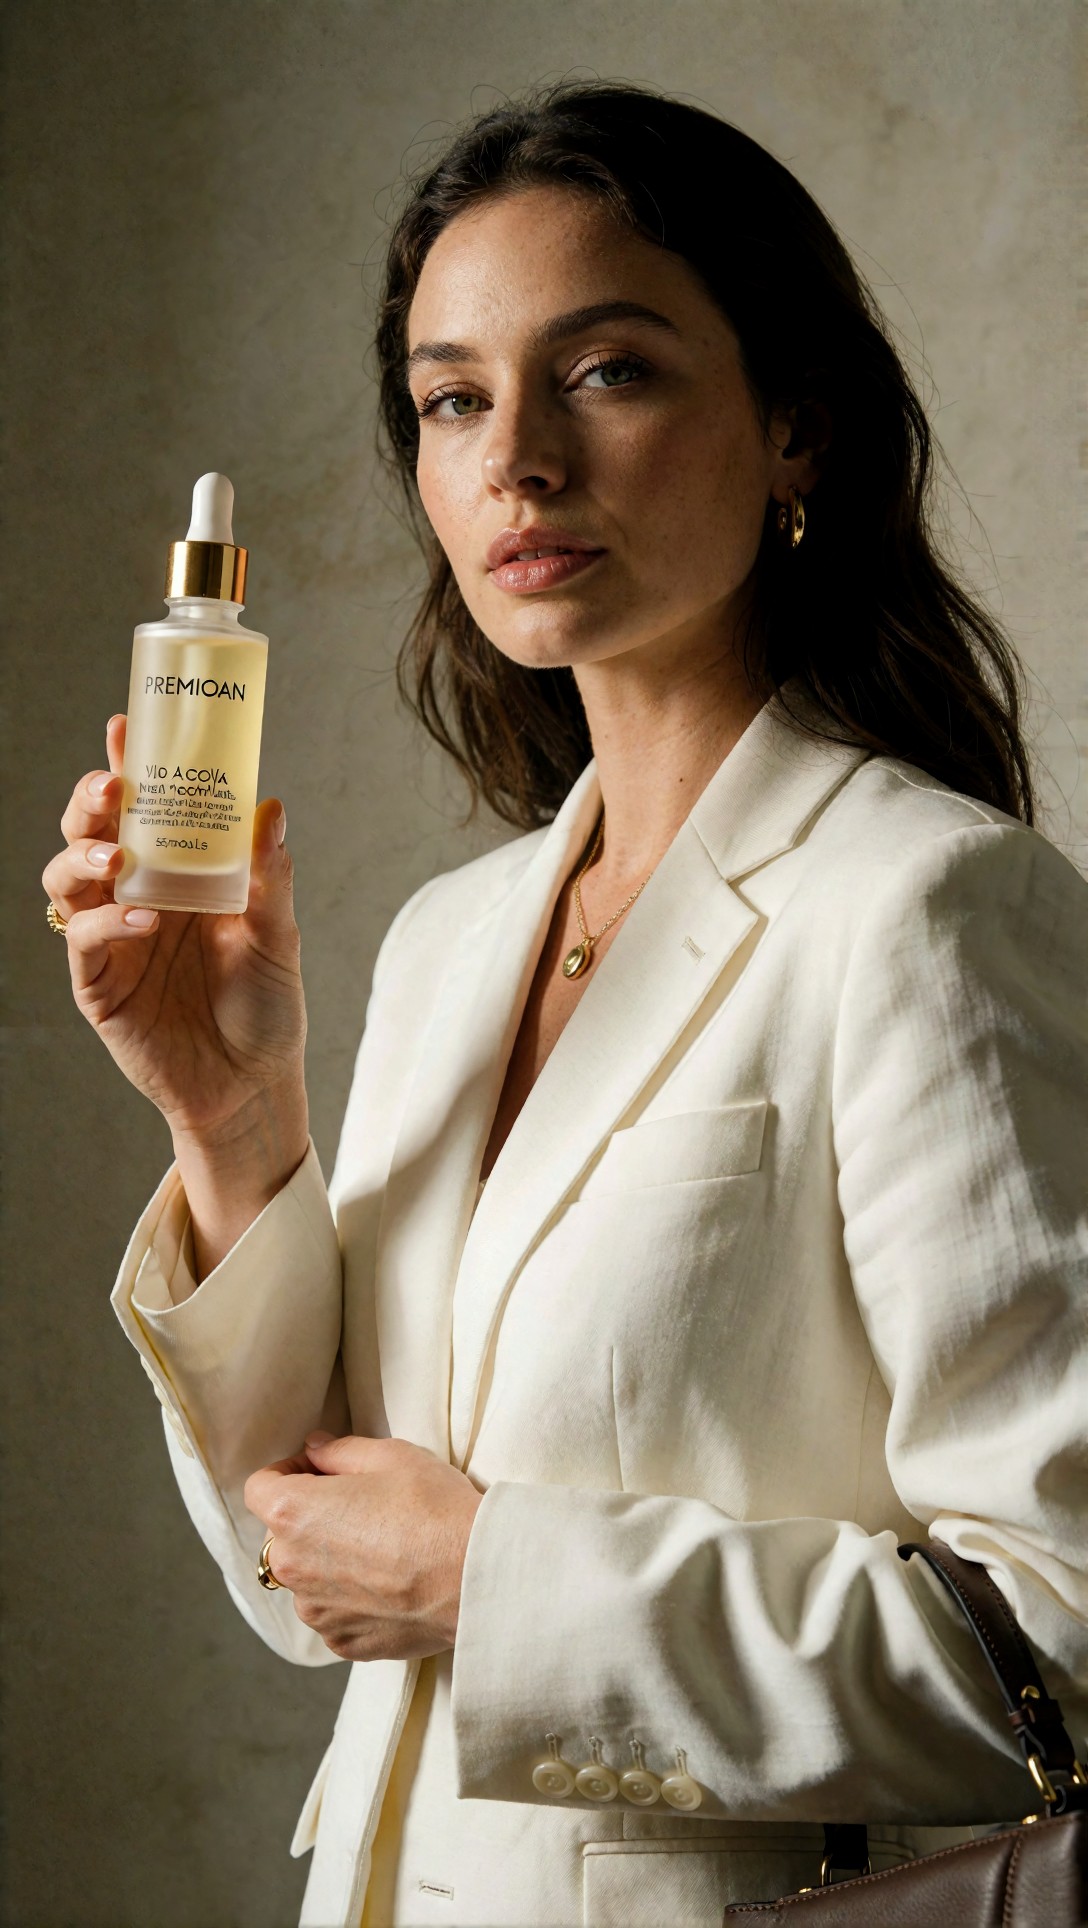
What to inspect here is whether the product remains the subject or gets demoted by the pose revision. In A1111, this kind of tweak often worked fast, but it was easier to lose the exact previous image logic if I changed multiple controls in one sitting.
What the first attempt revealed
Automatic1111 was strongest when I did not yet know the final workflow. It invited experimentation.
That mattered because repeatability is not useful if the initial search is painful.
But once the direction was chosen, A1111 showed three weak points:
1. Process memory lived partly outside the image. PNG info helps, but not every extension state or external step is equally obvious when revisiting a project.
2. Branching corrections were less transparent. If one version used inpaint, another used img2img, and a third used a ControlNet pose assist, comparing the exact paths took more manual note-taking.
3. Small UI convenience can hide major variation. This is useful during ideation, but risky when a client or team needs version accountability.
The adjustment in ComfyUI: lock the pipeline, then swap only one variable at a time
I rebuilt the same generation logic in ComfyUI with a simple graph:
- checkpoint loader
- positive and negative prompt encoders
- seed and sampler node
- latent image node
- optional ControlNet branch
- optional LoRA loader
- decode node
- upscale/output branch
That sounds obvious, but the effect was immediate. In this ComfyUI repeatable workflow, every stage stayed visible, and every future rerun began from the same graph instead of from remembered interface state.
The strongest result was not that ComfyUI made prettier first images. It was that I could return later, inspect the graph, change one parameter, and know exactly what had changed.
Where ComfyUI pulled ahead in practice
ComfyUI became clearly better once the task moved from exploration to controlled production.
1. Model, VAE, and LoRA state were explicit
There was less guessing. I did not have to remember whether a setting was inherited, hidden in a tab, or quietly persisted from a previous test.
2. Branching made comparison cleaner
I could split the same latent into different samplers, denoise strengths, or upscale branches and compare outputs without reconstructing the workflow mentally.
3. Saved graphs were better documentation
For anyone comparing Automatic1111 comparison ComfyUI from a production standpoint, this is the most important point. A saved ComfyUI graph is not just a preset. It is process evidence.
Prompt test 3: fixed composition with controlled branching
This prompt was paired with a ControlNet-assisted branch to test whether the same product-holding pose could be preserved while changing styling details. That is where ComfyUI's graph visibility was noticeably useful.
Topic: Controlled beauty portrait with stable hand and product pose
Genre: Beauty Editorial
Camera: Sony A7R V
Lens: 90mm f/2.8 macro
Lighting: Soft key with white bounce fill
Location: Pale taupe studio with floating acrylic pedestal
Style: Luxury fashion campaign
Final Prompt: editorial beauty portrait of a model holding a premium serum bottle beside her jawline with precise elegant fingers, stable upright product angle, smooth pale taupe studio background, floating clear acrylic pedestal visible at frame edge, cream structured dress with sculpted neckline, soft polished makeup, relaxed mouth, confident eye contact, luxurious but restrained composition, Sony A7R V detail rendering, 90mm f/2.8 macro clarity, soft key light with white bounce for clean skin gradients, crisp packaging typography area, controlled hand anatomy, premium print-ready realism, muted cream and champagne palette, high-end campaign finish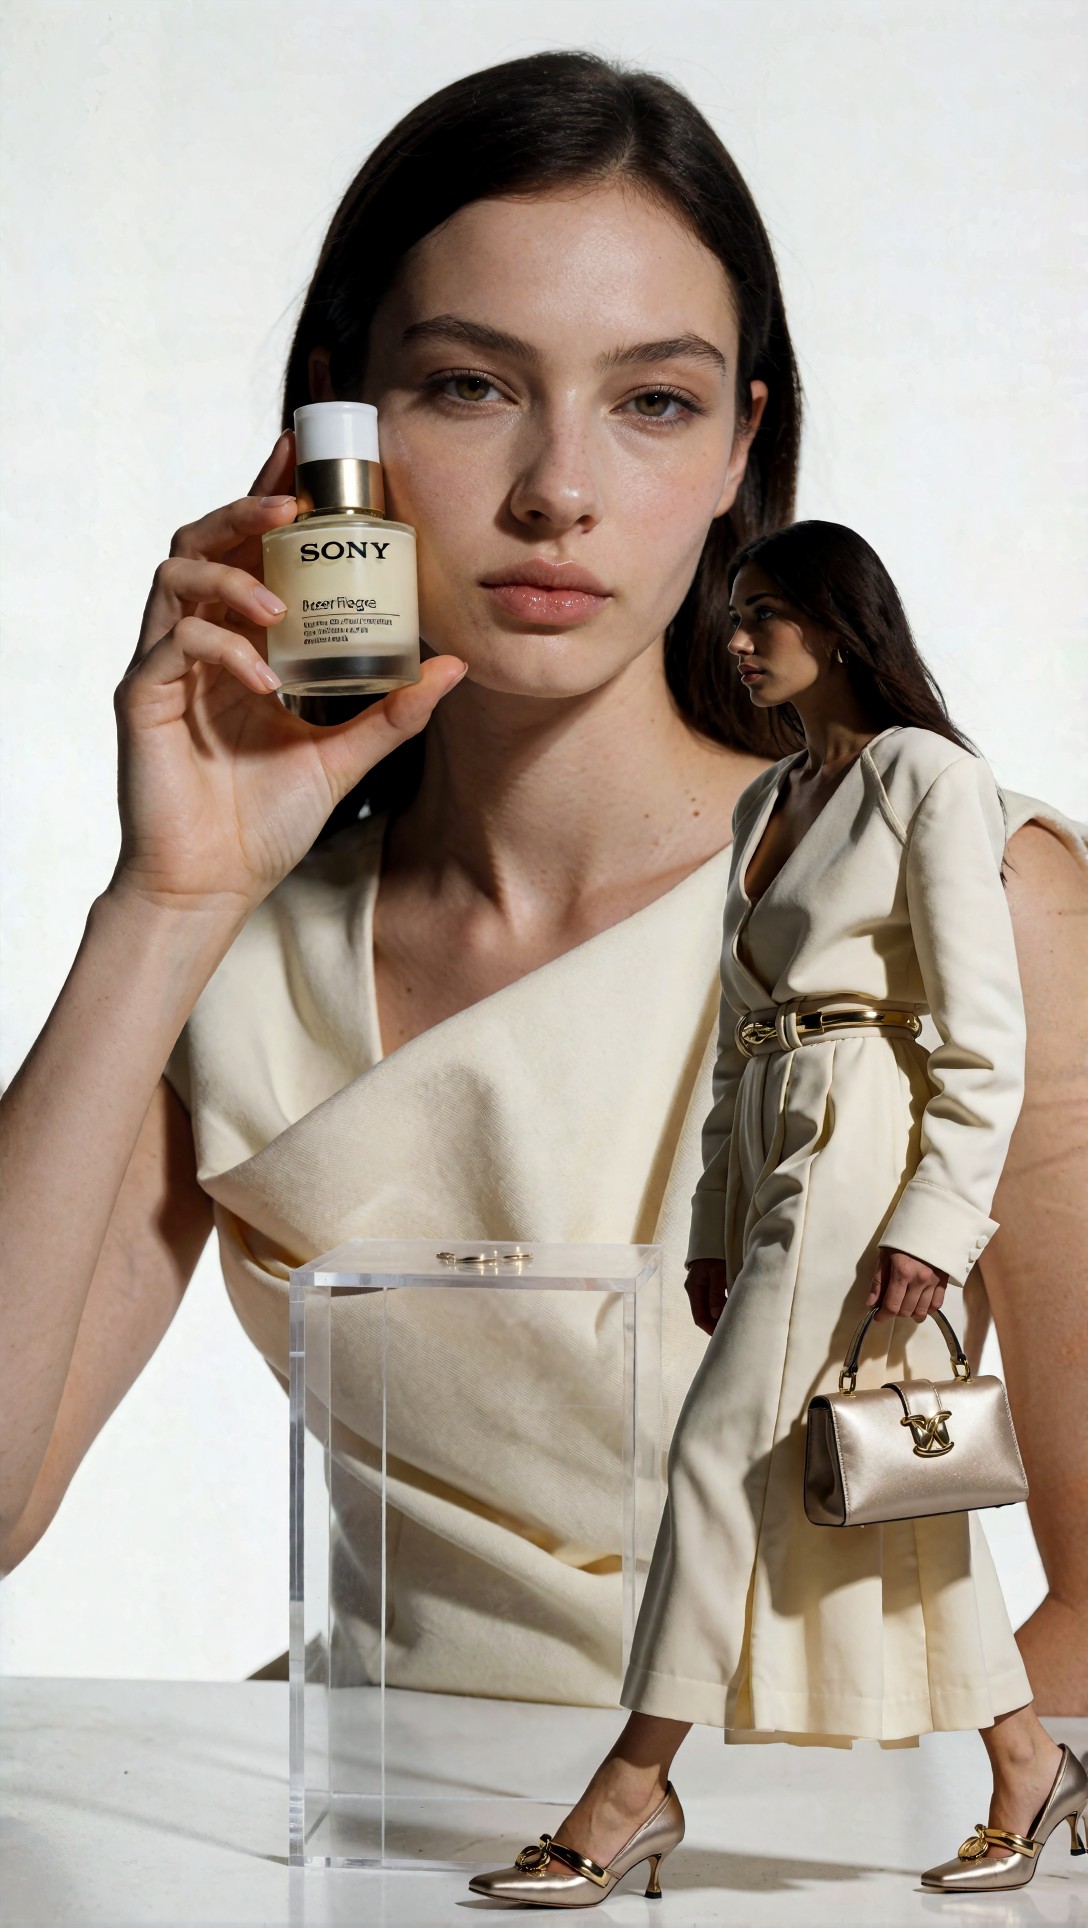
Inspect hand anatomy first, then product angle, then eye alignment. In ComfyUI, using the same pose branch across reruns reduced the chance that a prompt tweak would suddenly turn the bottle or contort the fingers.
Prompt test 4: style variation without layout drift
This version changed wardrobe and mood while keeping the broader framing logic. It tests whether a workflow can vary surface aesthetics without rebuilding the scene.
Topic: Fashion-inflected cosmetic portrait with unchanged hero framing
Genre: Fashion Editorial
Camera: Fujifilm GFX100S
Lens: 110mm f/2
Lighting: Large diffused octabox with low-intensity edge light
Location: Editorial studio with blush plaster wall
Style: Korean magazine cover
Final Prompt: close editorial portrait of a woman featuring a luxury skincare bottle near the lower frame, refined hero framing, blush plaster wall backdrop, soft rose-beige palette, sculptural satin blouse with oversized collar, glossy but natural lips, poised magazine-cover expression, subtle side profile tilt while maintaining front-facing eyes, large diffused octabox creating smooth skin transitions, faint edge light around hair, Fujifilm GFX100S medium-format look, 110mm f/2 shallow focus, premium cosmetic styling, clean composition with space for masthead, visible bottle cap texture, elegant fashion-beauty crossover aesthetic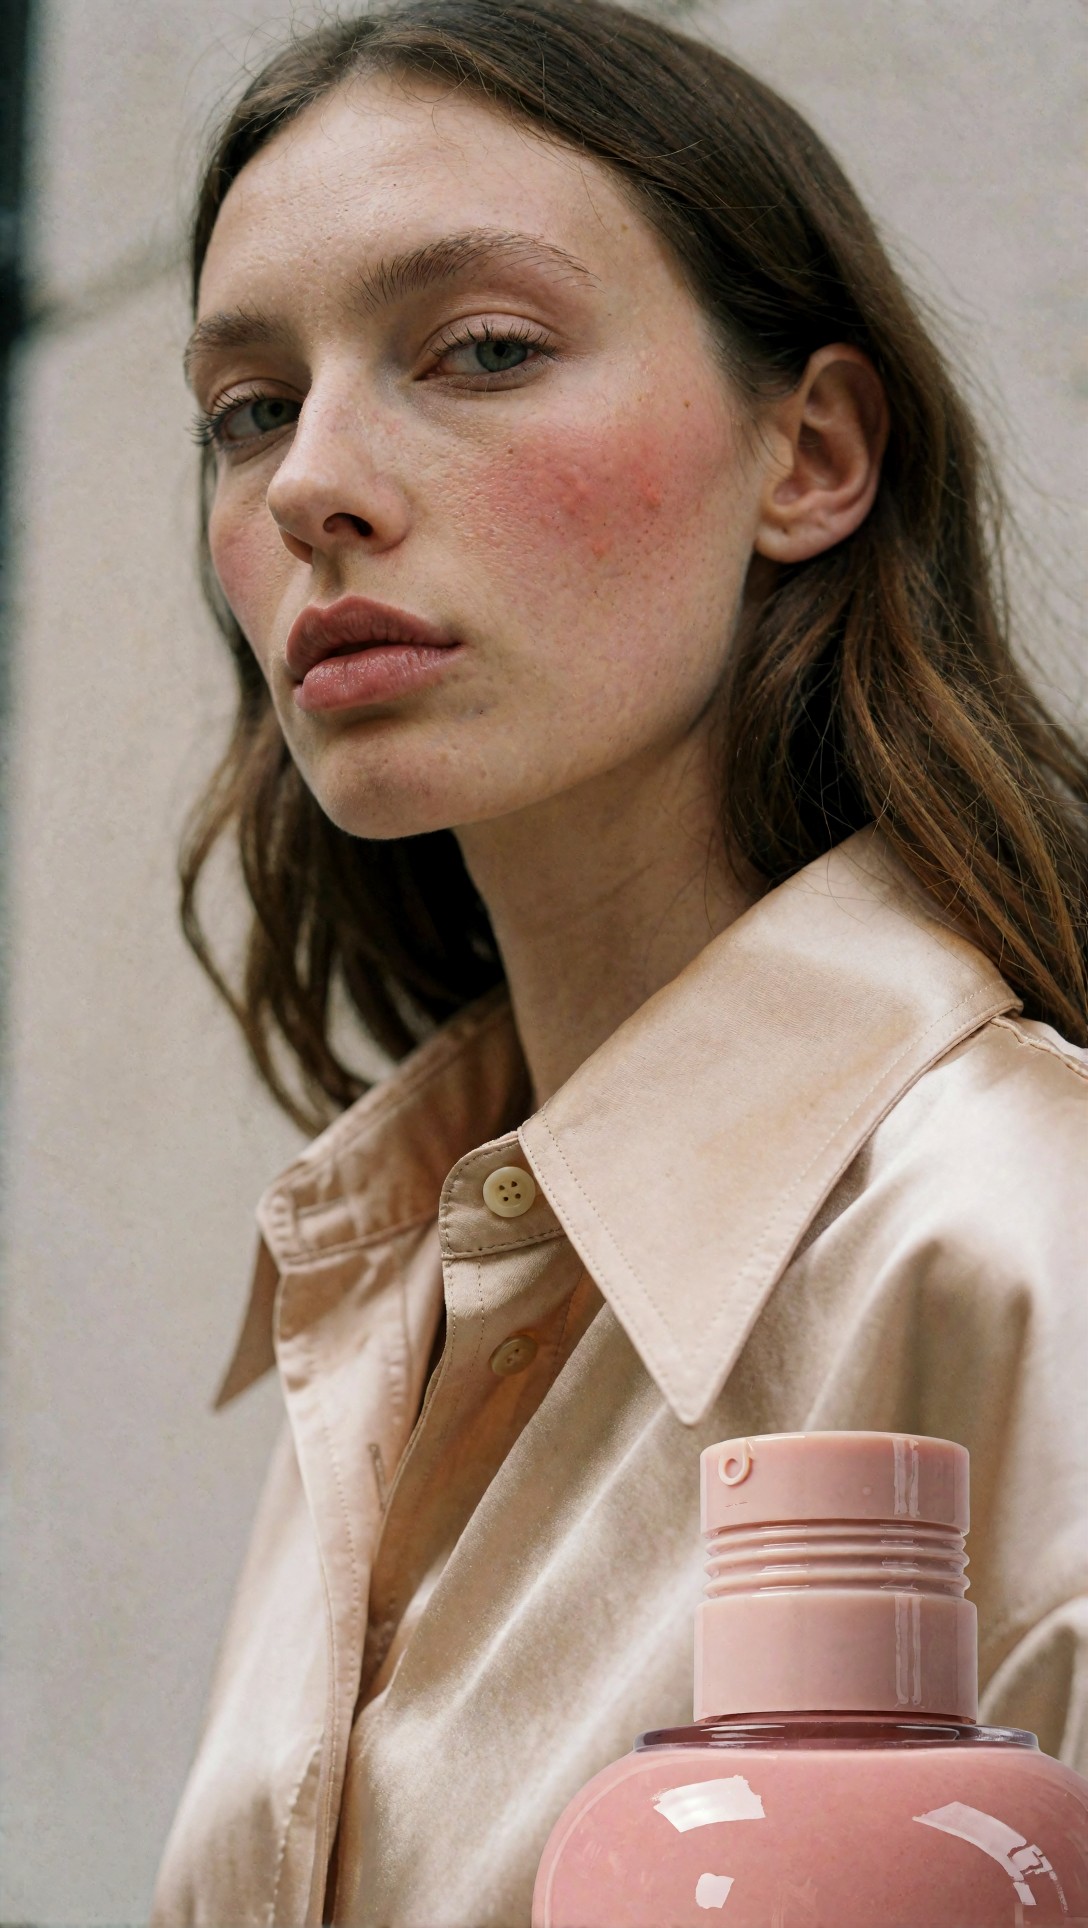
Check whether the scene mood changes while the core framing survives. This is the type of revision where ComfyUI's fixed graph helped me avoid accidental camera-distance drift.
Practical comparison table: best workflow ComfyUI or Automatic1111?
| Test area | Automatic1111 | ComfyUI | Better choice | |---|---|---|---| | First-time prompt exploration | Fast, low friction | Slower to assemble | Automatic1111 | | Exact pipeline documentation | Partial unless carefully logged | Strong, graph is explicit | ComfyUI | | Repeating a multi-step process | Possible, but easier to miss a variable | Reliable if graph is saved cleanly | ComfyUI | | Quick sampler/CFG/seed play | Very convenient | Fine, but less immediate | Automatic1111 | | Complex branch testing | More manual | Natural fit | ComfyUI | | Team handoff | Usable with notes | Better if team understands graphs | ComfyUI | | Learning curve | Lower | Higher | Automatic1111 | | Long-run consistency | Good with discipline | Better by design | ComfyUI |
A1111 stayed better at one important thing: speed of idea search
This comparison should not flatten the strengths of Automatic1111. If I need to discover the look before I formalize it, A1111 is still efficient.
The interface keeps the common controls within easy reach. That matters when you are trying twenty micro-variations in half an hour.
For many creators, the best workflow is not either-or.
It is:
1. explore in A1111 2. identify the winning combination 3. rebuild the locked version in ComfyUI if the image series needs to be repeated
That hybrid approach matched what I would actually recommend after this test.
Failure risks I hit in both tools
Neither tool solves model instability on its own.
These were the weak points across both environments:
Prompt sensitivity around hands and product edges
Even with a stable seed, tiny wording changes could shift finger positions enough to break a cosmetic or product image.
Img2img denoise drift
Once denoise climbed too high, repeatability fell quickly. The image kept the idea, but not the structure.
LoRA weight overreach
A style LoRA that looked great at 0.8 in one setup could overtake the scene in another branch. This was easier to see in ComfyUI, but still a risk in both.
Prompt test 5: hand-risk stress test
This prompt deliberately increased the chance of hand and object interaction errors. It is useful because many workflows look stable until the subject has to hold something precisely.
Topic: Close hand-product interaction portrait for anatomy stability
Genre: Commercial Beauty
Camera: Leica SL2
Lens: 75mm f/2
Lighting: Soft side light with silver reflector fill
Location: Cool gray studio with polished stone block
Style: High-end beauty advertising
Final Prompt: close commercial beauty portrait of a model delicately holding a square glass essence bottle with both hands below her chin, fingers layered but natural, neat manicured nails in neutral tone, tailored charcoal blazer over silk camisole, cool gray studio with polished stone block accent, soft side light shaping the face and bottle edges, silver reflector fill preserving detail in the shadows, calm serious expression, Leica SL2 realism, 75mm f/2 portrait compression, premium packaging reflections, high fidelity skin detail, controlled anatomy, luxury cosmetic campaign framing, gray silver and nude palette, crisp label zone and realistic glass refraction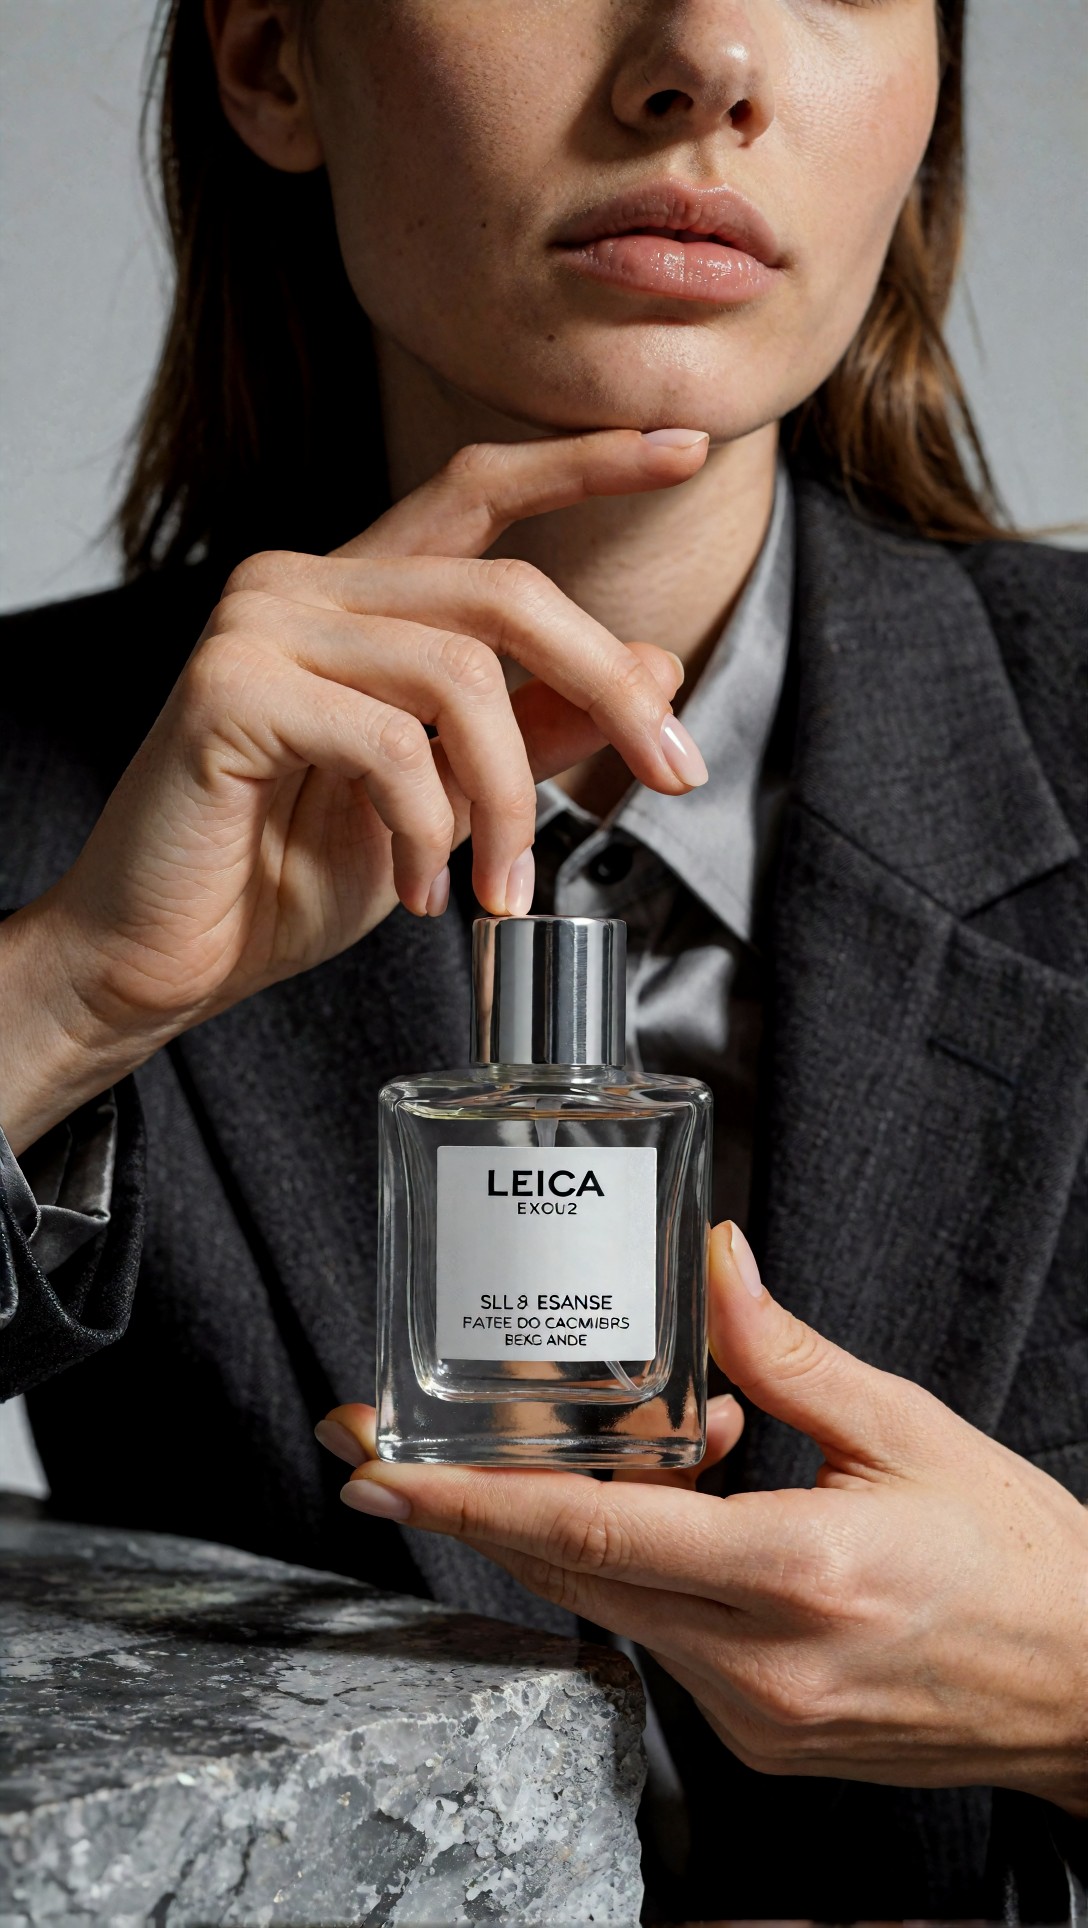
Inspect the overlap between fingertips, bottle corners, and jawline. If the hands collapse or the bottle warps, the workflow is not truly repeatable for commercial use.
Prompt test 6: img2img correction pass
This test was meant for a second-stage correction workflow, where the first image exists but needs cleaner structure. The key observation is whether revisions stay anchored to the base image instead of drifting into a different person or composition.
Topic: Refined second-pass portrait correction with preserved identity
Genre: Product Editorial
Camera: Panasonic Lumix S1R
Lens: 85mm f/1.8
Lighting: Soft overhead key with front bounce
Location: Warm ivory photo studio
Style: Clean commercial look
Final Prompt: refined product editorial portrait of the same woman holding a premium essence bottle near shoulder height, preserved facial identity, warm ivory studio background, smooth brushed-back hair, ivory sleeveless dress with minimal lines, soft overhead key light and front bounce for even skin, subtle smile, unchanged medium-close framing, Panasonic Lumix S1R realism, 85mm f/1.8 portrait look, accurate bottle geometry, polished but realistic skin texture, consistent eye shape and nose structure, neutral luxury palette, commercial retouch-ready image with stable composition and controlled highlights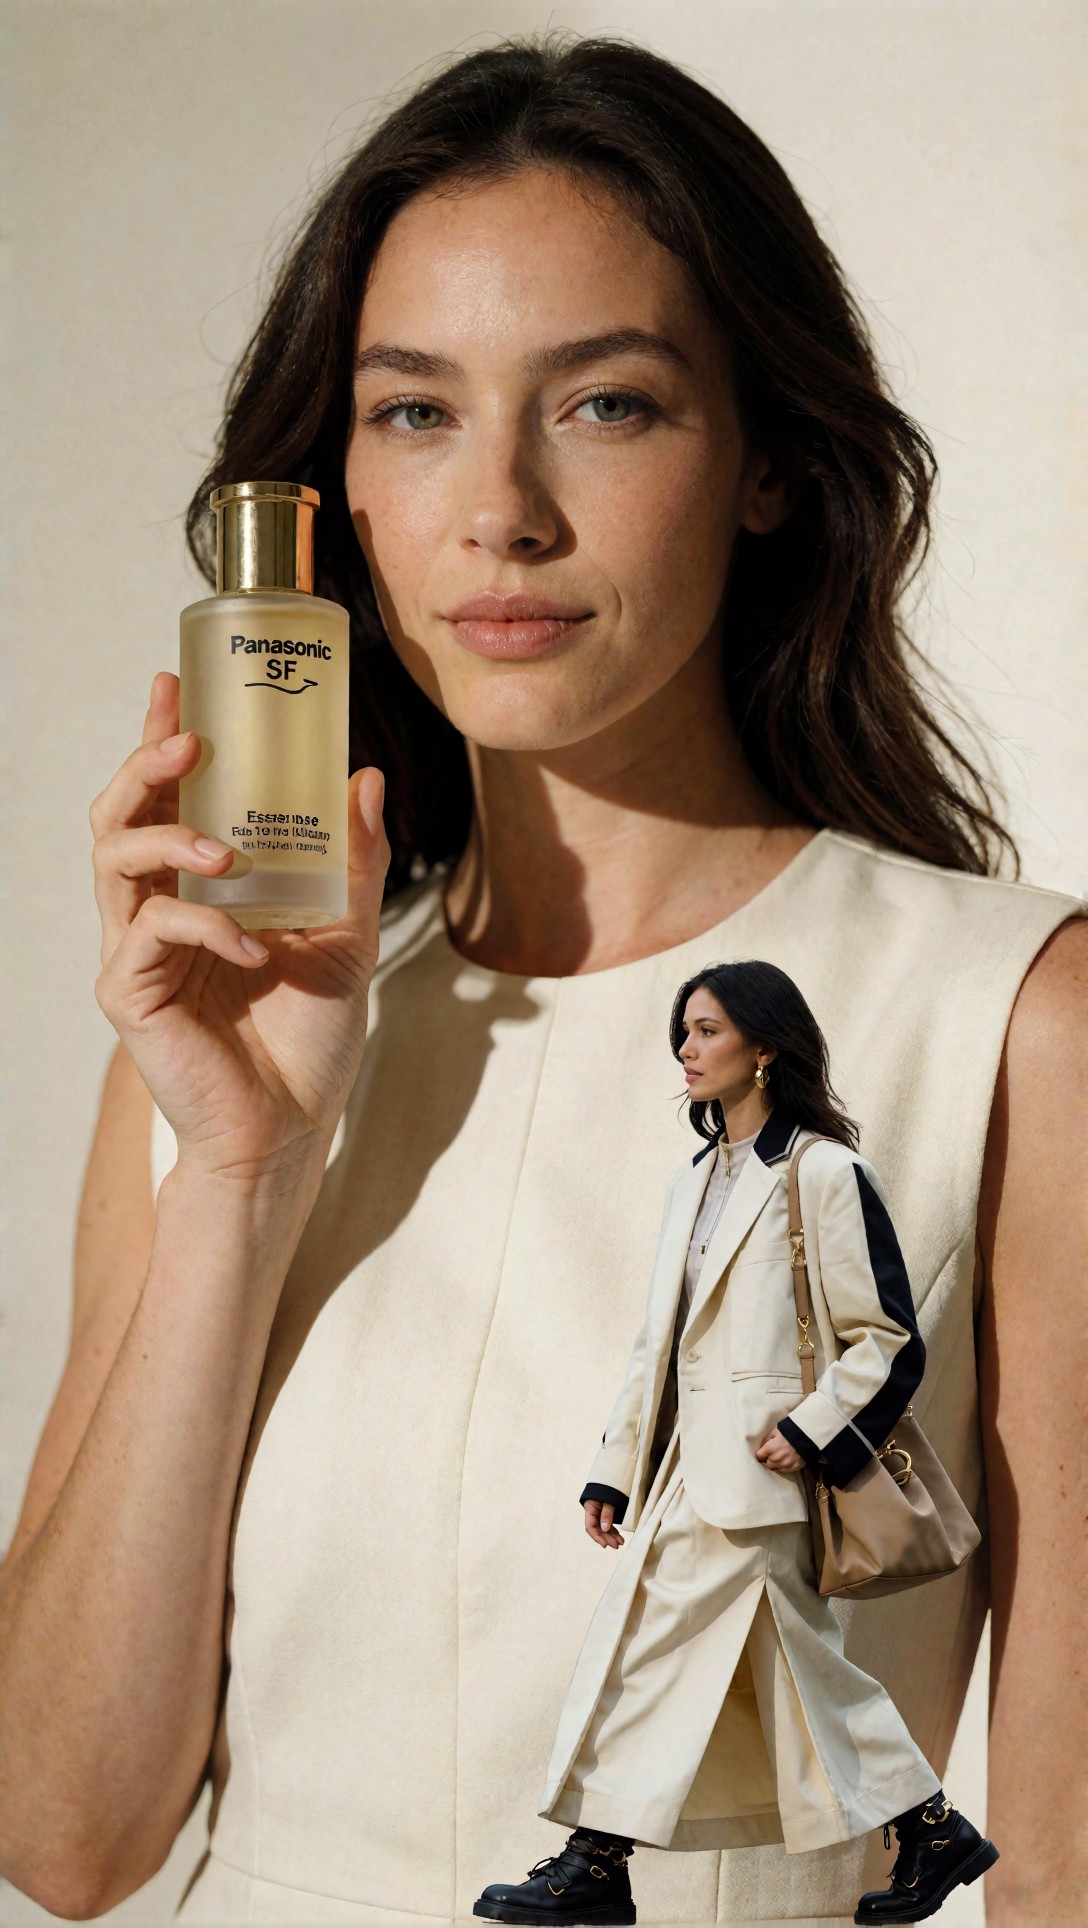
Check whether the corrected version still reads as the same subject. In my tests, ComfyUI made the correction chain easier to preserve because the img2img and control steps were visible in the graph rather than scattered across tabs.
What to inspect before publishing the result
A repeatable workflow is only useful if the repeated image is actually publishable. Before signing off, I checked these items every time.
Repeatability checklist
- face proportions remain consistent across variations
- hand anatomy survives close inspection
- product geometry is not bending or melting
- camera distance feels the same from version to version
- label area is readable or at least structurally plausible
- background color and lighting direction are still aligned
- texture detail is not lost in upscaling
- stylistic changes did not accidentally change identity
If you need a second-pass cleanup, it is worth checking outputs in an external review flow and comparing adjacent versions in a simple gallery like [Gallery](/gallery) or sending a final candidate through the [Upscaler](/upscaler) only after composition is locked.
The point where ComfyUI clearly won: pipeline vs interface memory
The biggest difference in this ComfyUI pipeline vs A1111 test was where the workflow lived.
In Automatic1111, part of the workflow lived in the interface state and in the operator's memory.
In ComfyUI, the workflow lived in the graph.
That sounds minor until you revisit a project after a week, need to swap one LoRA, keep one ControlNet branch, and regenerate four images that still match the approved direction.
That is when graph-based repeatability stops being theoretical.
Prompt test 7: branchable environment variation
This prompt tested whether a stable portrait setup could be moved into a richer setting without losing the campaign identity. It is especially useful for branching tests where only the location and mood should change.
Topic: Lifestyle beauty campaign with preserved portrait logic
Genre: Lifestyle Portrait
Camera: Canon EOS R6 Mark II
Lens: 50mm f/1.4
Lighting: Window light with soft reflector fill
Location: Boutique hotel suite with limestone walls and sheer curtains
Style: Elegant resort editorial
Final Prompt: lifestyle beauty campaign portrait of a woman seated beside a limestone vanity in a boutique hotel suite, holding a premium skincare bottle near her lap while turning her face toward natural window light, preserved facial identity and medium framing, cream knit dress, delicate gold earrings, sheer curtains glowing softly in the background, calm luxurious morning atmosphere, Canon EOS R6 Mark II look, 50mm f/1.4 natural environmental portrait perspective, soft reflector fill maintaining product visibility, warm neutral palette, realistic skin texture, controlled composition, upscale travel-beauty editorial finish with clean product focus
Inspect whether the environment adds context without overpowering the product and face. In ComfyUI, I found it easier to branch environment mood while preserving the original structural nodes.
Prompt test 8: upscale-ready final hero image
This final prompt was designed for the last stage: a hero frame that needs to survive detail enhancement and publication checks. It is where hidden instability often shows up in texture and edge handling.
Topic: Final hero cosmetic image for upscale and approval
Genre: Luxury Campaign
Camera: Hasselblad X2D 100C
Lens: 80mm f/1.9
Lighting: Precision studio key light with controlled specular highlights
Location: Minimal stone-and-plaster set in warm ivory
Style: Luxury fashion campaign
Final Prompt: final hero luxury cosmetic campaign portrait of a woman standing against a minimal warm ivory stone-and-plaster set, holding a premium serum bottle upright near the center of frame, strong refined posture, composed expression, sleek low bun, structured cream dress with architectural folds, controlled specular highlights on glass packaging, impeccable skin realism, muted ivory sand and pale gold palette, Hasselblad X2D 100C medium-format detail, 80mm f/1.9 polished portrait depth, precision studio key light defining face and product edges, premium editorial composition, upscale-ready texture fidelity in fabric stone and skin, stable anatomy, clean luxury campaign finish suitable for high-resolution output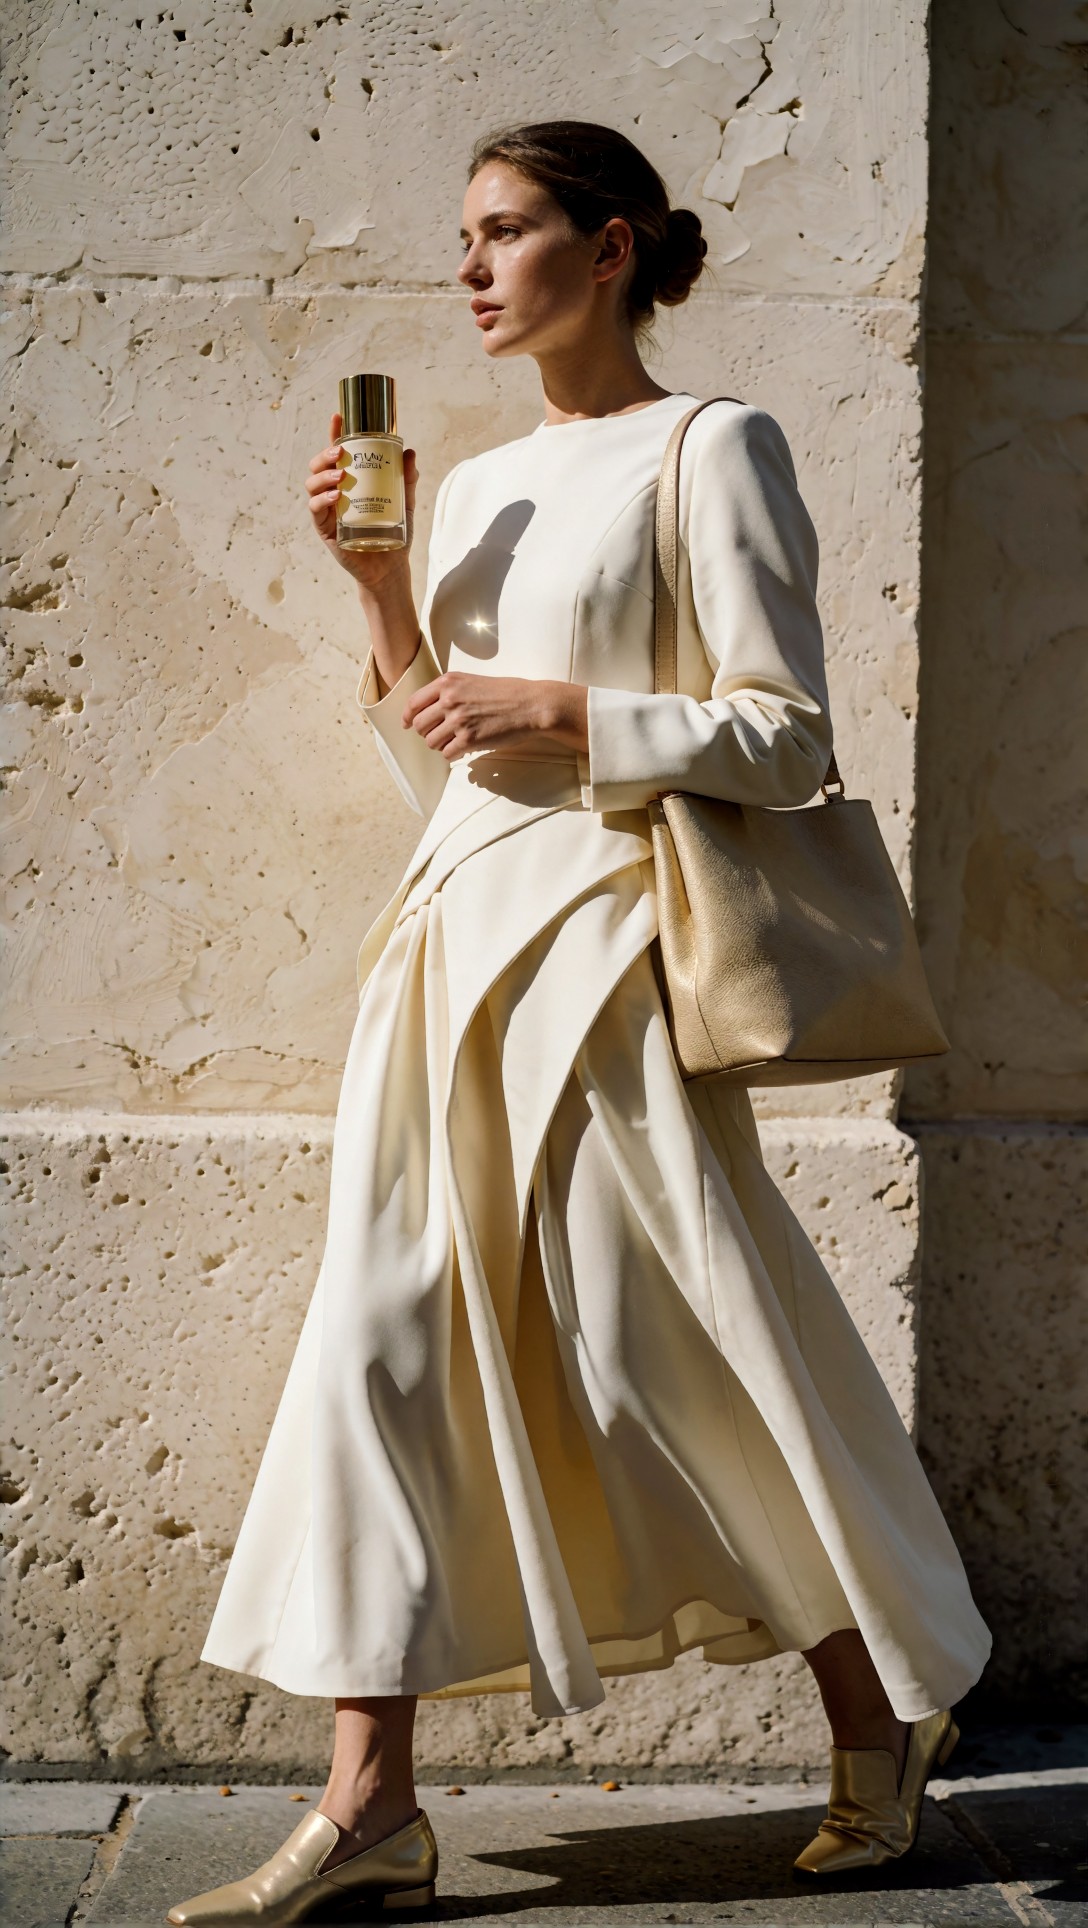
Inspect micro-texture after upscaling: skin pores, fabric seams, bottle edges, and any ringing around highlights. If the pipeline is not stable, the upscale stage will exaggerate its weaknesses.
Which situation each tool is best for
When Automatic1111 is the better choice
Choose A1111 if:
- you are still searching for the visual direction
- you want the fastest prompt iteration loop
- your workflow is mostly single-image generation
- you do not need to preserve many branching stages
- you are comfortable manually documenting winning settings
When ComfyUI is the better choice
Choose ComfyUI if:
- you need to rerun the same image logic repeatedly
- you work with ControlNet, LoRAs, img2img, and upscale stages together
- you hand workflows to teammates or future-you
- small hidden setting changes have real cost
- you want a reusable production graph rather than a remembered UI setup
Practical recommendation from this test
For most serious operators, the best answer to best workflow ComfyUI or Automatic1111 is staged rather than absolute.
Recommended workflow
1. Start in Automatic1111 to find the look quickly. 2. Record the checkpoint, VAE, sampler, scheduler, seed behavior, LoRA weights, and image size. 3. Rebuild the approved chain in ComfyUI. 4. Save branch variants for pose control, img2img repair, and final upscale. 5. Use external tools only after the composition is approved, such as [Create](/create) for organized generation flows or [Articles](/articles) for related workflow references.
That approach gave me the least wasted time and the highest consistency.
FAQ
Is ComfyUI more repeatable than Automatic1111?
Usually yes, especially for multi-step workflows. The main reason is that the graph exposes the full chain instead of relying on remembered interface state.
Is Automatic1111 still better for beginners?
Yes. It is easier to start with, and faster for direct prompt experimentation. If your projects are simple, that may matter more than graph-level control.
Can the same seed guarantee the same result in both tools?
Not by itself. Repeatability also depends on sampler, scheduler, model version, VAE, latent handling, ControlNet setup, denoise, and extension behavior.
Should I switch entirely from A1111 to ComfyUI?
Not necessarily. If your workflow is still exploratory, A1111 may remain the better front-end. ComfyUI becomes more valuable when the process must be documented and rerun reliably.
What setting matters most for repeatable image generation?
After the base model, the most important factor is preserving the entire generation chain. In practice, denoise strength, ControlNet weight, LoRA weight, and upscale order caused more drift than prompt wording alone.
Editorial conclusion
After this hands-on comparison, my answer is clear. For ComfyUI workflow vs Automatic1111, ComfyUI is the better choice when repeatable image generation is the real requirement, not just fast image generation. Its strongest advantage is not aesthetics. It is auditability.
Automatic1111 remains the better option for fast exploration, lower-friction prompting, and early creative search. I would still use it first when the look is not locked.
Use ComfyUI if you need a saved pipeline, consistent reruns, visible branching, and fewer hidden variables. Avoid it if you only need quick one-off generations and do not want graph complexity.
Use Automatic1111 if speed matters more than process traceability. Avoid relying on it alone for production repeatability unless you are disciplined about logging every meaningful setting.
If I had to reduce the result to one practical rule, it would be this: the setting that matters most is not a single slider, but whether your workflow captures the full chain from prompt to final upscale. That is where ComfyUI proved stronger in this test.