How Latent Noise Shapes AI Image Quality: Seeds, Detail, and Krea2 Prompt Tests 한국어 요약
이 페이지는 ZView Space의 영어 원문을 한국어 검색 사용자도 이해할 수 있도록 정리한 SEO 요약입니다. 핵심은 단순한 얼굴 중심 이미지가 아니라 패션 에디토리얼, 룩북, 아웃핏, 프롬프트 테스트, 이미지 생성 워크플로우를 실제로 어떻게 구성할지입니다.
핵심 요약
- 원문 주제: How Latent Noise Shapes AI Image Quality: Seeds, Detail, and Krea2 Prompt Tests
- 목적: AI 이미지 생성에서 outfit, silhouette, fabric, pose, location, camera framing을 더 명확하게 설계합니다.
- 활용 범위: Z-Image Turbo, Krea2 Turbo, Qwen Image, Anima, SeedVR2 같은 이미지 생성 및 업스케일 워크플로우에 적용할 수 있습니다.
- SEO 관점: 제목, 설명, 이미지 alt, 프롬프트 예시가 실제 검색 의도와 맞아야 색인 가능성이 높아집니다.
한국어 사용자를 위한 체크포인트
1. 프롬프트가 얼굴 묘사에만 머물지 않고 전체 스타일과 의상 구성을 설명하는지 확인합니다. 2. 패션 이미지라면 상의, 하의, 아우터, 신발, 액세서리, 소재감, 촬영 장소를 분리해서 씁니다. 3. 생성 결과는 바로 게시하지 말고 디테일, 손, 의상 형태, 배경 일관성, 이미지 품질을 비교합니다. 4. 글 본문에는 실제 테스트 기준과 실패를 줄이는 방법이 들어가야 검색엔진에서 얇은 콘텐츠로 보일 가능성이 줄어듭니다.
원문 미리보기
Latent noise is one of the hidden reasons why two AI images can use the same prompt but still feel completely different. It influences the first structure of the image, the way details appear, how clean the final render becomes, and how stable a seed feels whe
---
Latent noise is one of the hidden reasons why two AI images can use the same prompt but still feel completely different. It influences the first structure of the image, the way details appear, how clean the final render becomes, and how stable a seed feels when you try to repeat a look. If a prompt is the instruction, latent noise is the starting field that the model has to organize into a picture.
This article explains how latent noise shapes AI image quality in practical terms. The goal is not to turn the topic into math. The goal is to help you understand why seeds matter, why some generations look muddy, why hair and hands fail, why texture can become too plastic, and how to test prompts in a way that produces more reliable images.
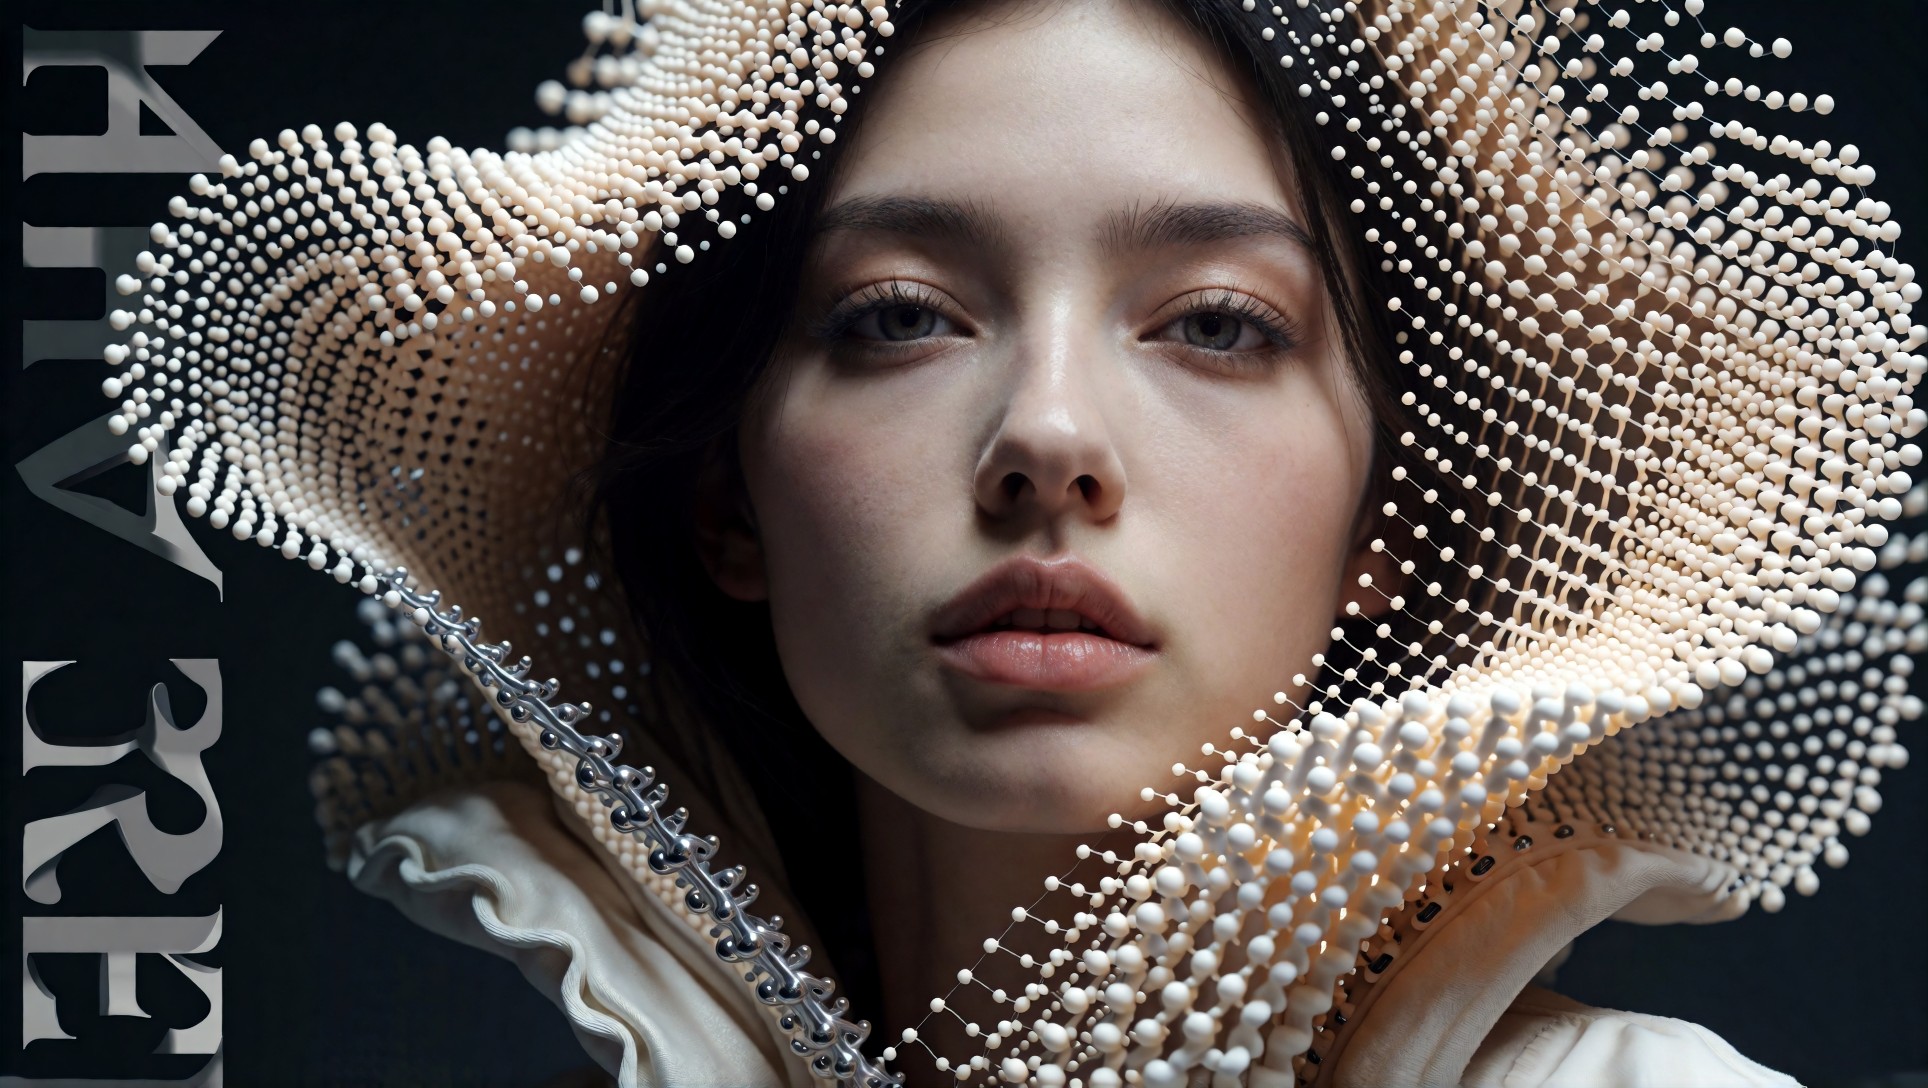
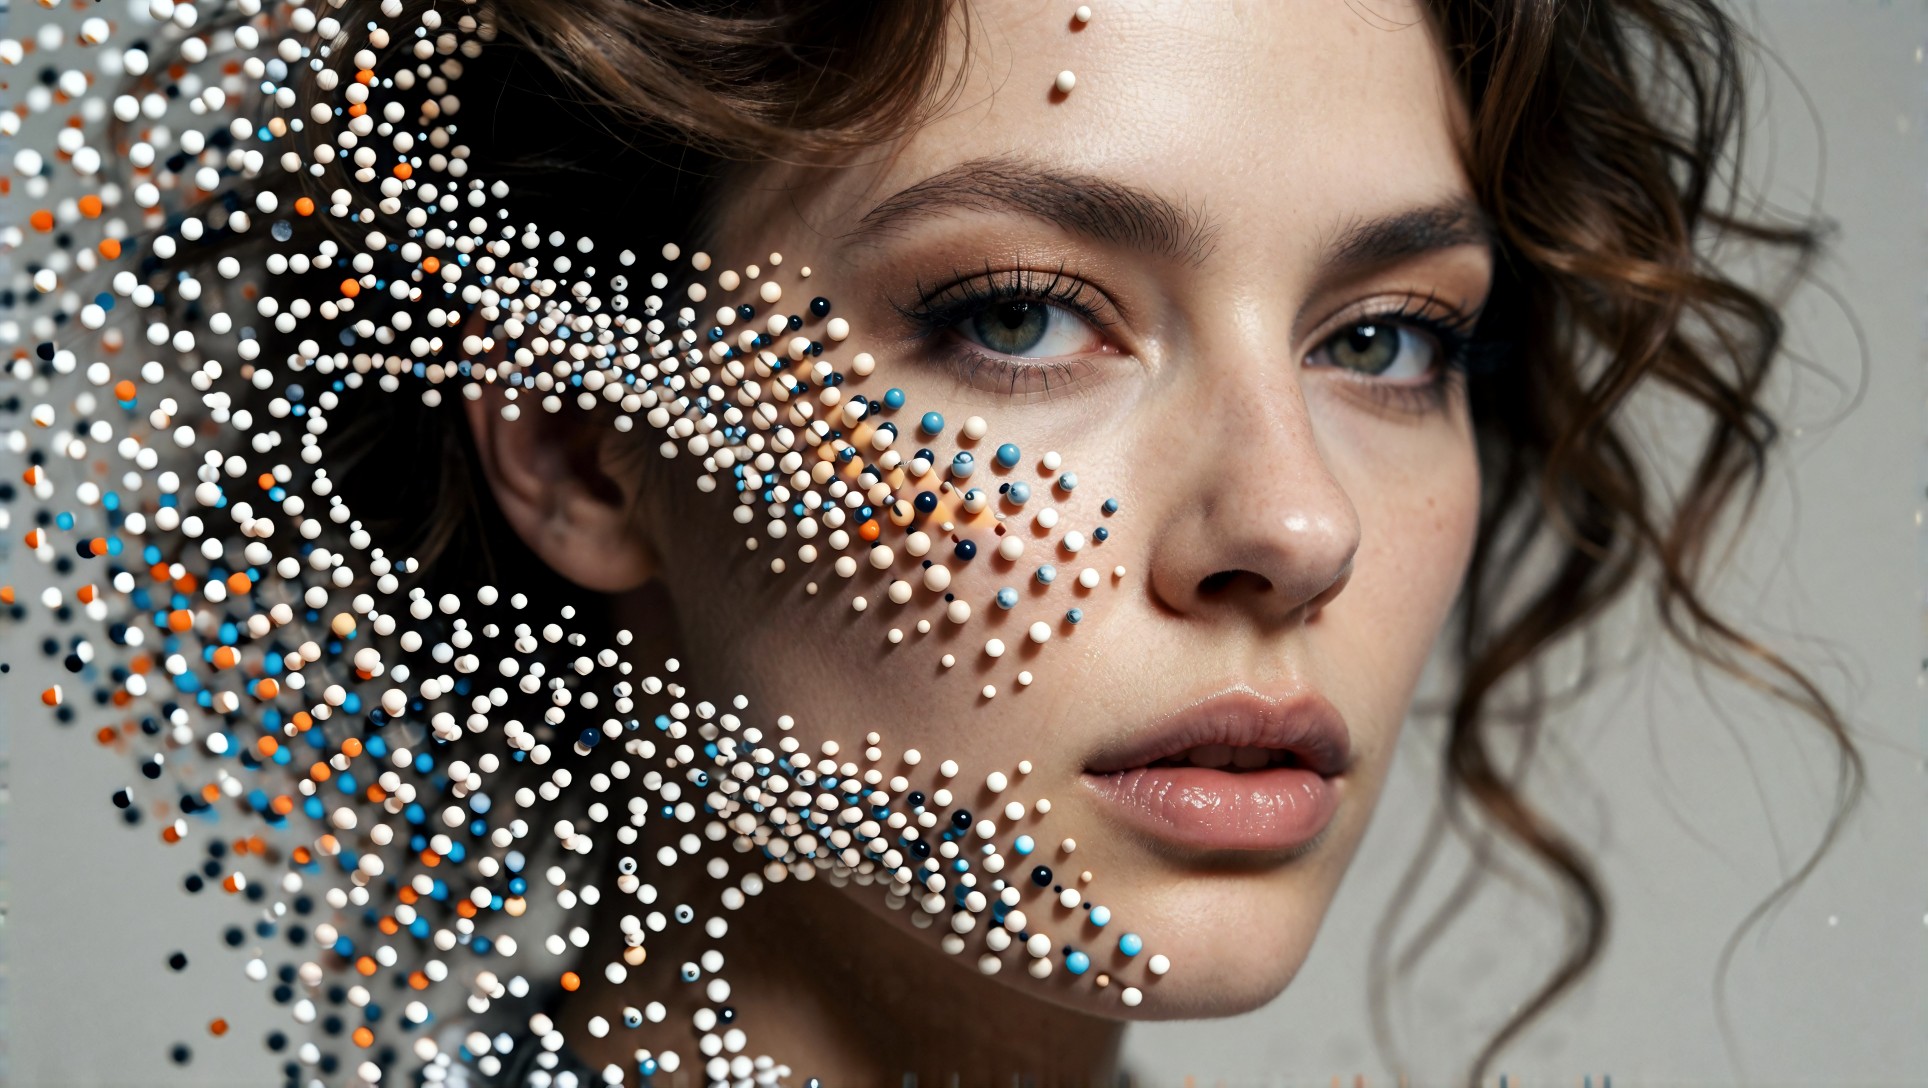
The examples below were generated with Krea2 Turbo as visual explainers. They are not scientific lab charts. They are campaign-style teaching images that show the same idea from different angles: noise to detail, seed variation, low-noise versus high-noise results, micro texture, artifact control, workflow structure, prompt strength, and final quality review.
What is latent noise in AI image generation?
Latent noise is the initial random pattern that starts the image generation process. In diffusion-style workflows, the model begins with a noisy latent representation and gradually denoises it into a final image. The prompt guides the direction, but the starting noise affects composition, object placement, pose, texture, lighting accidents, and small details.
That is why the same prompt can produce different images when the seed changes. The words may stay the same, but the first random field is different. The model follows the prompt through a different path.
For creators, latent noise matters because it explains many common problems:
- The same prompt produces different poses.
- A face looks strong in one seed and weak in another.
- Background lines become unstable.
- Hair detail becomes either crisp or tangled.
- Skin texture becomes too smooth, noisy, or waxy.
- Hands and accessories may break even when the prompt is clear.
- A composition feels balanced in one generation and crowded in another.
The practical lesson is simple: prompt quality matters, but seed and noise behavior also matter. A strong workflow tests both.
Why latent noise affects image quality
AI image quality is not only about resolution. A high-resolution image can still look bad if the underlying structure is unstable. Latent noise influences that structure early. Once a weak structure is established, later detail may sharpen the wrong things.
A clean result usually depends on three layers:
1. A stable starting structure. 2. A prompt that gives the model clear visual priorities. 3. A denoising path that preserves useful detail while removing chaos.
If the starting noise leads to a poor composition, the model may spend the rest of the generation trying to fix a weak foundation. That can create artifacts, muddy shadows, awkward hands, strange background geometry, or inconsistent materials.
Krea2 prompt used for this visual
~~~prompt educational AI image quality comparison concept, split-screen portrait study showing noisy latent texture on the left and clean refined final render on the right, same adult fashion portrait subject, subtle grain particles transforming into sharp facial detail, studio lighting, neutral background, premium technical editorial illustration, realistic commercial photography, copy-safe space, Krea2 Turbo style ~~~
This image represents the basic idea: the final render is not created from nothing. It is refined out of a noisy starting state. Better image quality happens when the model can turn that unstable starting field into clean structure, believable texture, and controlled detail.
Seed variation: same prompt, different image path
A seed is the number that controls the random starting point. When you lock a seed, you can often repeat the same general composition. When you change the seed, the model receives a different noise pattern and may discover a different image path.
This is why seed testing is important for production work. If you only generate once, you may confuse luck with prompt quality. A prompt that works once may fail across five seeds. A prompt that works across several seeds is usually stronger.
Krea2 prompt used for this visual
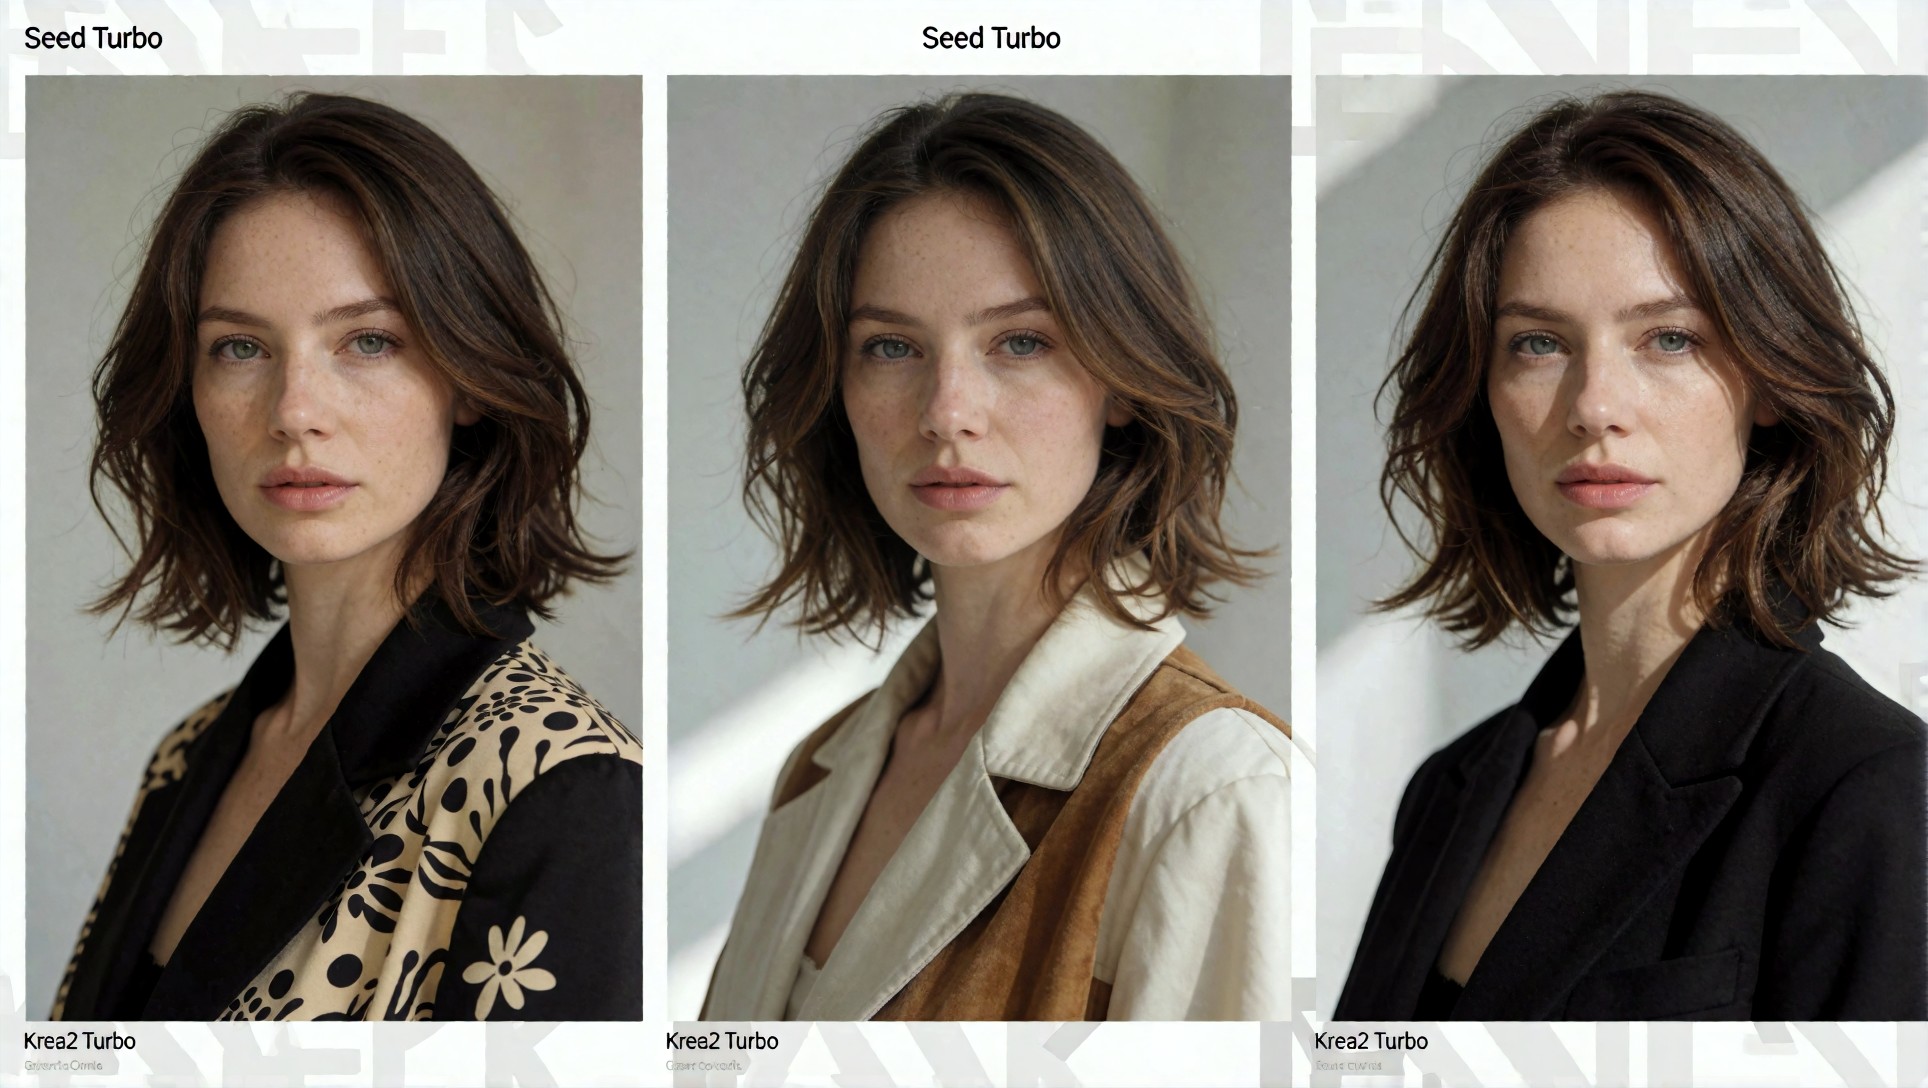
~~~prompt AI image generation seed variation grid, four refined portrait thumbnails of the same adult model with small differences in composition, lighting, expression, and background caused by latent noise seed changes, clean white design layout, technical article visual, realistic fashion photography thumbnails, labeled but no readable text, Krea2 Turbo style ~~~
When testing a prompt, generate at least four seeds before deciding whether the prompt is reliable. Look for repeated weaknesses. If every seed has weak hands, the prompt needs better composition or simpler posing. If only one seed fails, the issue may be random rather than structural.
Low noise, high noise, and visual stability
Noise behavior is easiest to understand through visual stability. A stable image has clean edges, believable object relationships, and a clear hierarchy of subject, background, and detail. An unstable image may look soft, muddy, overprocessed, or confused.
In image-to-image and some advanced workflows, denoise strength changes how much the model can reinterpret the source. A lower denoise value tends to preserve the starting image. A higher value gives the model more freedom, but it can also introduce larger changes and more risk.
For text-to-image, the same principle still helps: the model is converting noise into structure. If the prompt is too vague, the model may use that freedom in unpredictable ways.
Krea2 prompt used for this visual
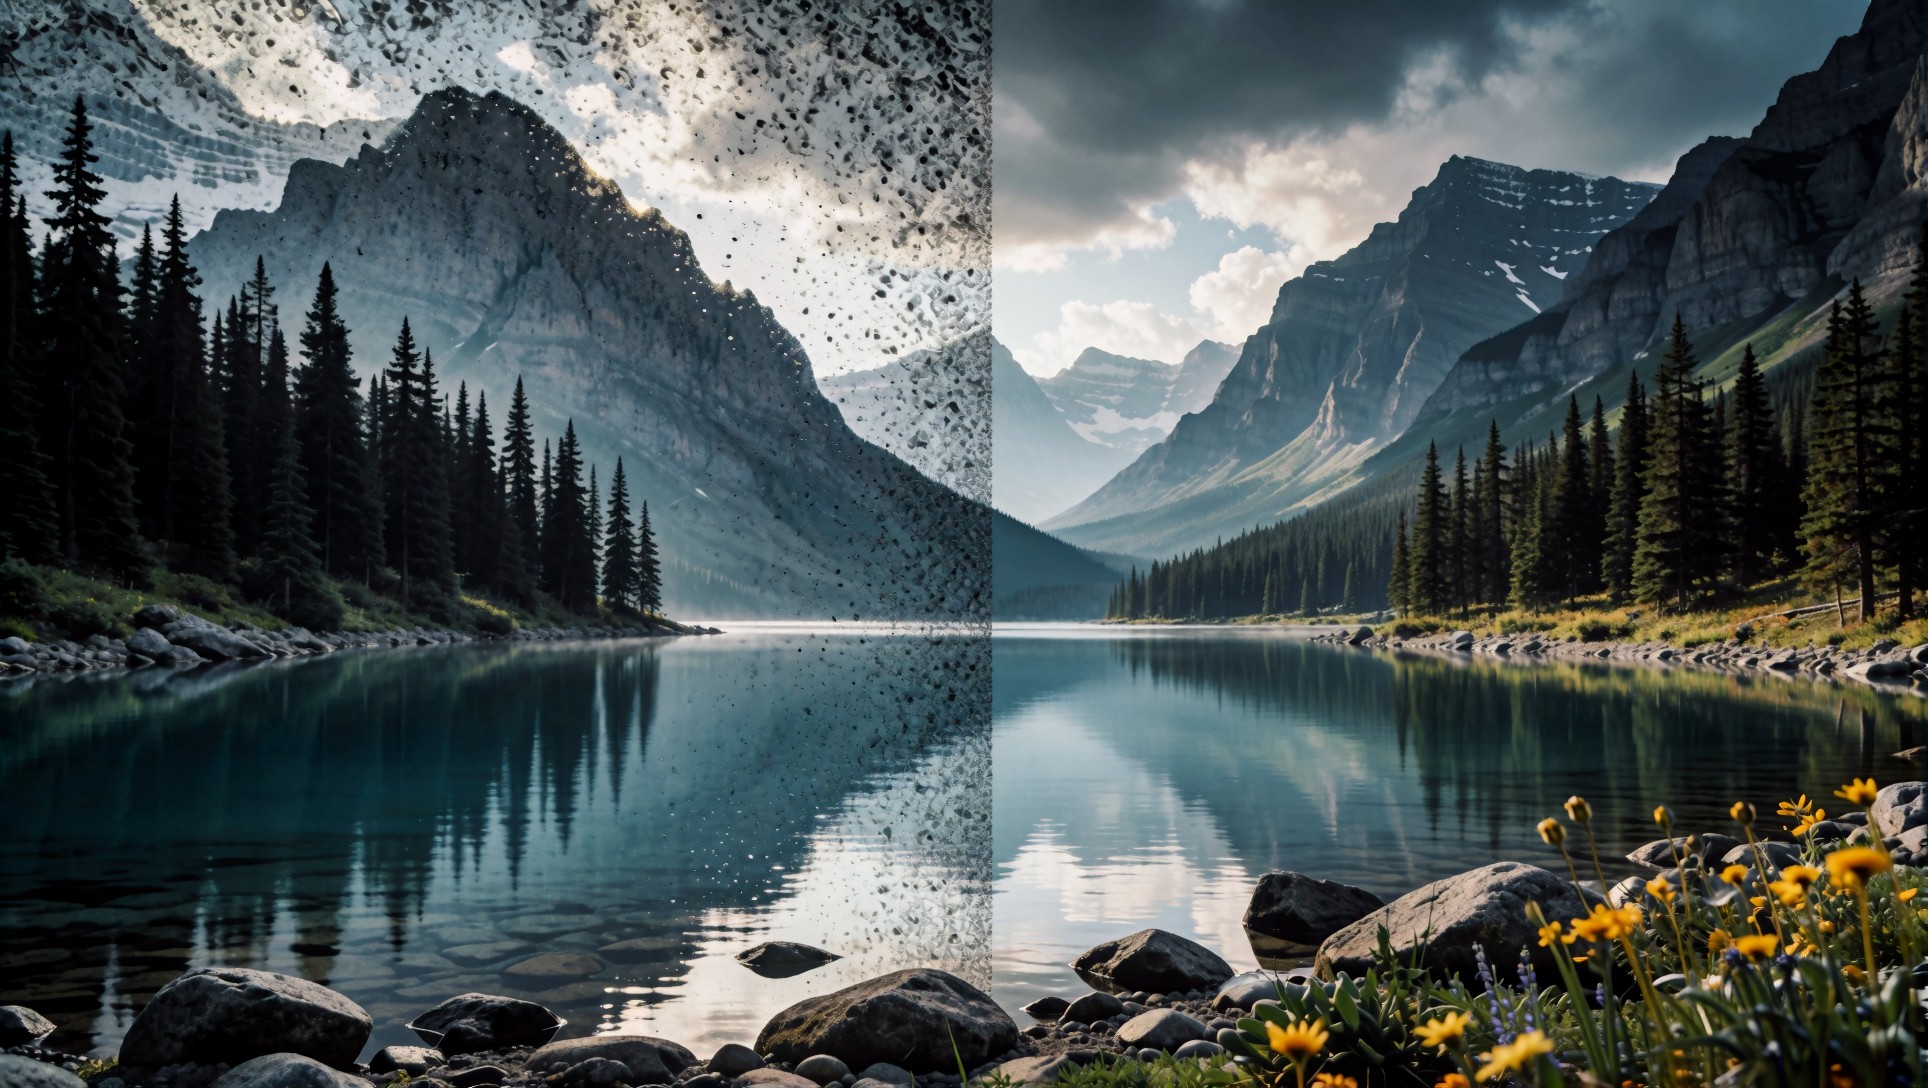
~~~prompt cinematic landscape quality comparison illustrating latent noise strength, left side soft unstable mountain lake with muddy details and artifacts, right side crisp high quality mountain lake with clean edges, controlled color, realistic detail, vertical comparison divider, educational AI workflow image, premium technical blog visual, Krea2 Turbo style ~~~
This type of comparison is useful because it shows that quality is not only sharpness. The cleaner side should have better shape logic, better edge control, and more believable texture. The weaker side may look blurry, but the deeper problem is unstable structure.
Latent noise and micro detail
Micro detail includes hair strands, skin texture, fabric weave, jewelry edges, eyelashes, product surfaces, and small background objects. Latent noise can help create natural variation in these details, but it can also become visual clutter.
Too little texture can make an image look plastic. Too much uncontrolled texture can make it look dirty or over-sharpened. The best result is controlled detail: enough variation to feel realistic, but not so much that it distracts from the image.
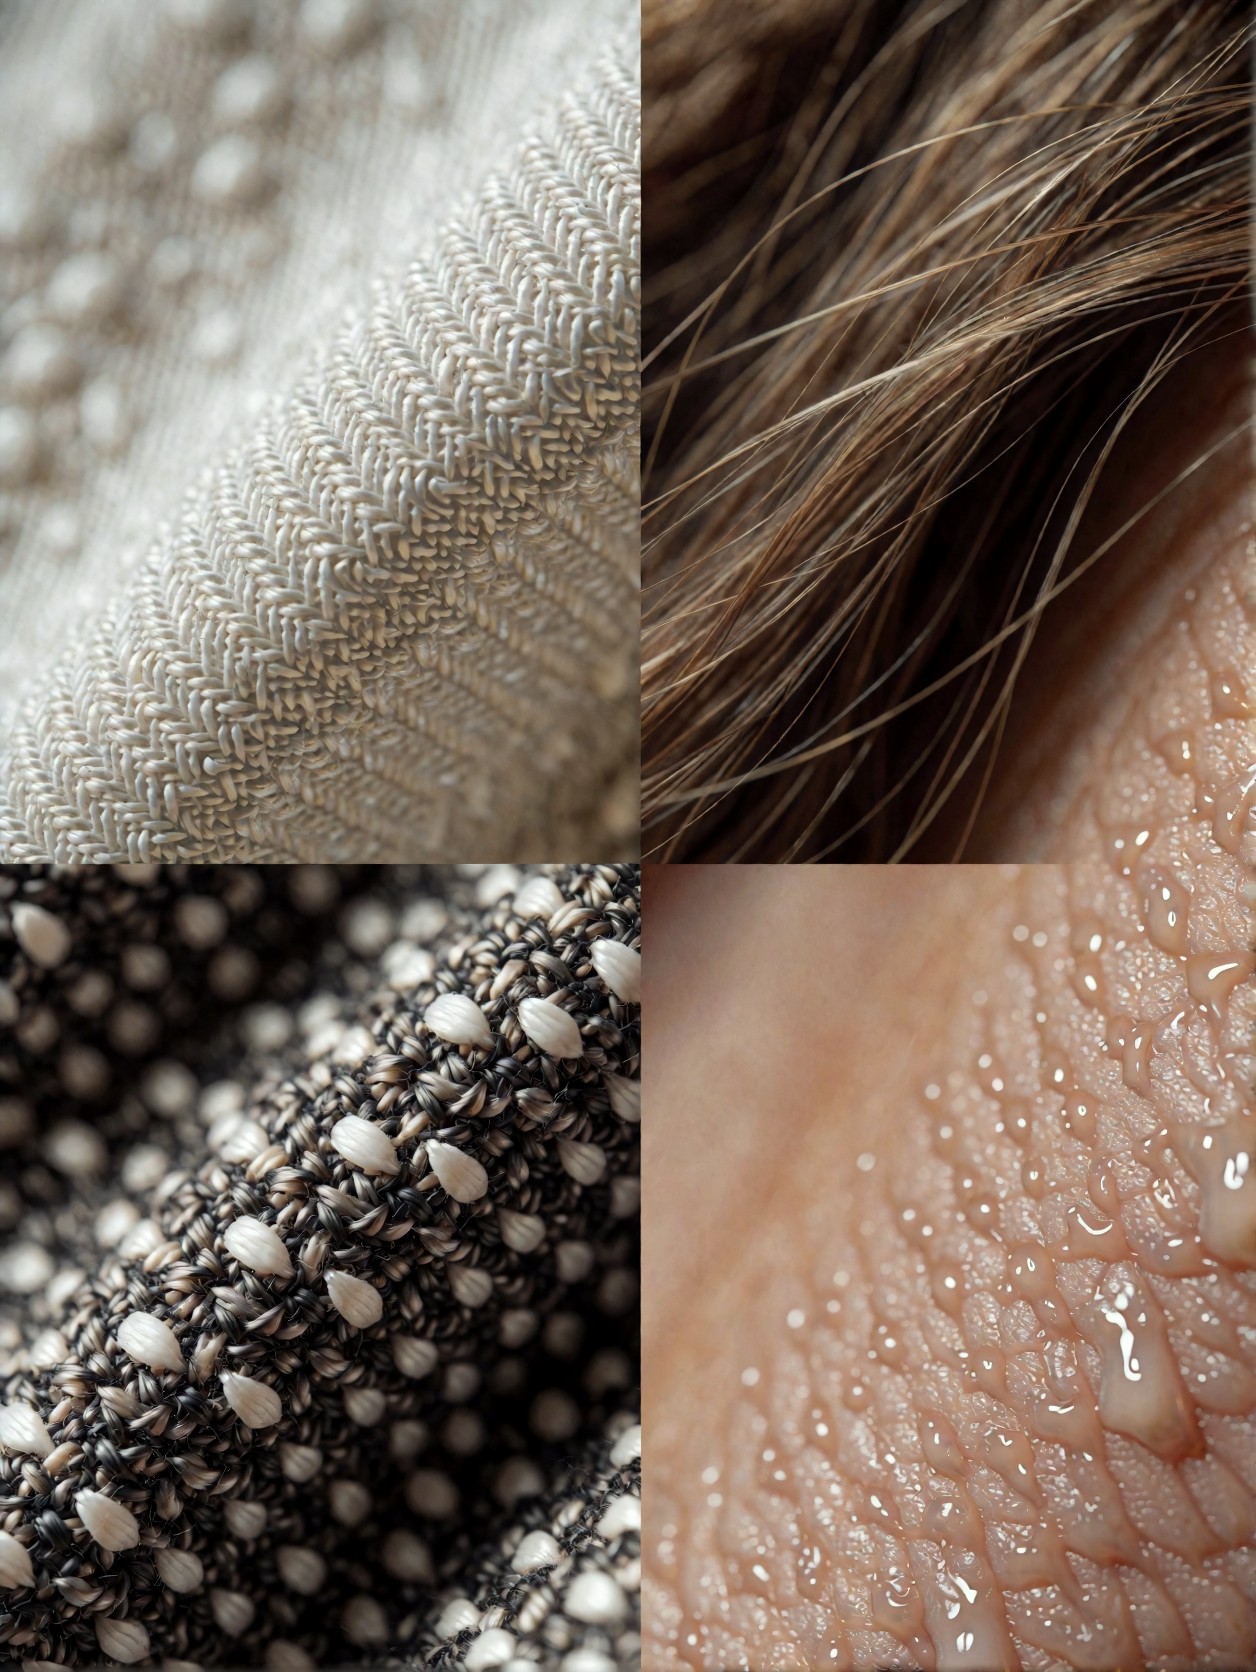
Krea2 prompt used for this visual
~~~prompt macro detail study for AI image quality, close-up of fabric texture, skin texture, hair detail, and soft film grain arranged as an elegant editorial collage, showing how latent noise affects micro detail, realistic commercial photography, clean neutral background, high-detail technical visual, tasteful non-explicit adult fashion context, Krea2 Turbo style ~~~
When you review micro detail, zoom to 100 percent and ask three questions:
- Does the texture support the subject?
- Does the image look naturally detailed or artificially sharpened?
- Are small objects clean enough to use in a public article or campaign?
If the detail looks noisy, simplify the prompt. Ask for “clean fabric texture,” “natural skin texture,” “controlled film grain,” or “soft commercial retouching.” If the image looks too plastic, add “subtle texture variation” or “realistic material detail.”
How latent noise creates artifacts
Artifacts often appear where the model has to solve complex structure. Hands, hair, jewelry, eyeglasses, text, product edges, architecture, and repeating patterns are common failure points. Latent noise can push those areas into unstable shapes before the model fully understands what they should be.
That is why artifacts can appear even when the prompt seems good. The model may understand the concept but fail at local structure.
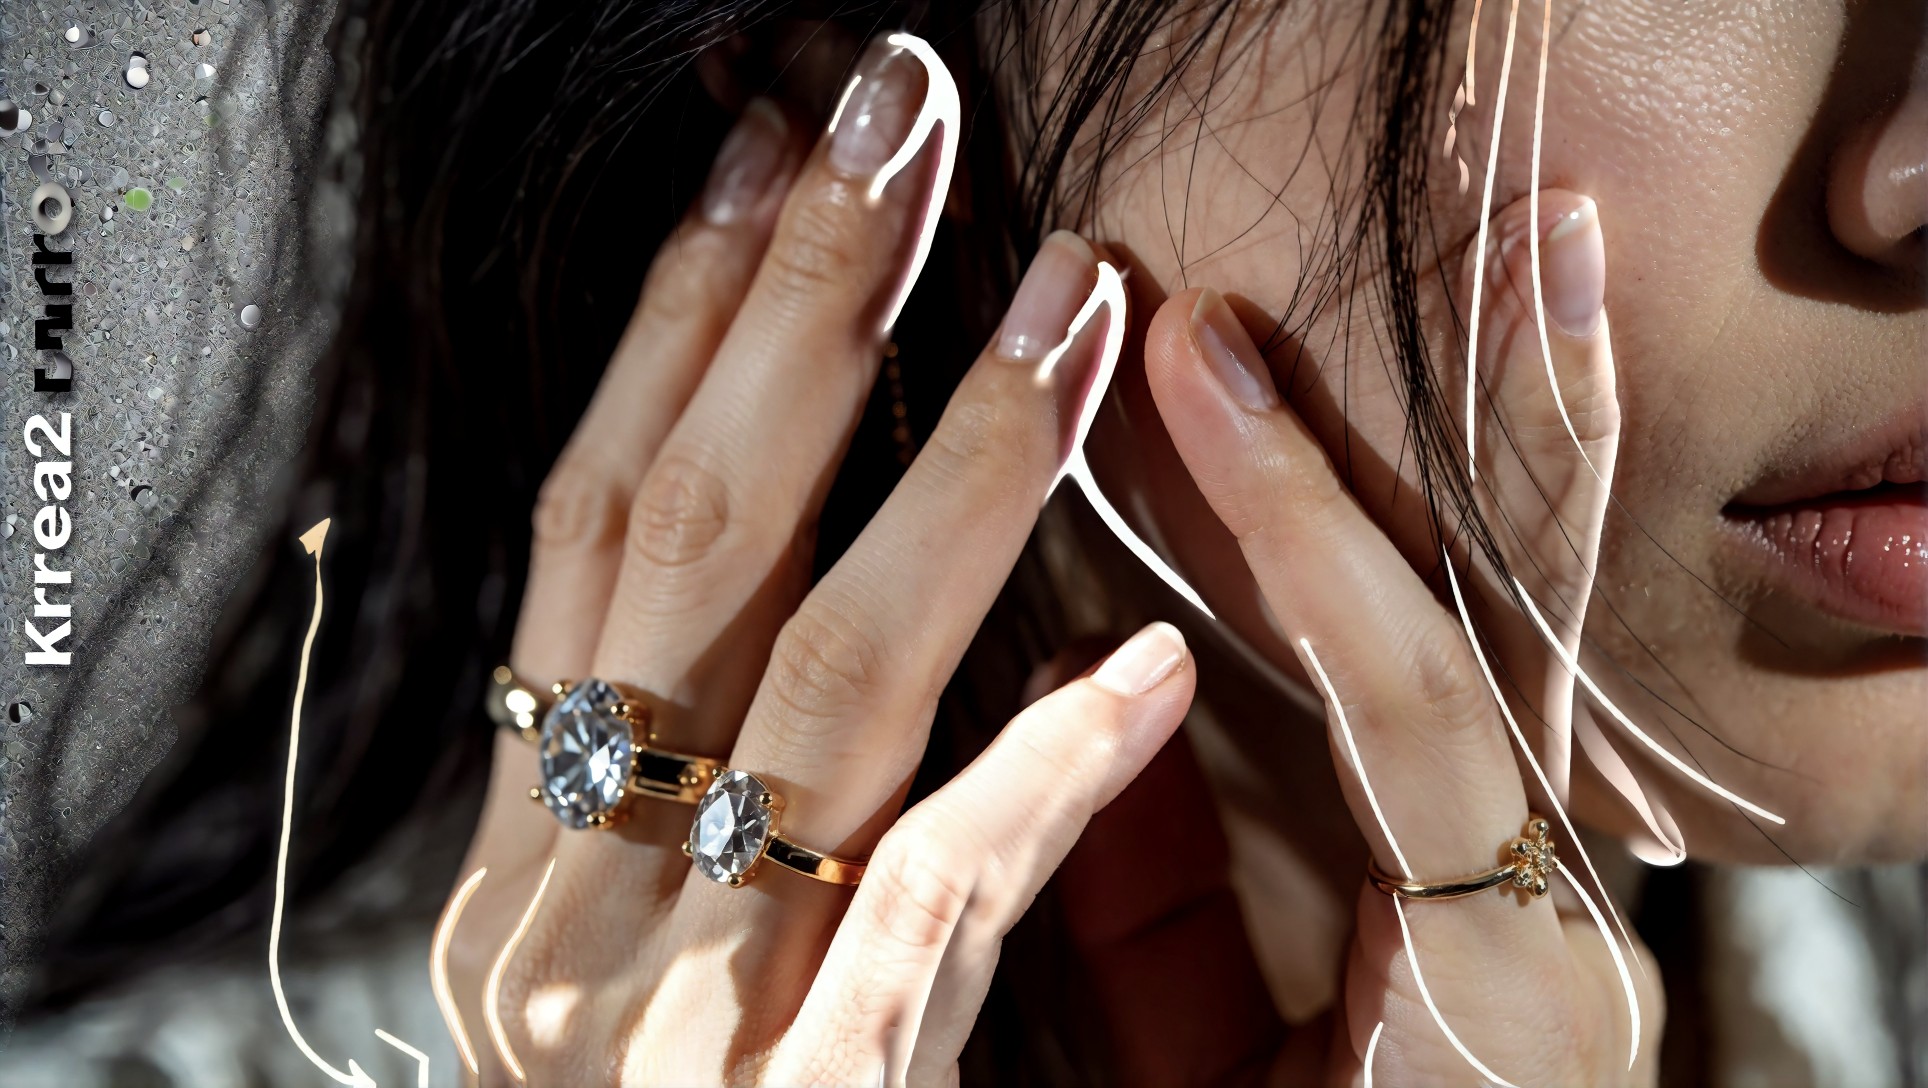
Krea2 prompt used for this visual
~~~prompt AI image artifact control concept, before and after comparison of hands, hair strands, jewelry edges, and background lines improving from noisy unstable generation to clean final image, modern editorial layout, realistic fashion photography, subtle annotations without readable text, high quality technical SEO article image, Krea2 Turbo style ~~~
To reduce artifacts, use fewer competing requirements. Instead of asking for a full-body fashion image with complex jewelry, dramatic hands, reflective glass, a crowded background, and strong motion, simplify the shot. A prompt with fewer structural conflicts gives the model more room to solve the important areas well.
A practical latent noise workflow
A good workflow does not treat AI generation as one prompt and one output. It treats generation as a test cycle:
1. Write the main prompt. 2. Generate several seeds. 3. Compare composition and detail. 4. Identify repeated failures. 5. Adjust the prompt. 6. Generate again with controlled variation. 7. Select the strongest seed. 8. Use upscaling or enhancement only after the structure is good.

Krea2 prompt used for this visual
~~~prompt visual metaphor for AI image workflow from prompt to latent noise to denoising to final image, elegant desk scene with transparent layered image cards, abstract grain field becoming a finished portrait, laptop, neutral studio light, premium SaaS editorial photography, clean copy-safe composition, Krea2 Turbo style ~~~
The most important rule is to fix structure before detail. If the pose, layout, or subject relationship is wrong, sharpening will not save the image. Upscaling a weak image often makes the mistakes more visible.
Prompt strength and latent noise
Prompt strength affects how strongly the model follows your words. If the prompt is too vague, latent noise can dominate and the result may drift. If the prompt is too constrained, the model may produce stiff, overworked, or unnatural images. The best prompts give clear priorities without overloading the model.
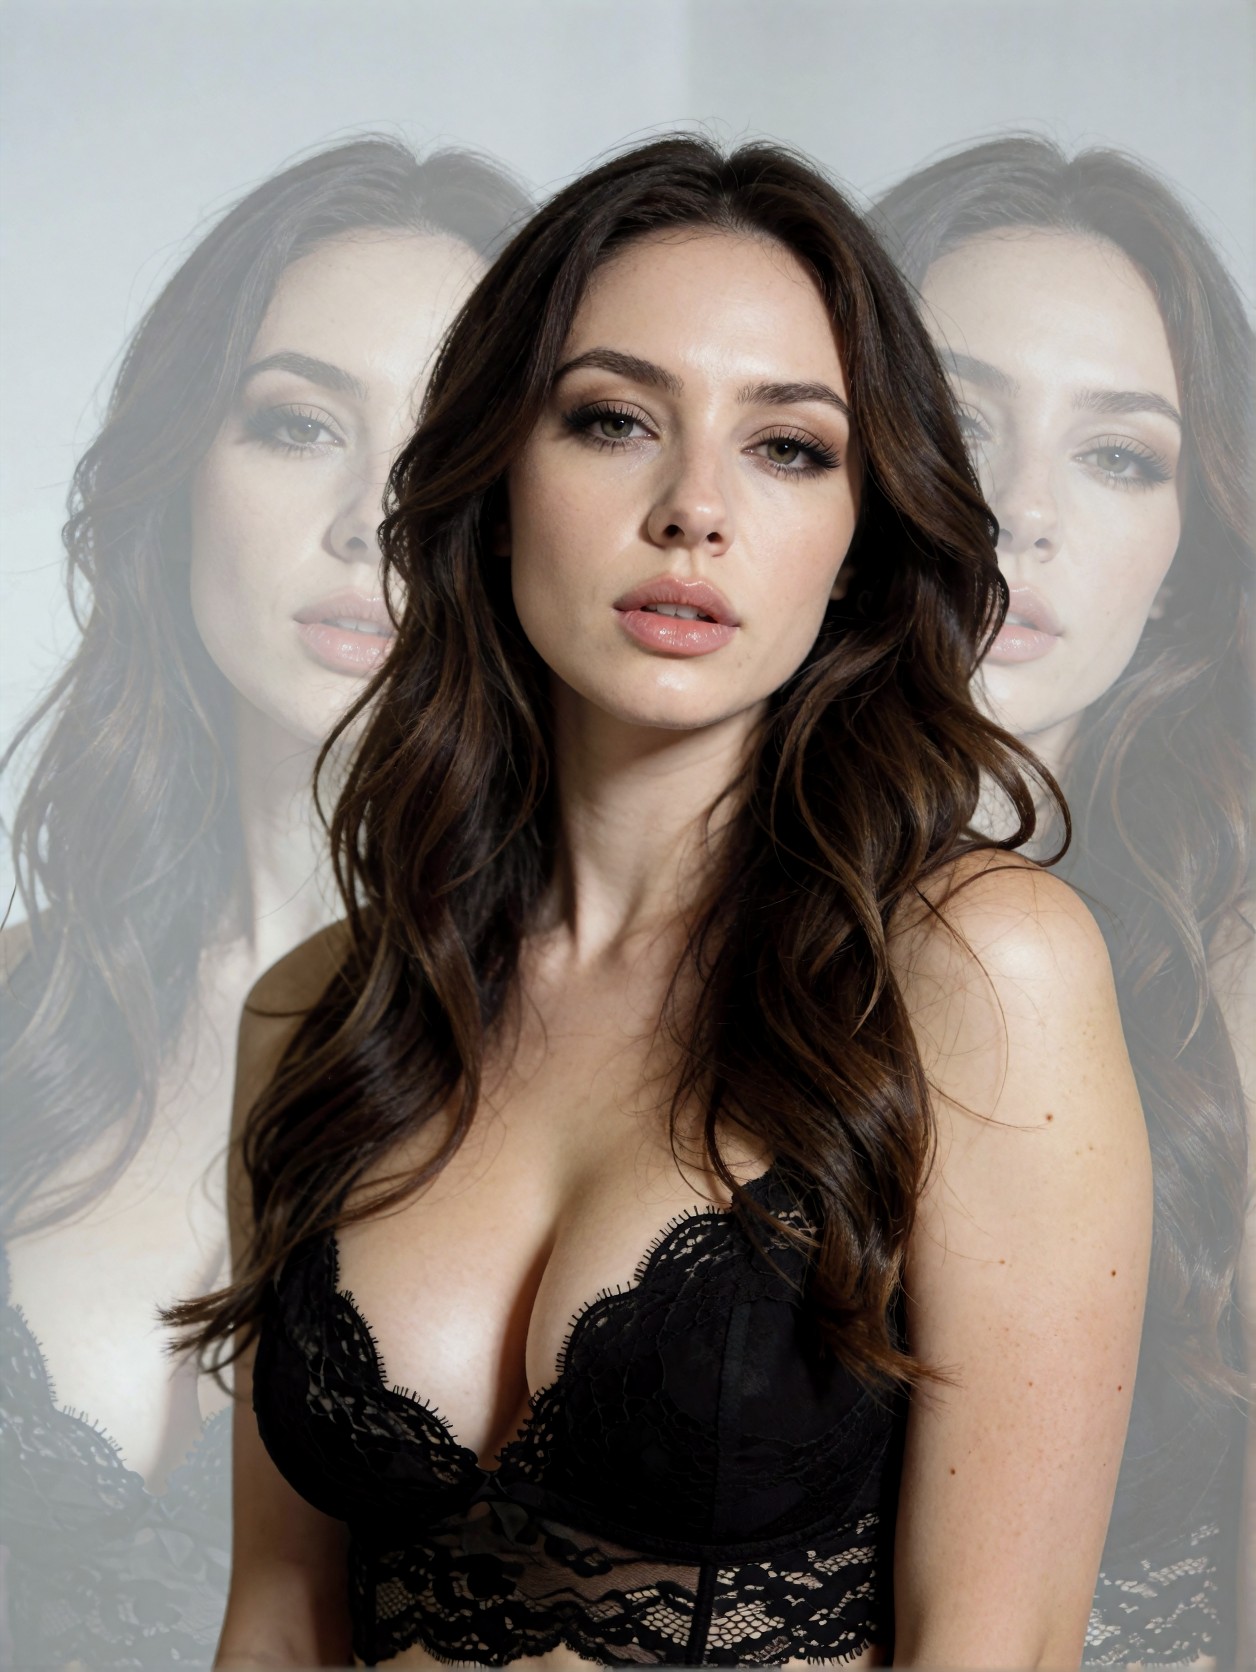
Krea2 prompt used for this visual
~~~prompt AI prompt strength and latent noise control concept, adult editorial portrait with three ghosted variations behind it showing weak prompt, balanced prompt, and over-constrained prompt, realistic studio fashion photography, clean technical article composition, refined color grading, copy-safe top space, Krea2 Turbo style ~~~
A balanced prompt usually includes:
- Subject: what the image is about.
- Setting: where the scene happens.
- Lighting: how the image is shaped.
- Composition: crop, angle, spacing, and subject placement.
- Quality target: realistic, editorial, commercial, cinematic, or product-focused.
- Constraints: no clutter, no readable text, clean hands, copy-safe space, natural texture.
Avoid piling on too many style words that fight each other. “Minimal commercial studio lighting” and “chaotic neon cinematic fantasy” are different directions. Latent noise has more room to create messy results when the prompt has conflicting instructions.
Testing checklist for AI image quality
Use this checklist when judging whether latent noise helped or hurt the final image:
| Check | What to look for | Good result | |---|---|---| | Composition | Subject placement and visual balance | Clear main subject with no awkward crop | | Detail | Hair, fabric, skin, product edges | Natural texture without harsh noise | | Artifacts | Hands, jewelry, background lines | No obvious structural errors | | Seed stability | Several outputs from same prompt | Similar quality across multiple seeds | | Prompt alignment | Output matches the instruction | Scene, lighting, and subject are correct | | Commercial usability | Can the image be published? | Clean, tasteful, readable, useful | | Enhancement readiness | Is structure already good? | Upscaling will improve, not expose mistakes |
This checklist is more useful than asking whether an image is “sharp.” Sharpness is only one layer. A high-quality AI image needs stable structure, controlled detail, and a clear purpose.
How to write better prompts for cleaner latent results
Here is a reusable prompt pattern:
~~~prompt [asset type] of [subject], [setting], [lighting], [composition], [material or texture detail], [quality style], [constraints], Krea2 Turbo style ~~~
Example:
~~~prompt technical editorial hero image of an AI portrait emerging from subtle latent noise particles, neutral studio background, soft directional lighting, clean right-side copy-safe space, realistic skin and fabric texture, premium SaaS blog visual, no readable text, no artifacts, Krea2 Turbo style ~~~
This type of prompt helps because it tells the model what role the image plays. “Beautiful AI portrait” is too broad. “Technical editorial hero image of an AI portrait emerging from subtle latent noise particles” gives the model a more usable target.
Common problems and fixes
Problem: every seed looks different
The prompt is probably too loose. Add stronger composition rules, subject placement, lighting, and background description. Lock the seed once you find a useful direction.
Problem: every seed has the same error
The prompt is probably asking for something structurally difficult. Simplify the pose, reduce props, remove conflicting style words, or change the camera angle.
Problem: the image looks muddy
Ask for cleaner lighting, fewer background elements, and clearer material detail. Use phrases like “controlled contrast,” “clean edges,” and “premium commercial retouching.”
Problem: the image looks overprocessed
Reduce extreme quality words. Too many “ultra sharp, hyper detailed, maximum detail” phrases can create harsh texture. Ask for “natural detail” and “soft editorial finish.”
Problem: upscaling makes it worse
The base image was not structurally good enough. Regenerate before upscaling. Enhancement should refine a strong image, not rescue a broken one.
Final takeaways
Latent noise shapes AI image quality before you ever see the final picture. It affects seed variation, composition, detail, texture, and artifacts. Prompt writing matters, but prompt writing alone is not the whole workflow. Good creators test seeds, compare outputs, fix repeated failures, and only enhance images after the base structure is strong.
For Krea2 Turbo or any modern AI image workflow, the strongest process is simple: write a clear prompt, generate multiple seeds, judge structure first, check micro detail second, then refine. If the image has stable composition and controlled texture, upscaling and post-processing can help. If the image is unstable, more resolution will only make the problem easier to see.
Latent noise is not just randomness. It is the raw starting point that the model turns into visual order. Learn how to test it, and your AI images become more consistent, more publishable, and more useful for real creative work.