Understanding Empty Latent Image in ComfyUI 한국어 요약
이 페이지는 ZView Space의 영어 원문을 한국어 검색 사용자도 이해할 수 있도록 정리한 SEO 요약입니다. 핵심은 단순한 얼굴 중심 이미지가 아니라 패션 에디토리얼, 룩북, 아웃핏, 프롬프트 테스트, 이미지 생성 워크플로우를 실제로 어떻게 구성할지입니다.
핵심 요약
- 원문 주제: Understanding Empty Latent Image in ComfyUI
- 목적: AI 이미지 생성에서 outfit, silhouette, fabric, pose, location, camera framing을 더 명확하게 설계합니다.
- 활용 범위: Z-Image Turbo, Krea2 Turbo, Qwen Image, Anima, SeedVR2 같은 이미지 생성 및 업스케일 워크플로우에 적용할 수 있습니다.
- SEO 관점: 제목, 설명, 이미지 alt, 프롬프트 예시가 실제 검색 의도와 맞아야 색인 가능성이 높아집니다.
한국어 사용자를 위한 체크포인트
1. 프롬프트가 얼굴 묘사에만 머물지 않고 전체 스타일과 의상 구성을 설명하는지 확인합니다. 2. 패션 이미지라면 상의, 하의, 아우터, 신발, 액세서리, 소재감, 촬영 장소를 분리해서 씁니다. 3. 생성 결과는 바로 게시하지 말고 디테일, 손, 의상 형태, 배경 일관성, 이미지 품질을 비교합니다. 4. 글 본문에는 실제 테스트 기준과 실패를 줄이는 방법이 들어가야 검색엔진에서 얇은 콘텐츠로 보일 가능성이 줄어듭니다.
원문 미리보기
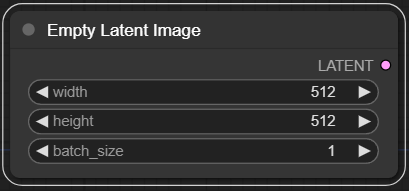
Empty Latent Image is one of the core nodes in a ComfyUI text to image workflow. It does not contain a visible picture. Instead, it creates the blank latent canvas that the sampler will denoise into an image. If you understand what this node controls, you can
---
Empty Latent Image is one of the core nodes in a ComfyUI text-to-image workflow. It does not contain a visible picture. Instead, it creates the blank latent canvas that the sampler will denoise into an image.
If you understand what this node controls, you can make better decisions about image size, aspect ratio, batch generation, and when to use image-to-image instead.
What Empty Latent Image does
In ComfyUI, diffusion models do not start directly from pixels. They start from latent noise, a compressed representation that later gets decoded into an image by the VAE.
The Empty Latent Image node creates that starting latent space. You usually connect it to the latent image input of a KSampler node.
A basic text-to-image chain looks like this:
- Load Checkpoint
- CLIP Text Encode for positive prompt
- CLIP Text Encode for negative prompt
- Empty Latent Image
- KSampler
- VAE Decode
- Save Image
The node is called empty because it has no source image. The sampler fills it through denoising based on your seed, model, prompt, and sampler settings.
Key settings: width, height, batch size
The main controls are simple:
- Width: final image width in pixels after VAE decoding
- Height: final image height in pixels after VAE decoding
- Batch size: number of images generated at once
For best results, use dimensions that match your model family.
- SD 1.5: commonly 512x512, 512x768, 768x512
- SDXL: commonly 1024x1024, 832x1216, 1216x832, 1024x1536
- Many custom models: check the creator notes, but keep dimensions divisible by 8
Going too far outside the training resolution can cause warped anatomy, repeated objects, messy compositions, or poor detail distribution.
Simple SDXL text-to-image setup
For a clean SDXL start, set Empty Latent Image to 1024x1024 with batch size 1. This gives the model a native square canvas and is useful for portraits, product renders, concept art, and social posts.
Positive: studio product photo of a matte black ceramic coffee mug on a warm oak desk, soft window light, subtle steam, shallow depth of field, clean background, realistic texture, commercial photography
Negative: text, logo, watermark, distorted handle, extra objects, harsh reflections, blurry, low resolution
This type of prompt works well with a square latent because the subject can sit centered with enough room for lighting and background separation.
Aspect ratio changes the composition
The Empty Latent Image dimensions are not just technical settings. They shape the composition before the sampler begins.
Use vertical latents for portraits, fashion, book covers, and mobile artwork. Use horizontal latents for landscapes, interiors, banners, and cinematic frames.
For an SDXL portrait, try 832x1216 or 896x1152.
Positive: editorial portrait of a young architect standing beside a concrete model, natural daylight, neutral linen jacket, thoughtful expression, modern studio background, 85mm lens look, realistic skin texture
Negative: plastic skin, extra fingers, deformed hands, duplicate face, heavy makeup, watermark, text, overexposed highlights
For a wide cinematic image, try 1216x832 or 1344x768.
Positive: wide cinematic shot of a quiet desert research station at sunrise, solar panels, dusty vehicles, long shadows, atmospheric haze, realistic sci fi design, muted color palette, detailed environment
Negative: cartoon, fantasy castle, floating buildings, oversaturated colors, blurry foreground, text, watermark, people in frame
Empty Latent Image vs VAE Encode
Use Empty Latent Image when you are generating from text only.
Use VAE Encode when you are starting from an existing image. In image-to-image, the source image is encoded into latent space, then the sampler modifies it based on denoise strength and prompt.
In short:
- Empty Latent Image: create a new image from scratch
- VAE Encode: transform or restyle an existing image
- Latent upscale nodes: enlarge or refine an existing latent
If your workflow has no input image, Empty Latent Image is the correct starting point.
Batch size for prompt exploration
Batch size controls how many images are generated per queue run. A batch size of 4 creates four images using the same settings, usually with different noise variations depending on seed behavior.
This is useful when you are testing a composition and want options quickly.
Positive: minimalist Scandinavian living room, low modular sofa, pale wood floor, large paper lantern, soft afternoon light, indoor plants, uncluttered composition, realistic interior photography
Negative: messy room, distorted furniture, fisheye lens, oversaturated colors, text, watermark, low quality, duplicate lamps
A practical approach is to test batch size 4 at moderate steps, choose the best composition, then rerun or upscale the selected image with more refinement.
Choosing dimensions for common use cases
Product visuals
Use square or slightly vertical dimensions when the object is the main subject. Keep the background simple so the model spends detail on the product.
Positive: premium skincare bottle on a stone pedestal, beige monochrome set, soft studio lighting, condensation droplets, elegant shadows, realistic packaging mockup, high end product photography
Negative: readable brand text, fake logo, crooked label, extra bottles, harsh glare, blurry, noisy background, watermark
Recommended Empty Latent Image settings: 1024x1024, 896x1152, or 832x1216.
Posters and key art
Posters benefit from vertical dimensions and clear negative space if you plan to add typography later in another app.
Positive: retro travel poster style illustration of a mountain observatory under a starry sky, bold simple shapes, limited color palette, strong silhouette, empty space at top for title, clean print texture
Negative: actual text, letters, watermark, cluttered layout, photorealistic, messy stars, low contrast
Recommended settings: 832x1216 or 1024x1536 for SDXL.
Game environment concepts
For environments, use wide latents. This gives the model room to establish foreground, midground, and background.
Positive: isometric fantasy market square for a cozy farming game, wooden stalls, colorful awnings, cobblestone paths, small fountain, warm morning light, readable layout, hand painted game art
Negative: dark horror mood, realistic photo, random text signs, broken perspective, overcrowded scene, blurry details, watermark
Recommended settings: 1216x832, 1344x768, or 1536x864 if your hardware can handle it.
Food and menu imagery
Food prompts usually work best with controlled framing. A square latent is reliable for menu tiles, app images, and social posts.
Positive: overhead photo of a rustic sourdough toast with ricotta, figs, honey drizzle, thyme leaves, ceramic plate on linen cloth, natural window light, appetizing texture, clean food styling
Negative: messy crumbs everywhere, plastic looking food, oversaturated colors, extra plates, hands, text, watermark, blur
Recommended settings: 1024x1024 or 1152x896 depending on layout.
Fashion lookbooks
Vertical latents give room for full-body styling. If hands and feet matter, generate larger and leave enough space around the subject.
Positive: full body fashion lookbook photo of a model wearing an oversized charcoal wool coat, wide leg trousers, black leather boots, plain grey studio backdrop, softbox lighting, natural pose
Negative: cropped feet, extra limbs, distorted hands, duplicate person, logo, text, harsh shadows, blurry face, low detail fabric
Recommended settings: 832x1216, 896x1344, or 1024x1536.
Common mistakes
Using random oversized dimensions
Large dimensions can look tempting, but they increase VRAM use and can make the model produce strange structure. Start near the model native size, then upscale later.
Forgetting the VAE Decode node
Empty Latent Image and KSampler output latents, not viewable pixels. You need VAE Decode before Save Image.
Mixing incompatible sizes and expectations
A 512x512 latent is not ideal for a full-body fashion image. A wide 1344x768 latent is not ideal for a centered product bottle unless you want lots of empty space.
Increasing batch size beyond your VRAM
Batch size multiplies memory use. If ComfyUI runs out of memory, reduce batch size first, then reduce dimensions.
Practical workflow tips
Start with the final use case, then choose the latent size.
- Social square: 1024x1024
- Mobile story or portrait: 832x1216
- Website banner: 1216x832 or wider
- Poster: 1024x1536
- Fast SD 1.5 test: 512x768 or 768x512
Keep a few saved Empty Latent Image presets in your workflows. This makes it easy to switch between portrait, square, and landscape production without rebuilding the graph.
Summary
Empty Latent Image is the blank canvas for text-to-image generation in ComfyUI. It defines the size, aspect ratio, and batch count before sampling begins.
Use it when generating from text only. Choose dimensions based on your model and output format. Keep batch size practical for your GPU. For image-to-image work, use VAE Encode instead.
Once this node makes sense, ComfyUI workflows become easier to debug, adapt, and reuse.
<!-- zview-noindex-rewrite-media -->
Hands-on prompt examples for visualizing Empty Latent Image in ComfyUI
Use the examples below as practical test images for the article. Each one turns the abstract idea of a blank latent canvas into an editorial-style visual that readers can generate and compare across aspect ratios, batch settings, and SDXL-friendly resolutions.
square SDXL workflow diagram scene
Topic:
Empty Latent Image in a basic SDXL text-to-image workflow
Genre:
Editorial technical illustration
Camera:
Overhead three-quarter desk view
Lens:
35mm
Lighting:
Soft studio key light with cool monitor glow
Location:
Minimal creative workstation with a large display showing a node graph
Style:
Clean modern UI-focused realism, crisp details, neutral color grading
Final Prompt:
An editorial technical scene showing a ComfyUI-style node workflow on a widescreen monitor, with an Empty Latent Image node clearly feeding into a sampler and then into VAE decode, a blank checkerless latent preview panel visible beside generated output, tidy desk setup with keyboard, pen tablet, and notebook, subtle interface glow, neutral gray and blue palette, sharp readable node connections, realistic screen reflections, balanced square composition, designed to visually explain that the image starts as an empty latent canvas before denoising creates the final picture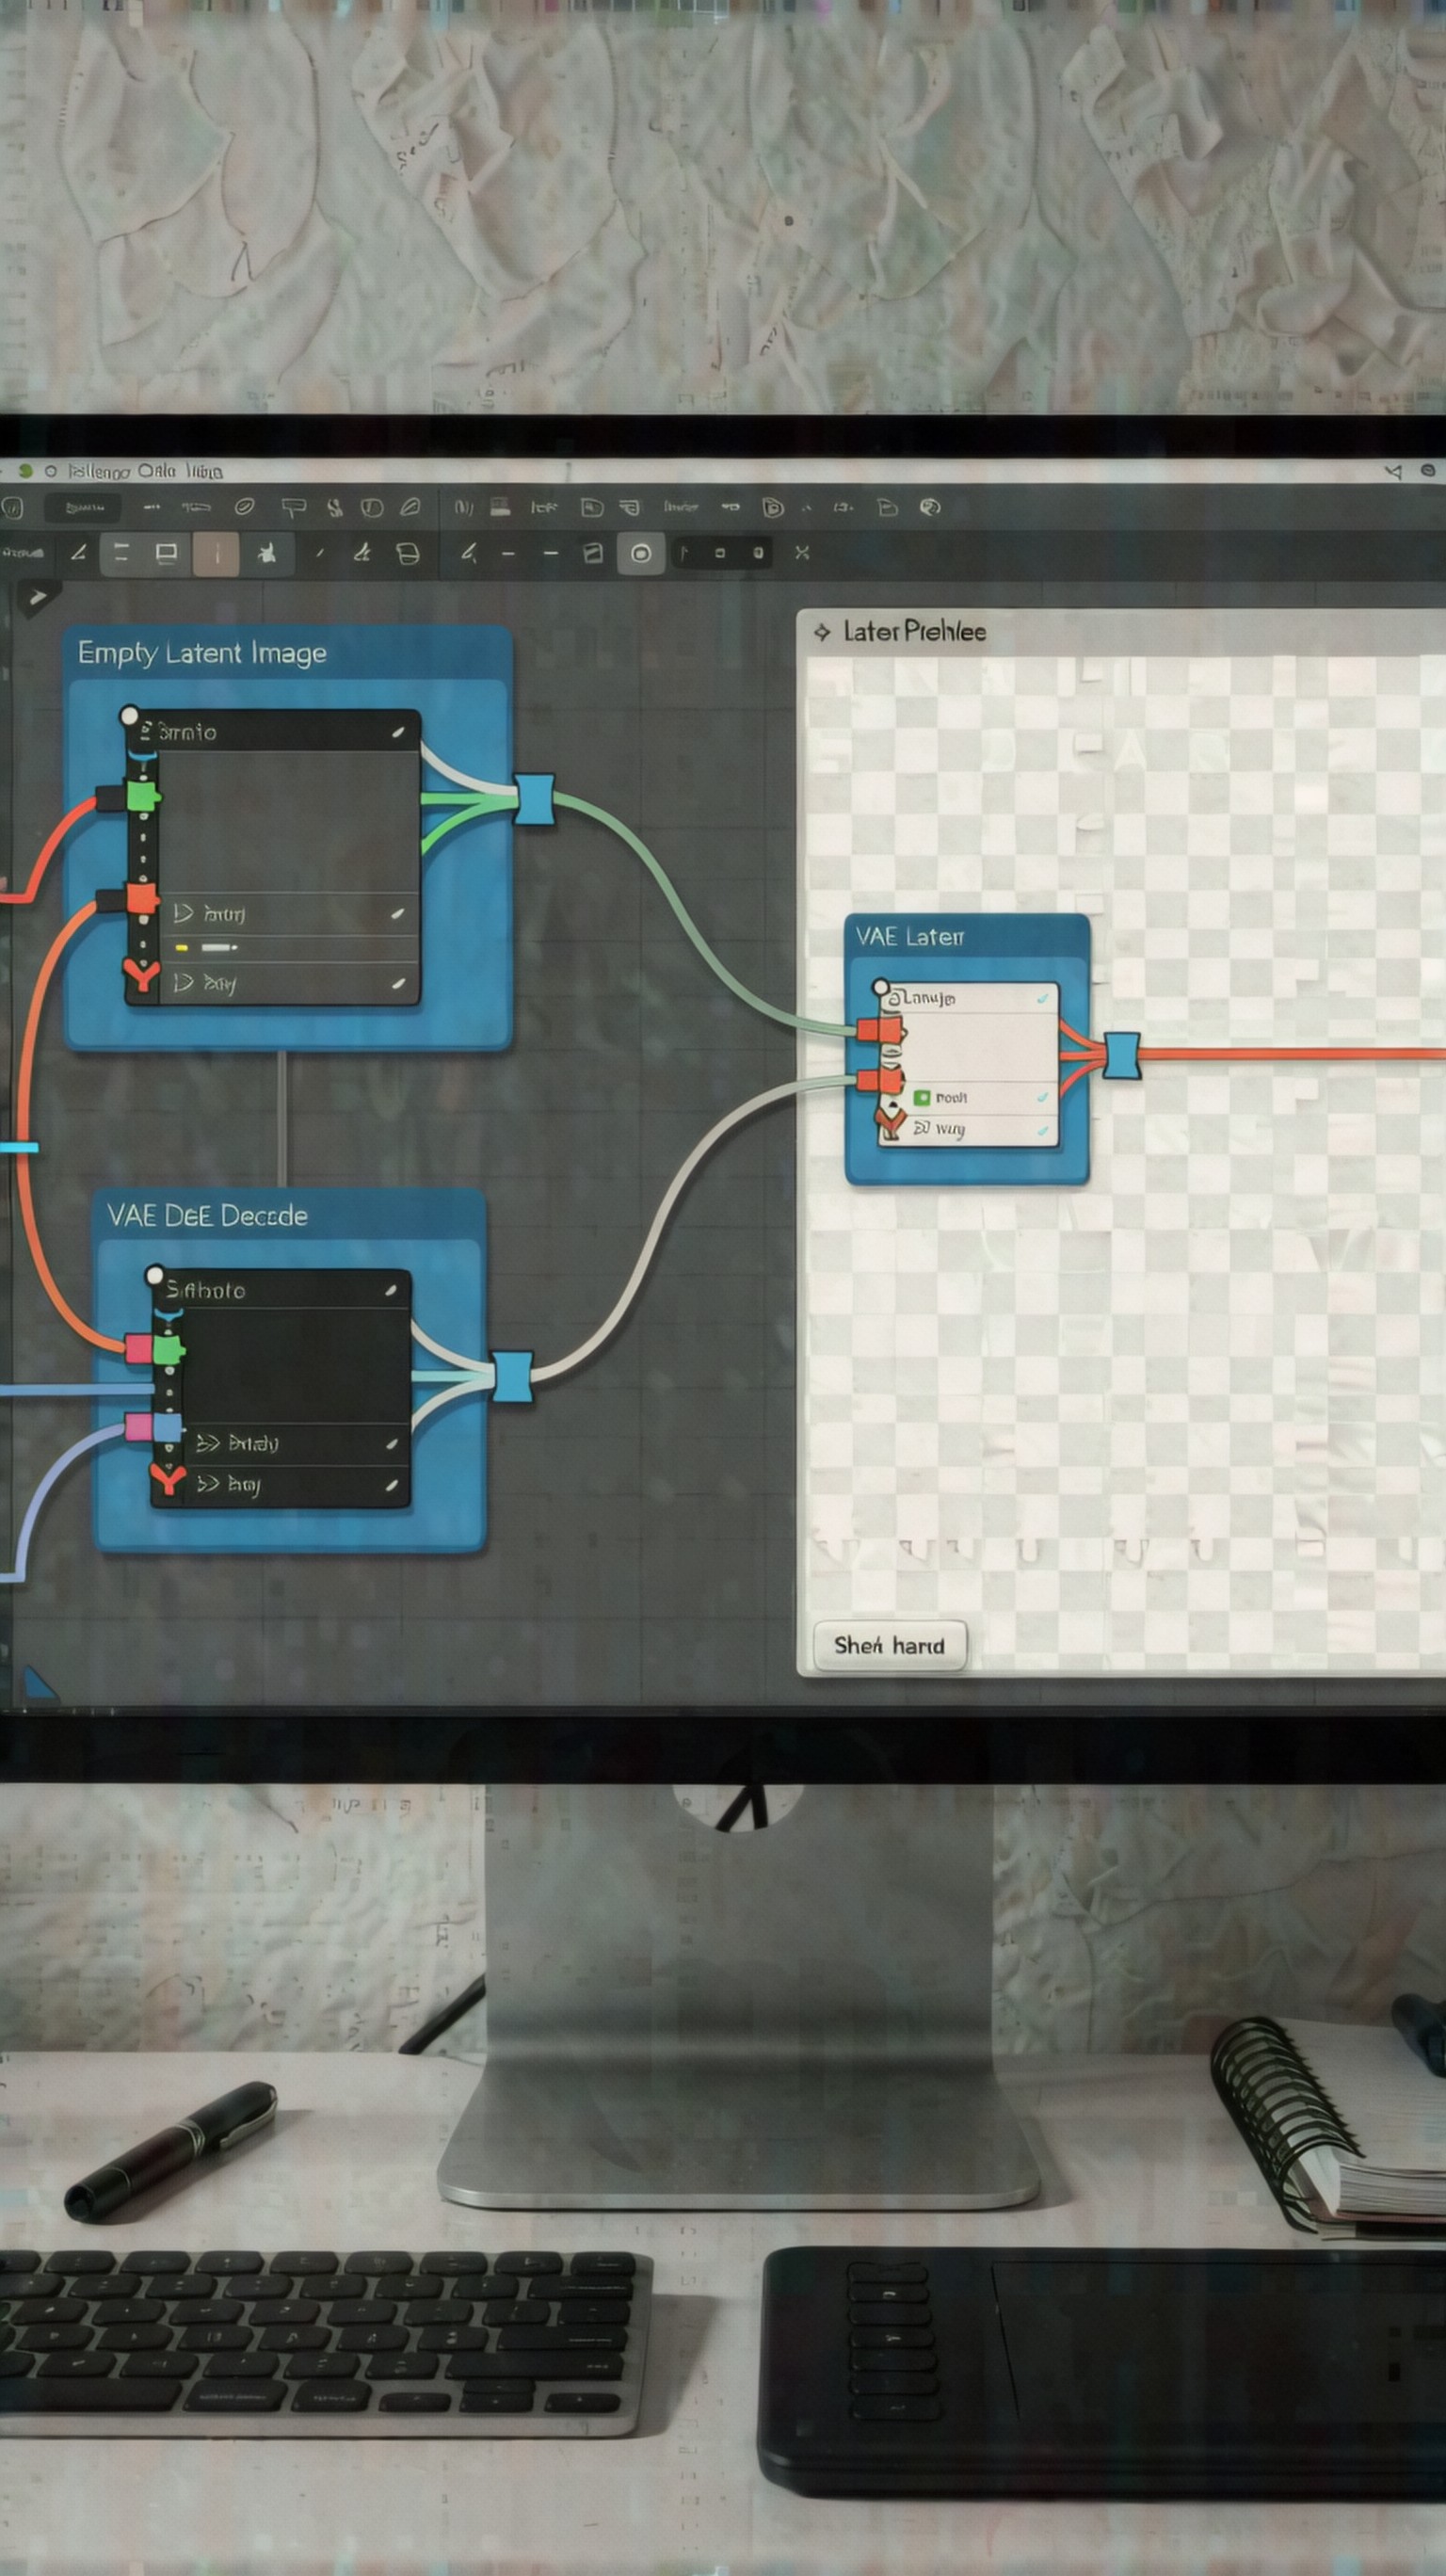
Use this image as a result check for the prompt above. Inspect whether the composition, lighting, subject clarity, and model-specific details match the article topic.
portrait aspect ratio latent comparison
Topic:
How vertical latent dimensions affect composition in ComfyUI
Genre:
Educational comparison image
Camera:
Eye-level product-demo framing
Lens:
50mm
Lighting:
Controlled softbox lighting with gentle rim light
Location:
Studio table with printed composition boards and a monitor
Style:
High-clarity editorial realism with infographic feel
Final Prompt:
A polished educational comparison scene with a monitor displaying two ComfyUI output previews based on vertical latent sizes such as 832x1216 and 896x1152, side notes indicating portrait-friendly framing, a simple mannequin bust and background shape grid used as composition reference, clean workspace, soft white and graphite palette with muted accent colors, visible differences in headroom and subject placement, precise UI-like layout, realistic textures on paper and screen, created to prove that Empty Latent Image dimensions shape portrait composition before sampling begins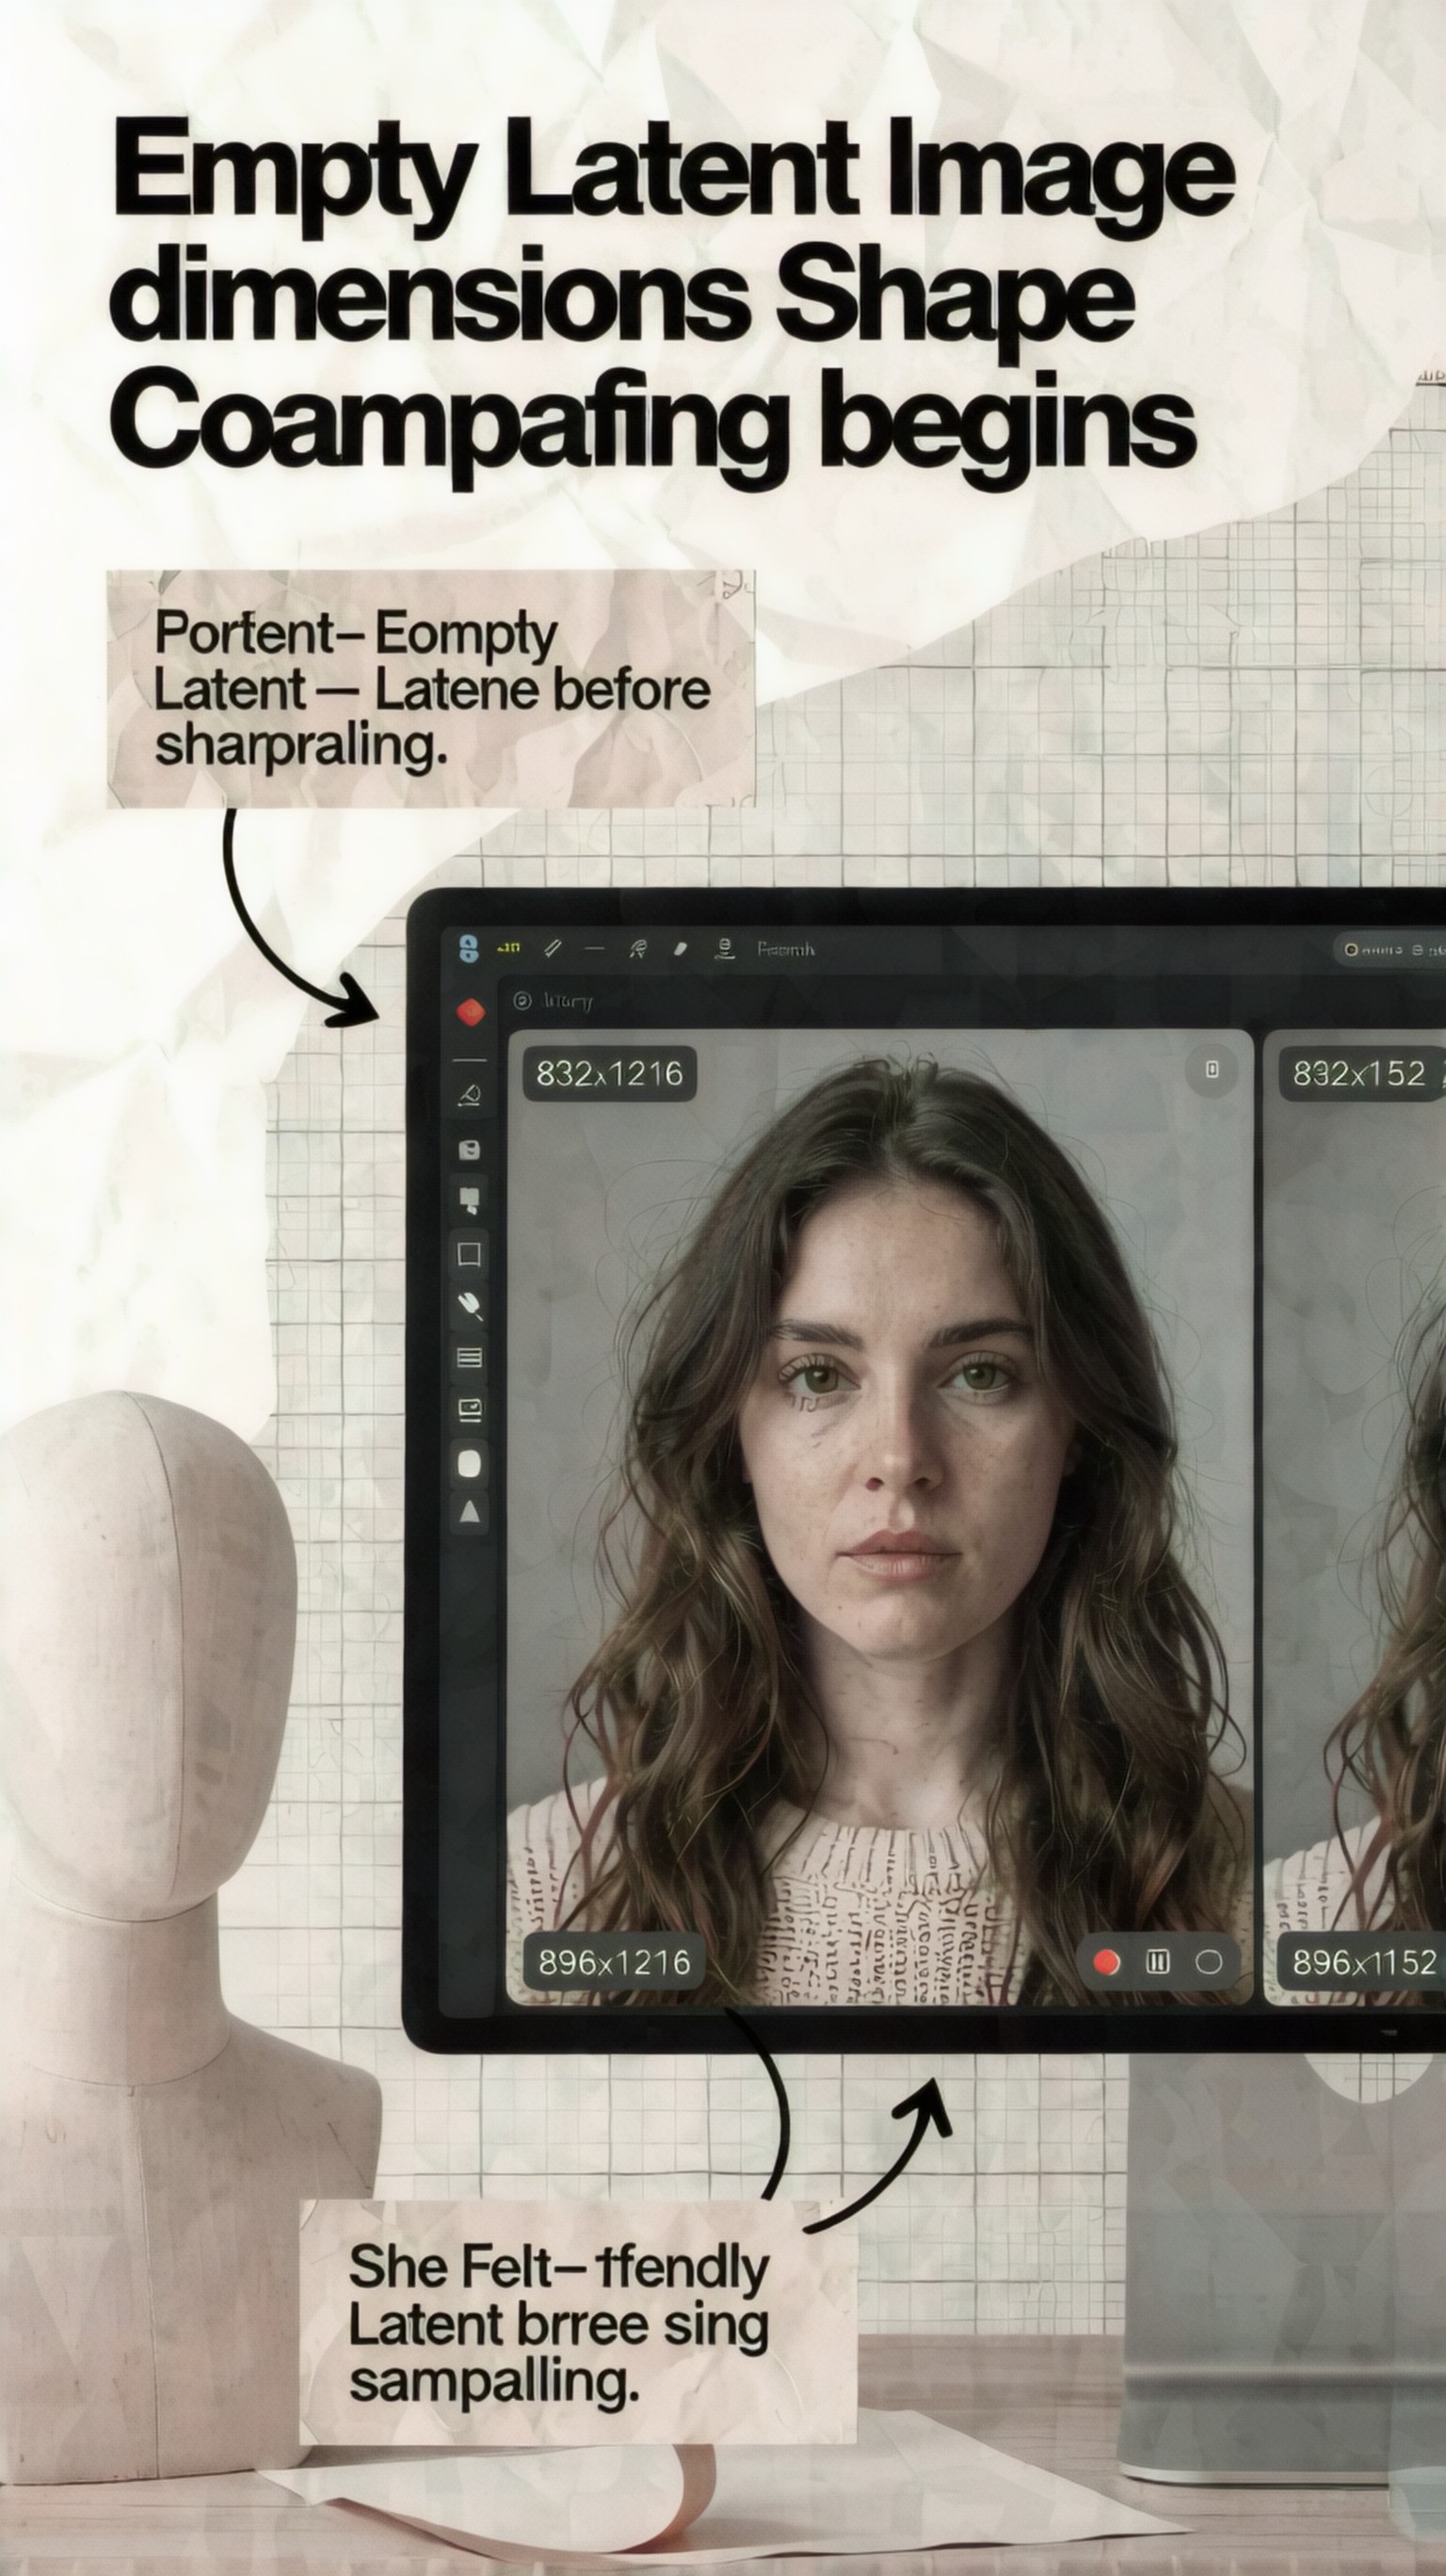
Use this image as a result check for the prompt above. Inspect whether the composition, lighting, subject clarity, and model-specific details match the article topic.
wide cinematic latent test
Topic:
Horizontal latent setup for cinematic SDXL generation
Genre:
Conceptual editorial visualization
Camera:
Wide eye-level interior shot
Lens:
24mm
Lighting:
Moody mixed light with warm practicals and cool window fill
Location:
Post-production room with large display wall
Style:
Cinematic tech editorial, realistic but diagram-friendly
Final Prompt:
A cinematic editorial workspace image showing a large display with a horizontal ComfyUI latent setup labeled 1216x832, next to a generated panoramic frame of an interior scene, overlay guides showing wide composition, strong left-to-right visual flow, amber desk lamps, cool daylight spill, charcoal desk surfaces, subtle cables and hardware, crisp monitor UI, layered depth, realistic shadows, restrained orange-blue palette, designed to demonstrate why wide Empty Latent Image settings are better for landscapes, interiors, and banner-style framing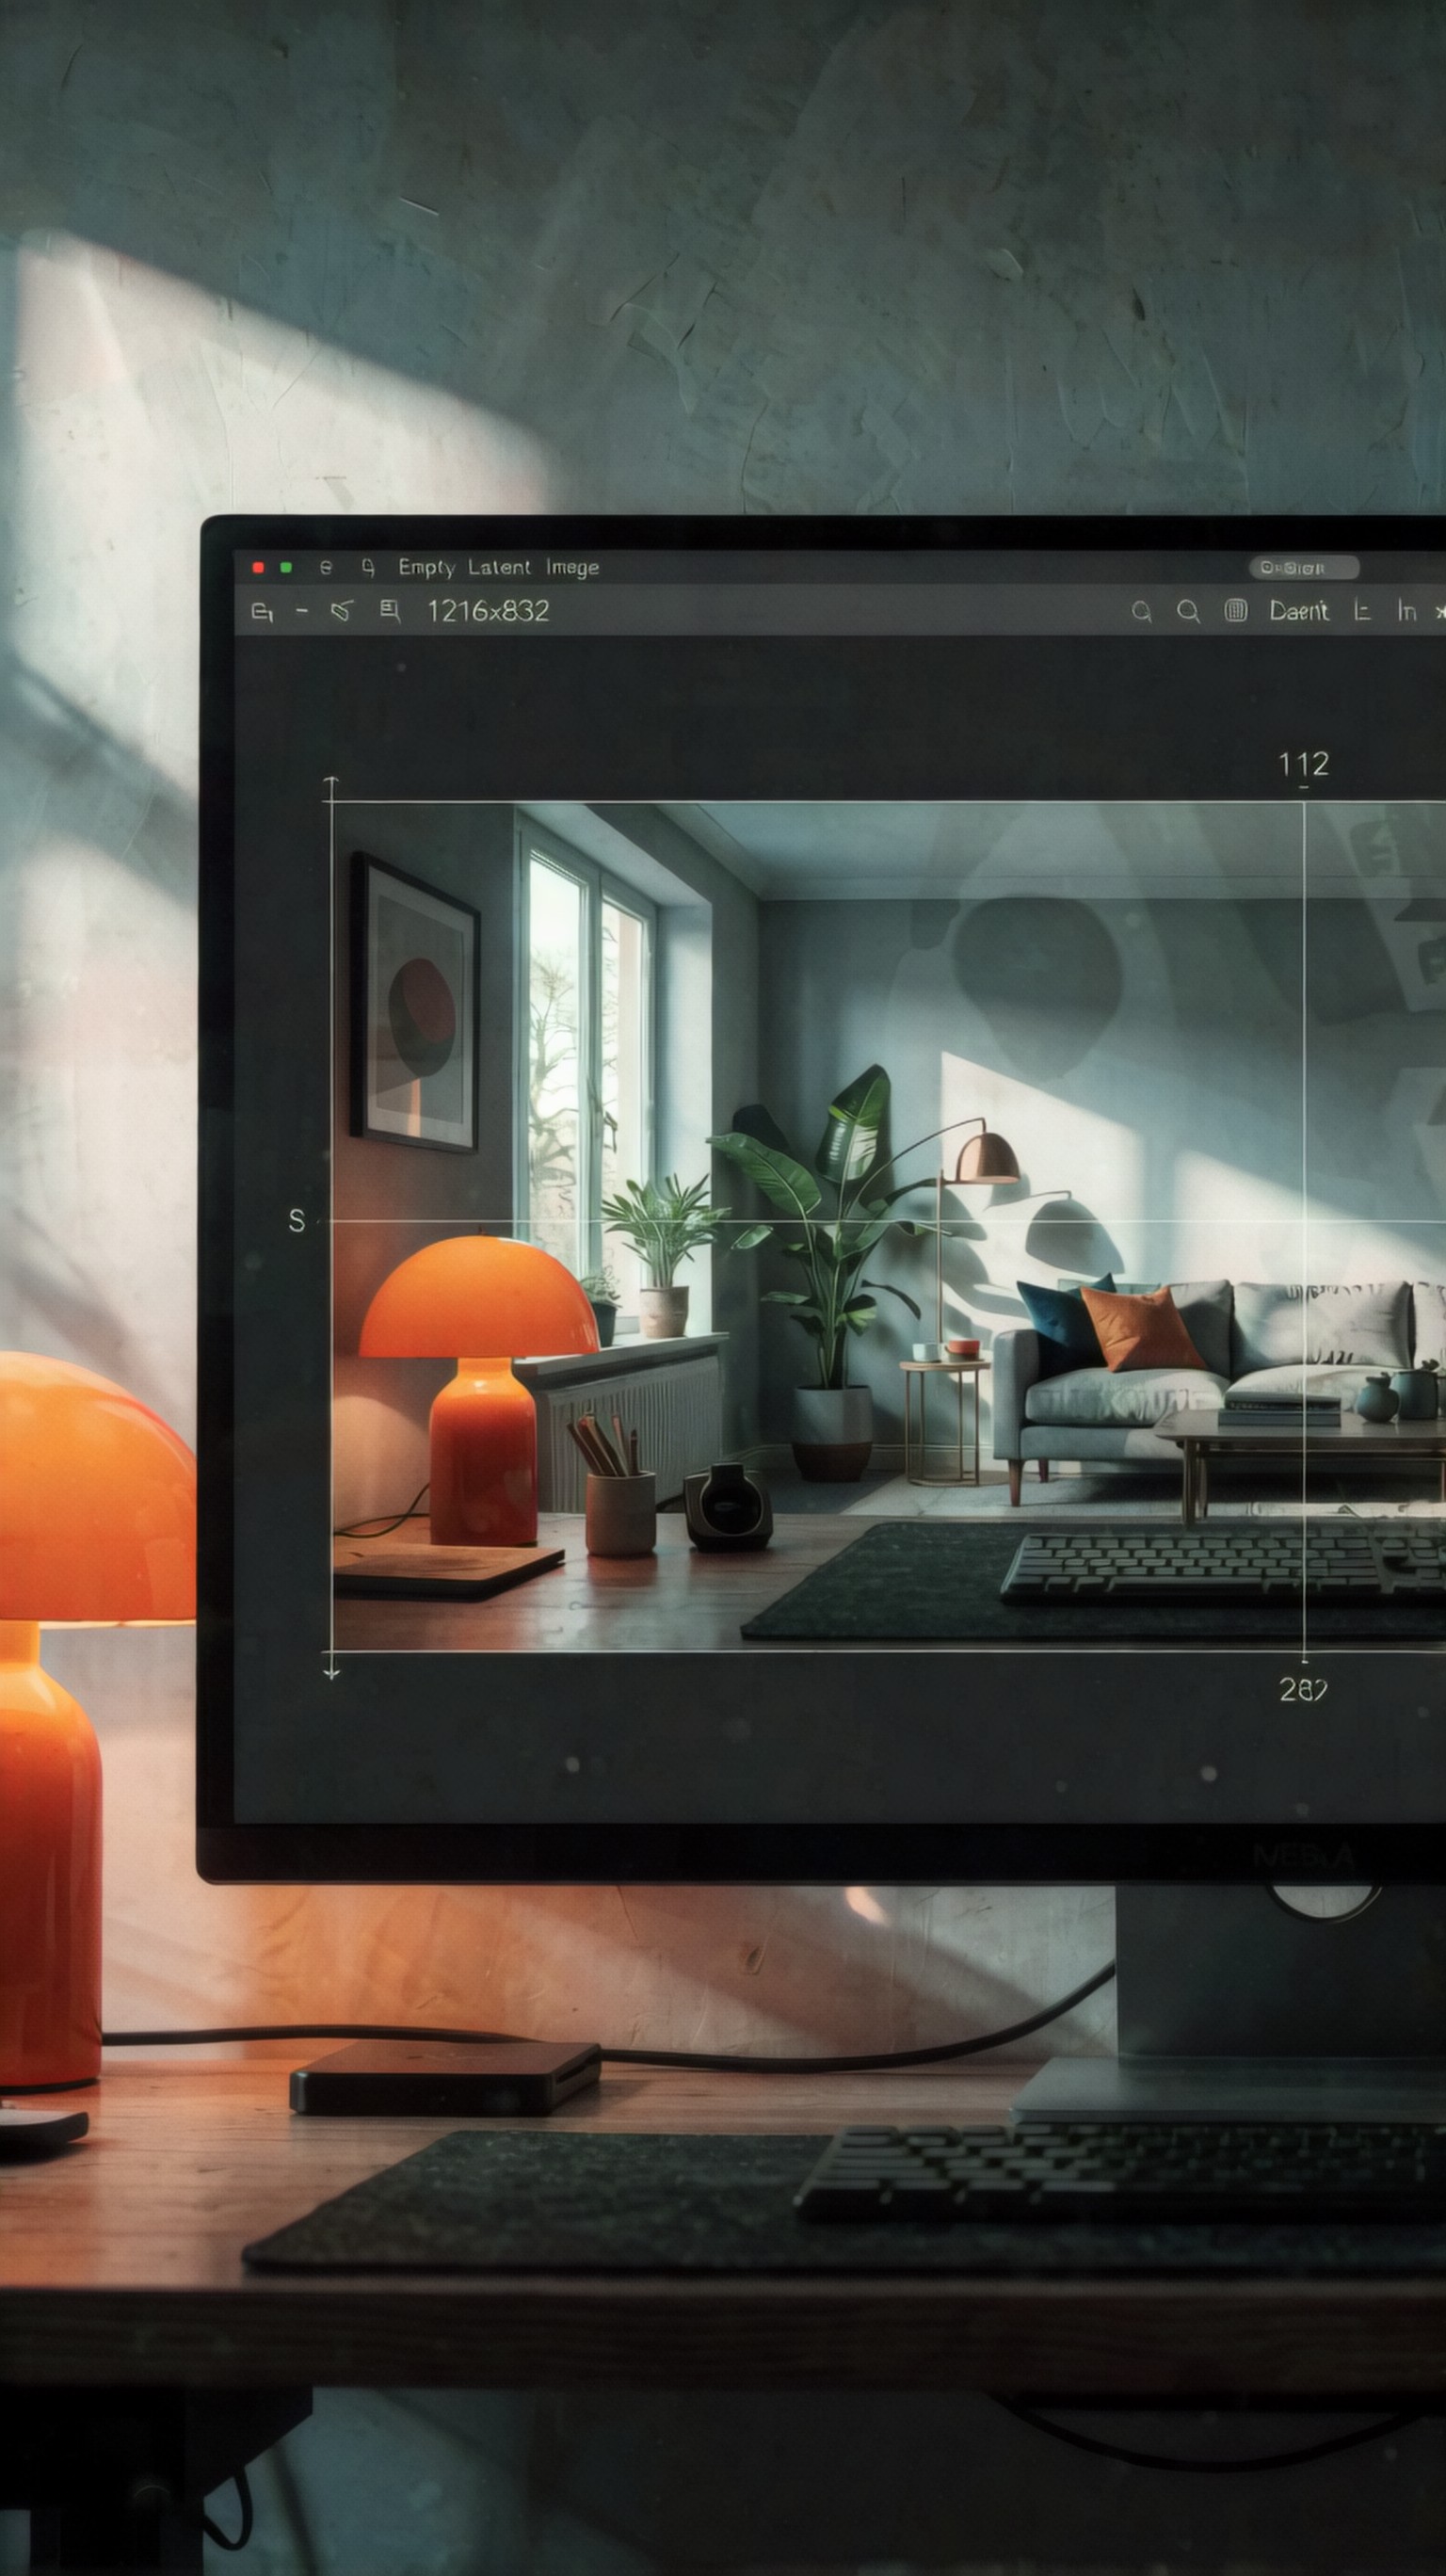
Use this image as a result check for the prompt above. Inspect whether the composition, lighting, subject clarity, and model-specific details match the article topic.
batch size contact sheet example
Topic:
Batch size and seed variation from one Empty Latent Image setup
Genre:
Workflow demonstration image
Camera:
Front-facing workstation shot
Lens:
70mm
Lighting:
Even diffused office lighting with mild monitor highlights
Location:
Technical studio desk with dual monitors
Style:
Professional editorial realism with contact-sheet presentation
Final Prompt:
A front-facing technical studio scene with dual monitors, one showing a ComfyUI graph featuring Empty Latent Image and batch size controls, the other showing a four-image contact sheet generated from the same prompt with different seed outcomes, each frame sharing the same composition template but varying in small details, clean dark UI, precise labels, textured desk mat, mechanical keyboard, notes about consistency and variation, cool neutral palette, high detail and legibility, composed to prove how batch generation creates multiple starting latents for fast visual comparison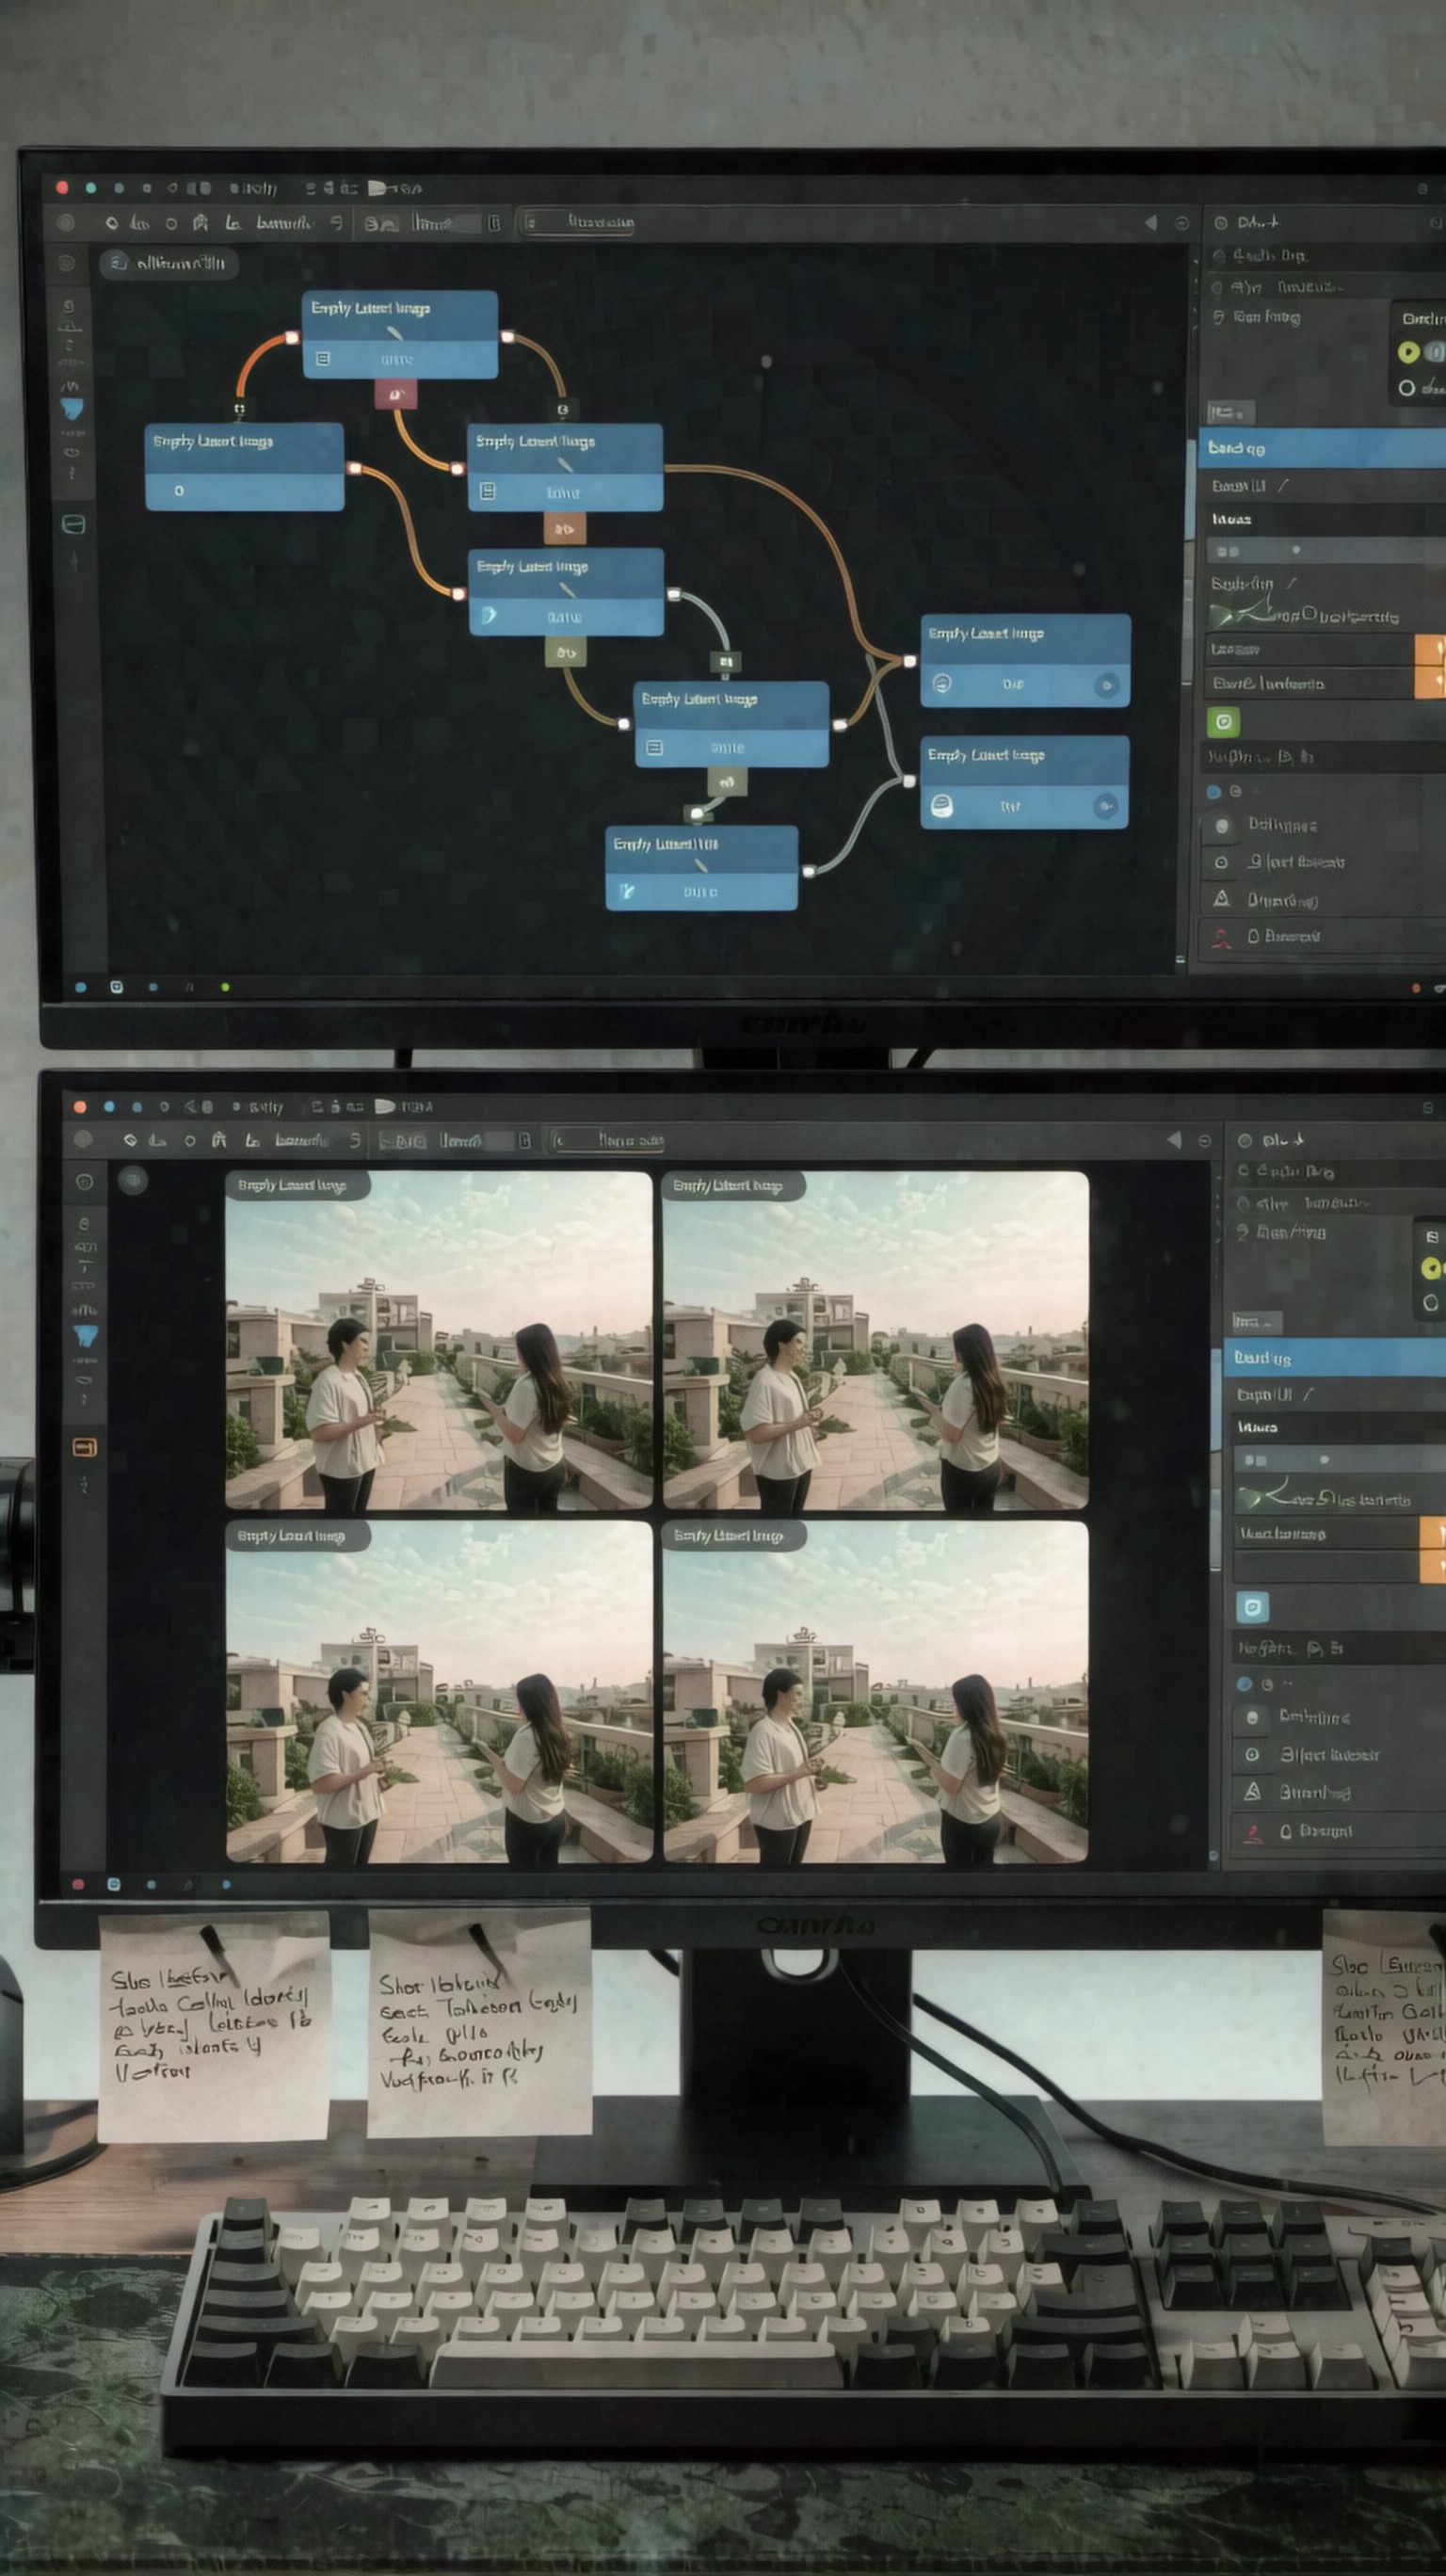
Use this image as a result check for the prompt above. Inspect whether the composition, lighting, subject clarity, and model-specific details match the article topic.
Result checks
- The generated image should make the Empty Latent Image idea visible through UI context, composition guides, or before-and-after workflow cues rather than showing a generic random scene.
- Aspect ratio should clearly affect framing: vertical examples need obvious portrait composition, and wide examples need horizontal spatial flow and breathing room.
- Monitor, node, or contact-sheet details should be readable enough to feel instructional, even if the UI is stylized rather than a literal software screenshot.
- The final image should support the article's teaching goal by showing what width, height, or batch size changes are supposed to prove.
Failure risks
- If the prompt is too vague, the model may output a generic computer desk image with no clear latent, sampler, or workflow explanation.
- Overly complex fake UI can become unreadable, reducing educational value and making the example feel decorative instead of hands-on.
- If dimensions are not reflected in the composition, readers will not understand why Empty Latent Image settings matter for portrait versus landscape layouts.
- Some models may hallucinate text labels badly, so rely on strong visual structure, obvious node connections, and composition cues instead of tiny interface copy.
Practical recommendation
Add a short hands-on section after the node explanation: ask readers to generate one square, one vertical, one wide, and one batch-size example with the same checkpoint and prompt, then compare framing, subject placement, and consistency. This turns the article from a basic definition into a practical visual test that better supports SEO quality and AdSense review.
_Image model used for these examples: krea2_turbo._