What Is a Latent Image in ComfyUI? A Beginner's Guide 한국어 요약
이 페이지는 ZView Space의 영어 원문을 한국어 검색 사용자도 이해할 수 있도록 정리한 SEO 요약입니다. 핵심은 단순한 얼굴 중심 이미지가 아니라 패션 에디토리얼, 룩북, 아웃핏, 프롬프트 테스트, 이미지 생성 워크플로우를 실제로 어떻게 구성할지입니다.
핵심 요약
- 원문 주제: What Is a Latent Image in ComfyUI? A Beginner's Guide
- 목적: AI 이미지 생성에서 outfit, silhouette, fabric, pose, location, camera framing을 더 명확하게 설계합니다.
- 활용 범위: Z-Image Turbo, Krea2 Turbo, Qwen Image, Anima, SeedVR2 같은 이미지 생성 및 업스케일 워크플로우에 적용할 수 있습니다.
- SEO 관점: 제목, 설명, 이미지 alt, 프롬프트 예시가 실제 검색 의도와 맞아야 색인 가능성이 높아집니다.
한국어 사용자를 위한 체크포인트
1. 프롬프트가 얼굴 묘사에만 머물지 않고 전체 스타일과 의상 구성을 설명하는지 확인합니다. 2. 패션 이미지라면 상의, 하의, 아우터, 신발, 액세서리, 소재감, 촬영 장소를 분리해서 씁니다. 3. 생성 결과는 바로 게시하지 말고 디테일, 손, 의상 형태, 배경 일관성, 이미지 품질을 비교합니다. 4. 글 본문에는 실제 테스트 기준과 실패를 줄이는 방법이 들어가야 검색엔진에서 얇은 콘텐츠로 보일 가능성이 줄어듭니다.
원문 미리보기
A latent image is one of the most important concepts in ComfyUI, but it is easy to misunderstand because you usually cannot see it directly. In simple terms, it is the working canvas inside the model before the final image is decoded into pixels. If you unders
---
A latent image is one of the most important concepts in ComfyUI, but it is easy to misunderstand because you usually cannot see it directly. In simple terms, it is the working canvas inside the model before the final image is decoded into pixels.
If you understand what latents are, ComfyUI workflows become much easier to read, debug, and customize.
What is a latent image?
In ComfyUI, a latent image is a compressed representation of an image used by diffusion models such as Stable Diffusion and SDXL.
It is not a normal PNG or JPG. You cannot open it in an image viewer. Instead, it is the hidden data that the model gradually denoises during generation.
A typical text-to-image workflow looks like this:
1. You create an empty latent with a size, such as 1024 x 1024. 2. The sampler adds and removes noise in that latent space. 3. The VAE decodes the finished latent into a visible image.
So the latent image is the internal draft. The decoded image is the final visible result.
Latent image vs final image
The difference matters because many ComfyUI nodes work on either latents or pixels.
- Latent nodes work before decoding.
- Image nodes work after decoding.
- VAE Decode converts latent to image.
- VAE Encode converts image to latent.
For example, KSampler expects a latent input and outputs a latent. Save Image expects a normal image, so you need VAE Decode before saving.
A simple product-style prompt for a text-to-image workflow could be:
minimal ceramic coffee mug on a matte stone surface, soft window light, neutral beige background, subtle shadow, product photography, clean composition, high detail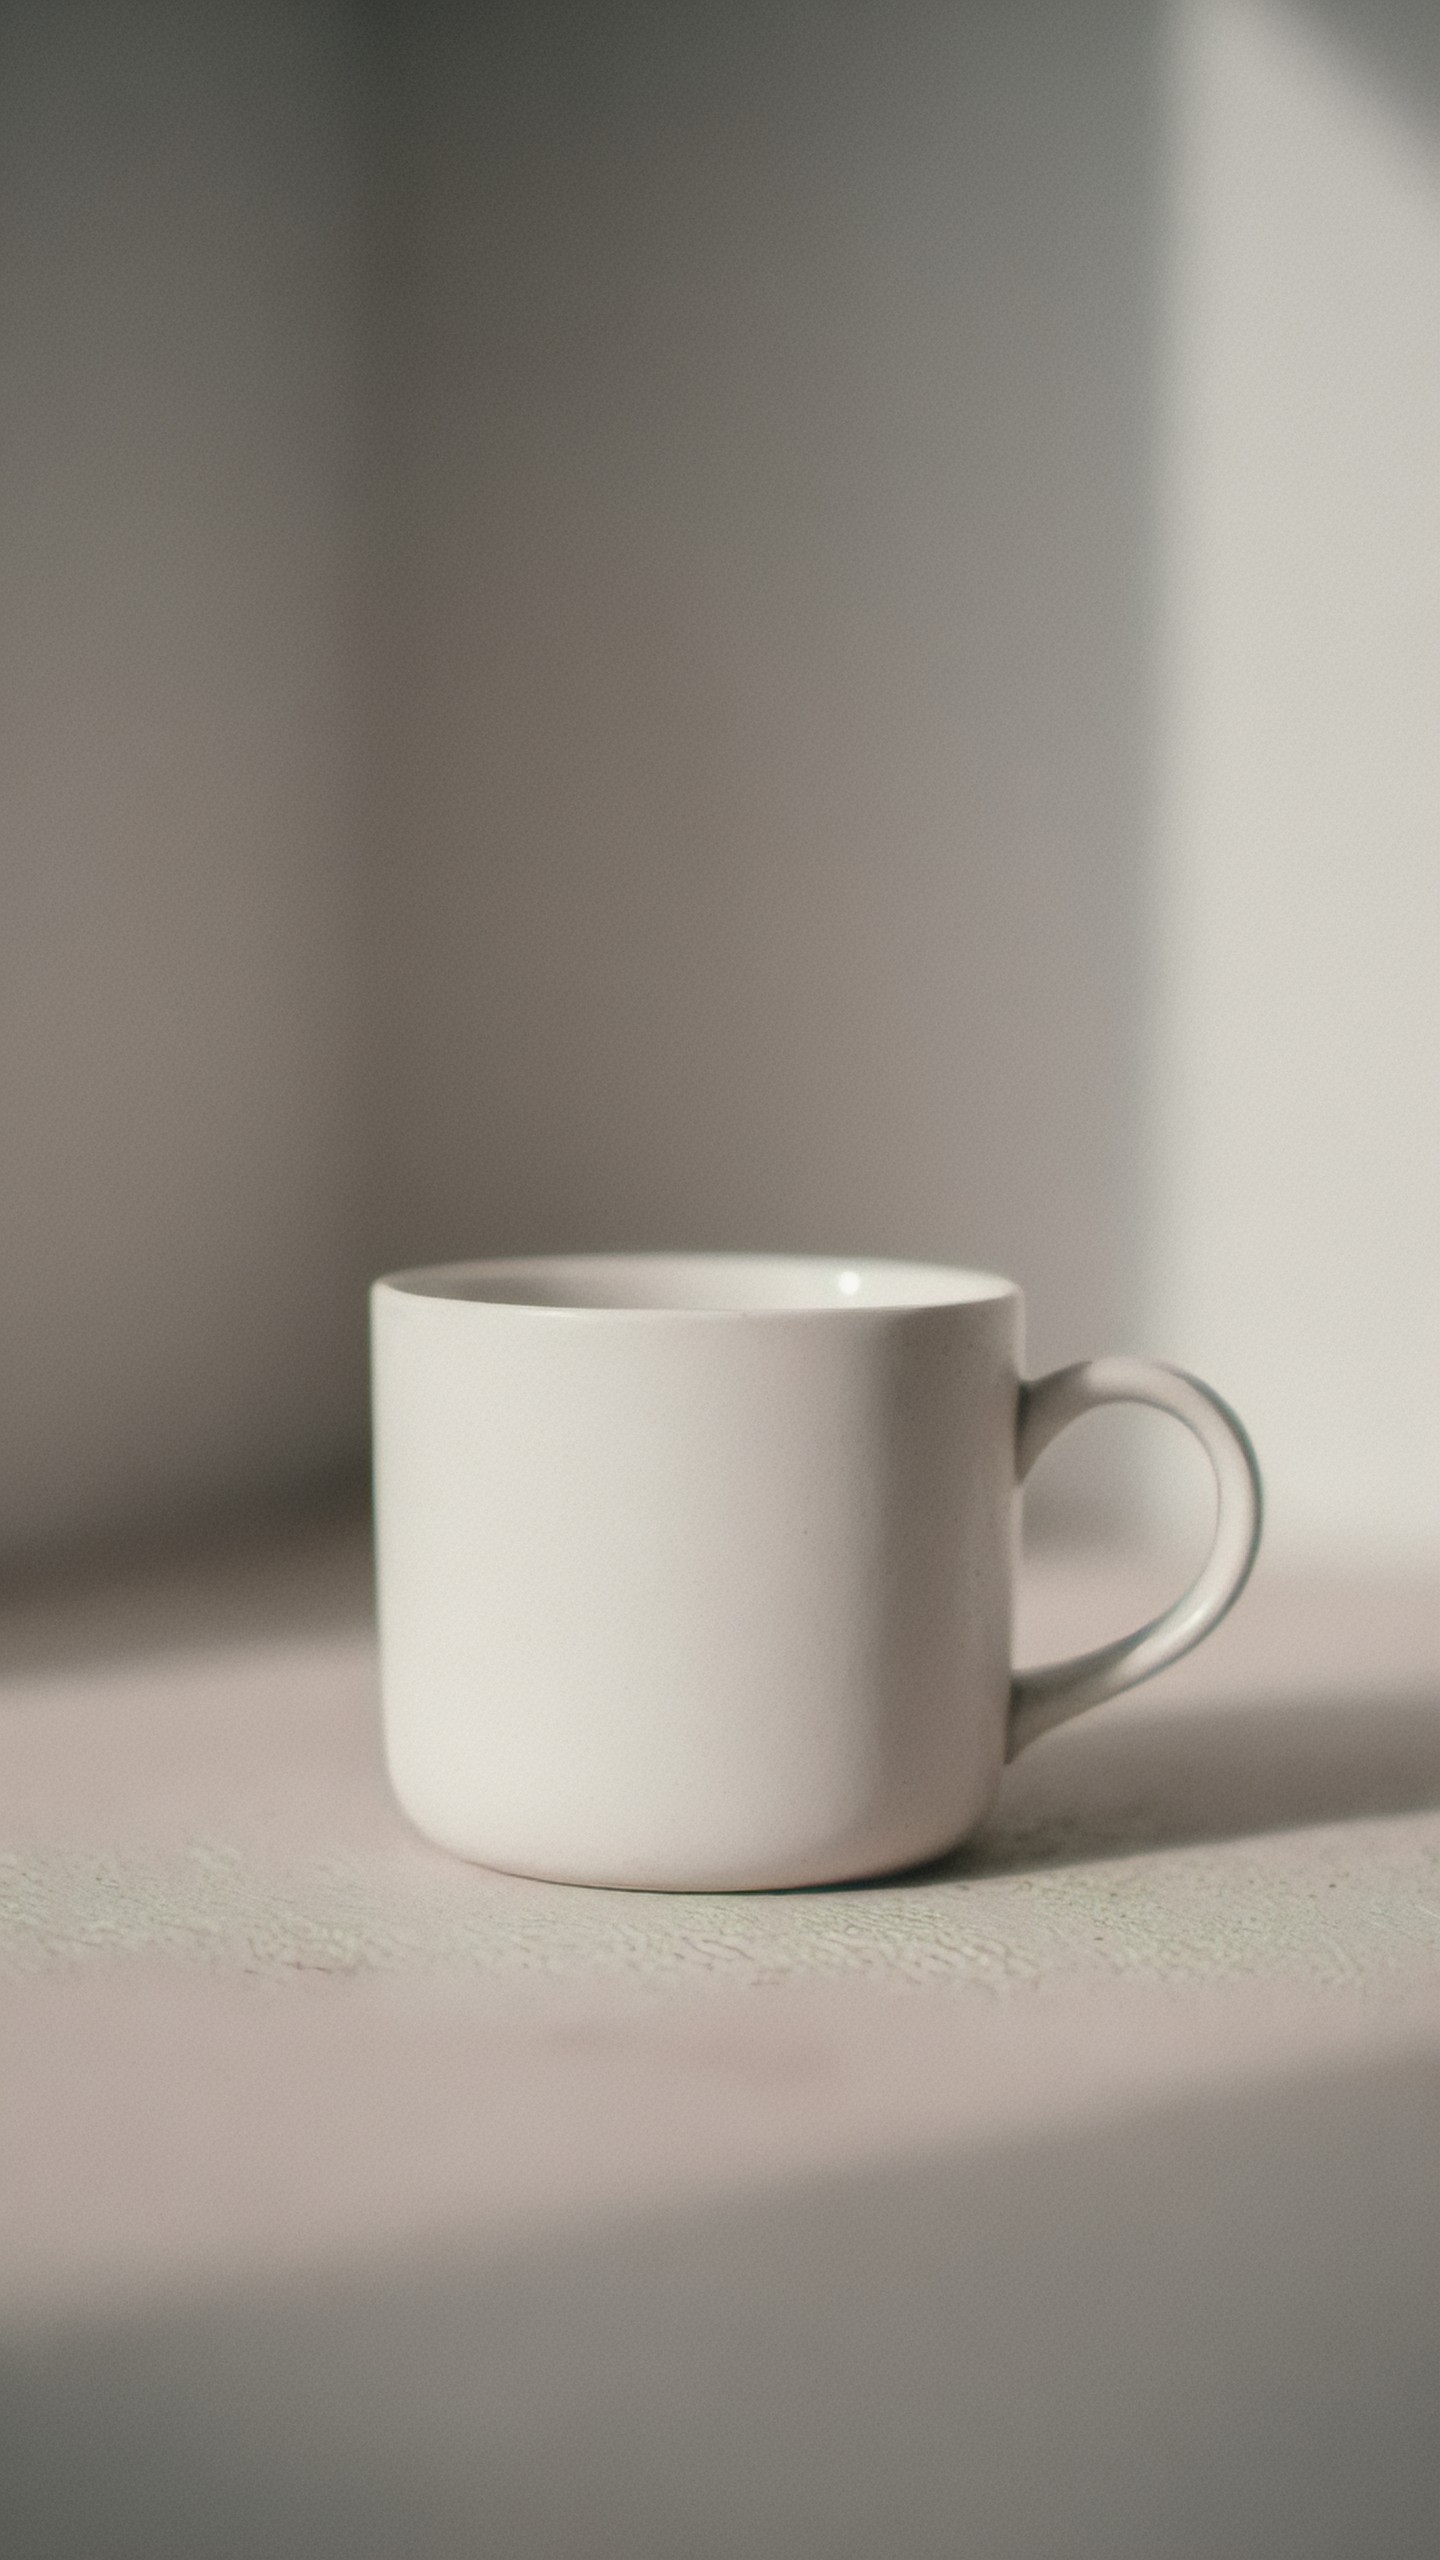
Where the latent appears in a basic ComfyUI workflow
In a beginner text-to-image graph, the latent usually starts at the Empty Latent Image node.
That node defines:
- Width
- Height
- Batch size
It does not contain a visible image yet. It only creates the blank latent canvas that the sampler will transform.
A common basic flow is:
Checkpoint Loader -> CLIP Text Encode -> KSampler -> VAE Decode -> Save Image
Empty Latent Image ----------------------^
The prompt conditioning guides the sampler, and the empty latent gives it a space to generate into.
Example prompt for a clean portrait setup:
professional studio portrait of a woman wearing a dark green blazer, softbox lighting, gray seamless background, natural skin texture, sharp eyes, 85mm lens look, realistic color grading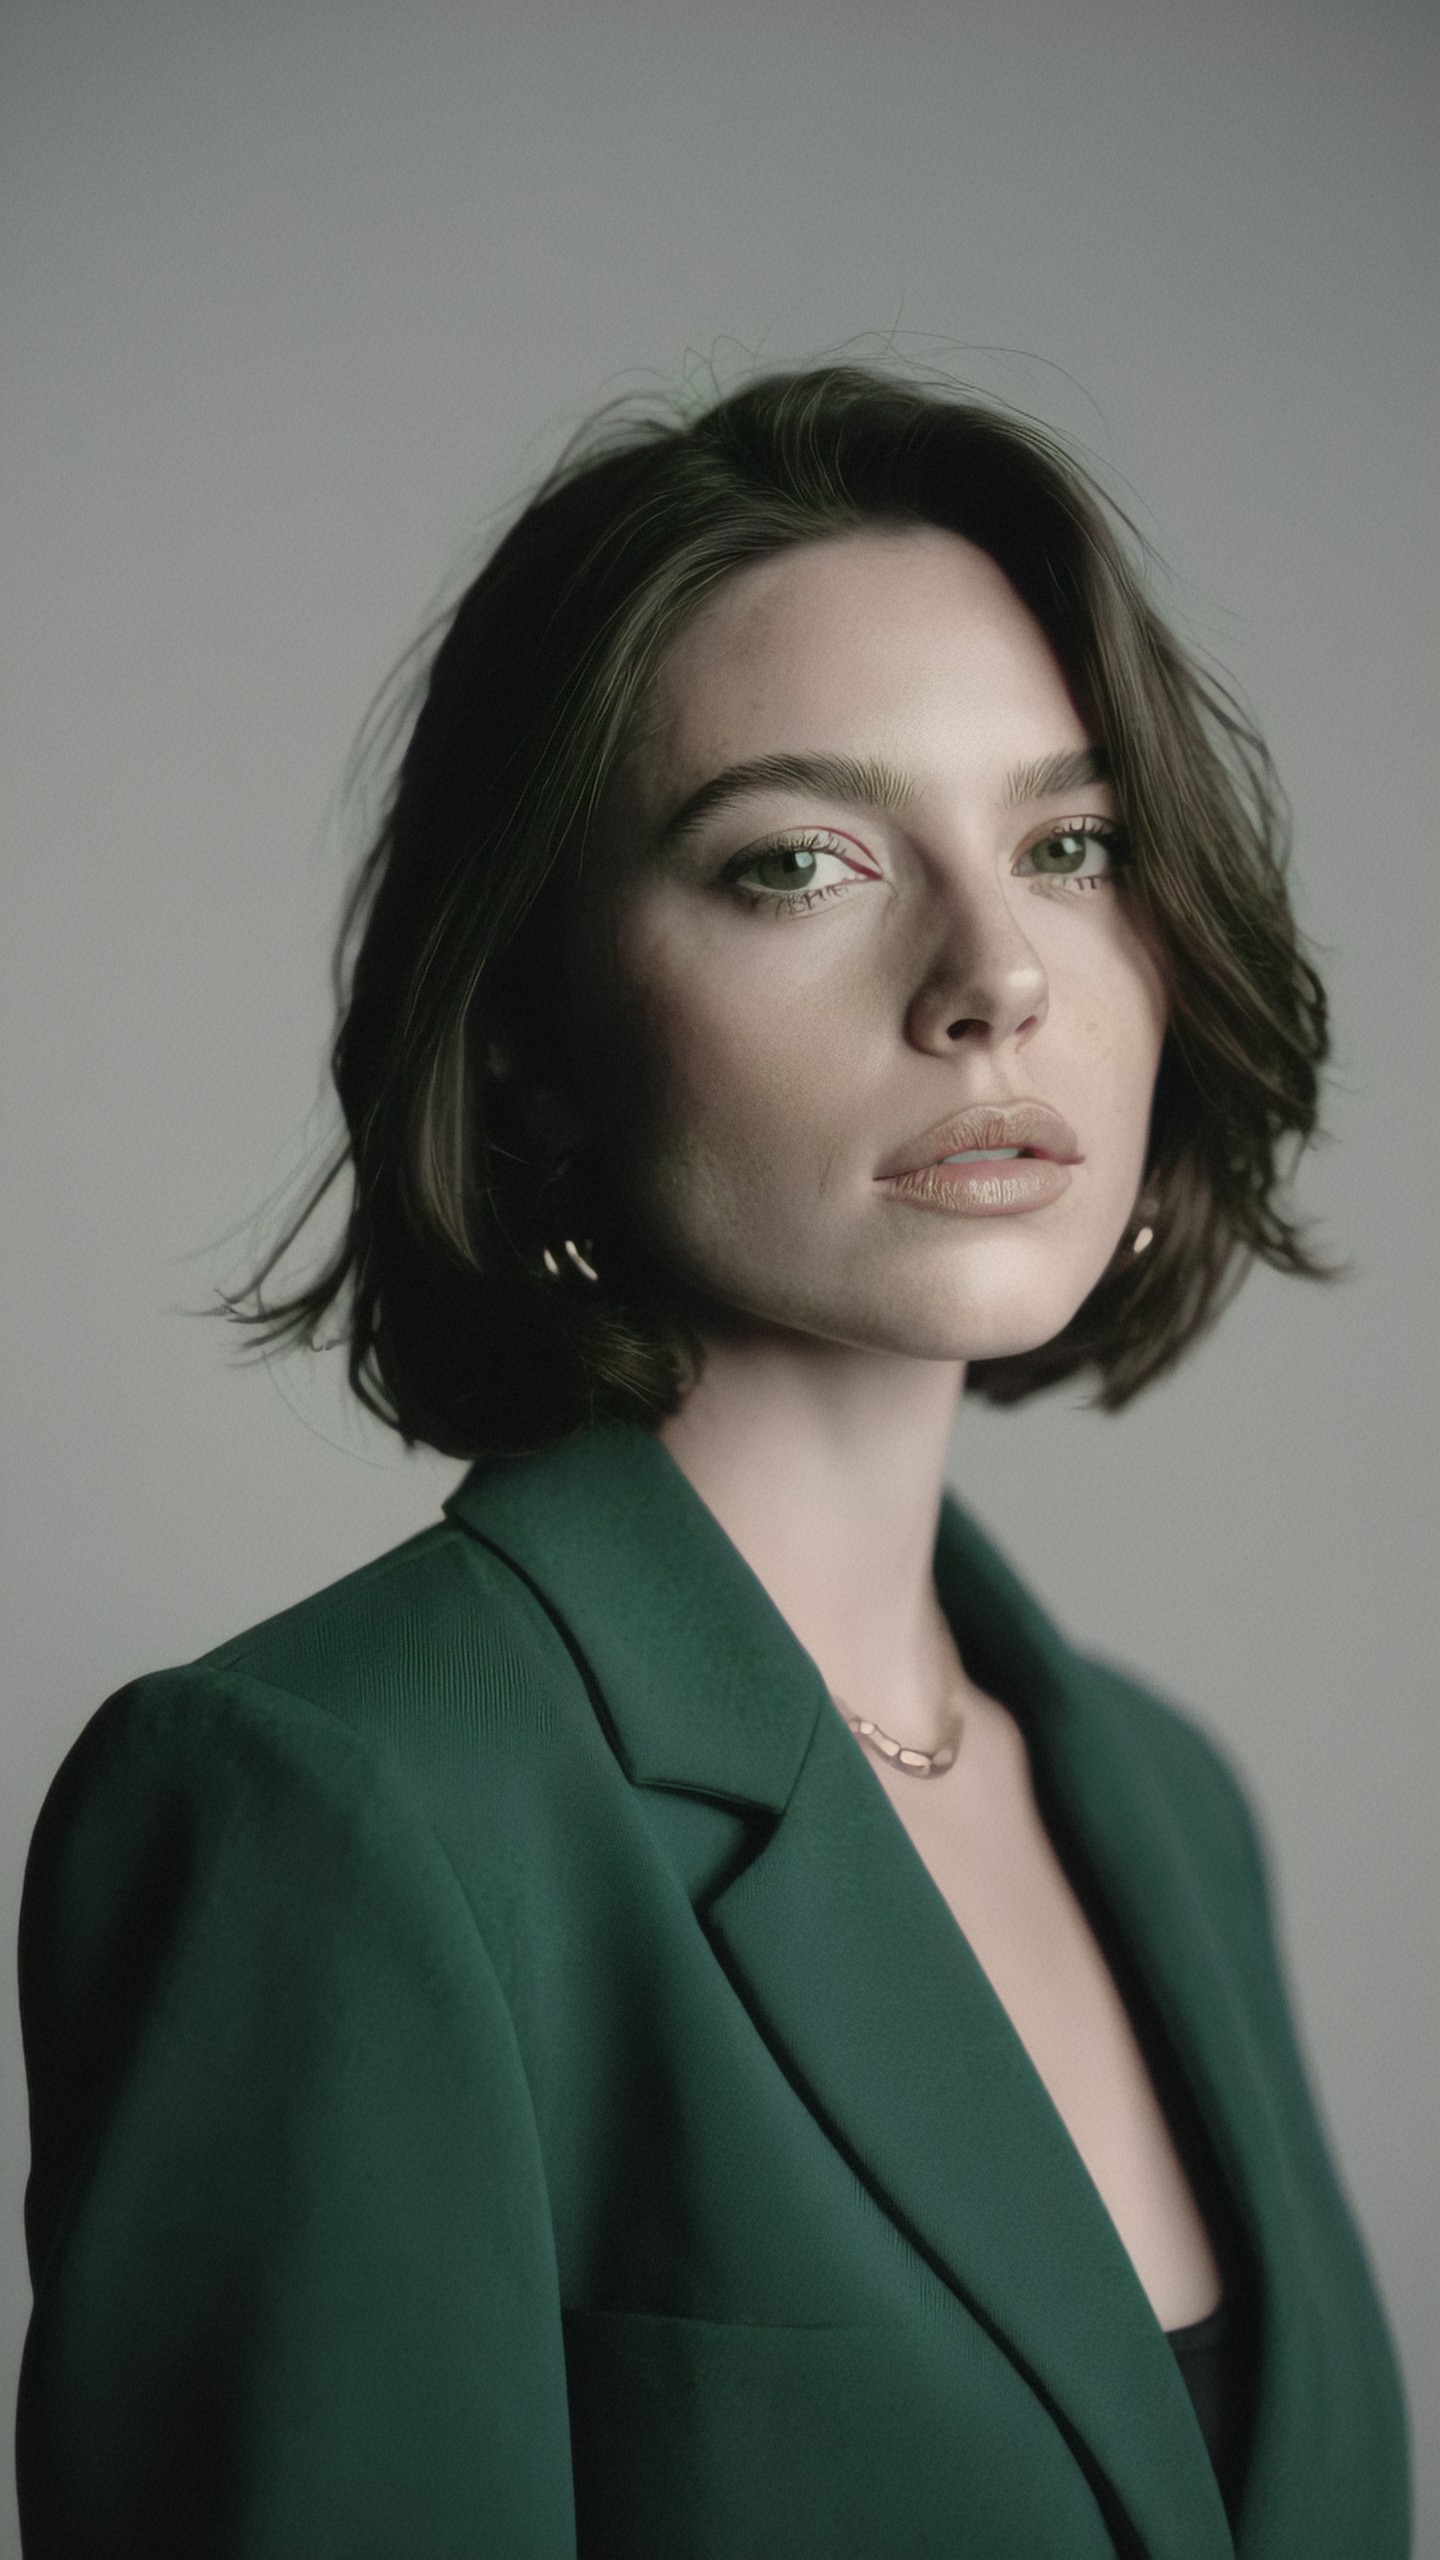
Why image size is set in the latent node
In ComfyUI, the image size for text-to-image generation is usually controlled by Empty Latent Image, not by the prompt.
For SDXL, common starting sizes include:
- 1024 x 1024
- 832 x 1216
- 1216 x 832
- 1024 x 1536 for some portrait workflows, depending on memory
For Stable Diffusion 1.5, common sizes include:
- 512 x 512
- 512 x 768
- 768 x 512
Most models work best with dimensions divisible by 8, and many workflows prefer dimensions divisible by 64.
Use case: vertical editorial illustration for an article header.
editorial illustration of a small robot arranging paper notes on a desk, warm desk lamp, tidy workspace, soft shadows, modern magazine style, muted colors, clear focal point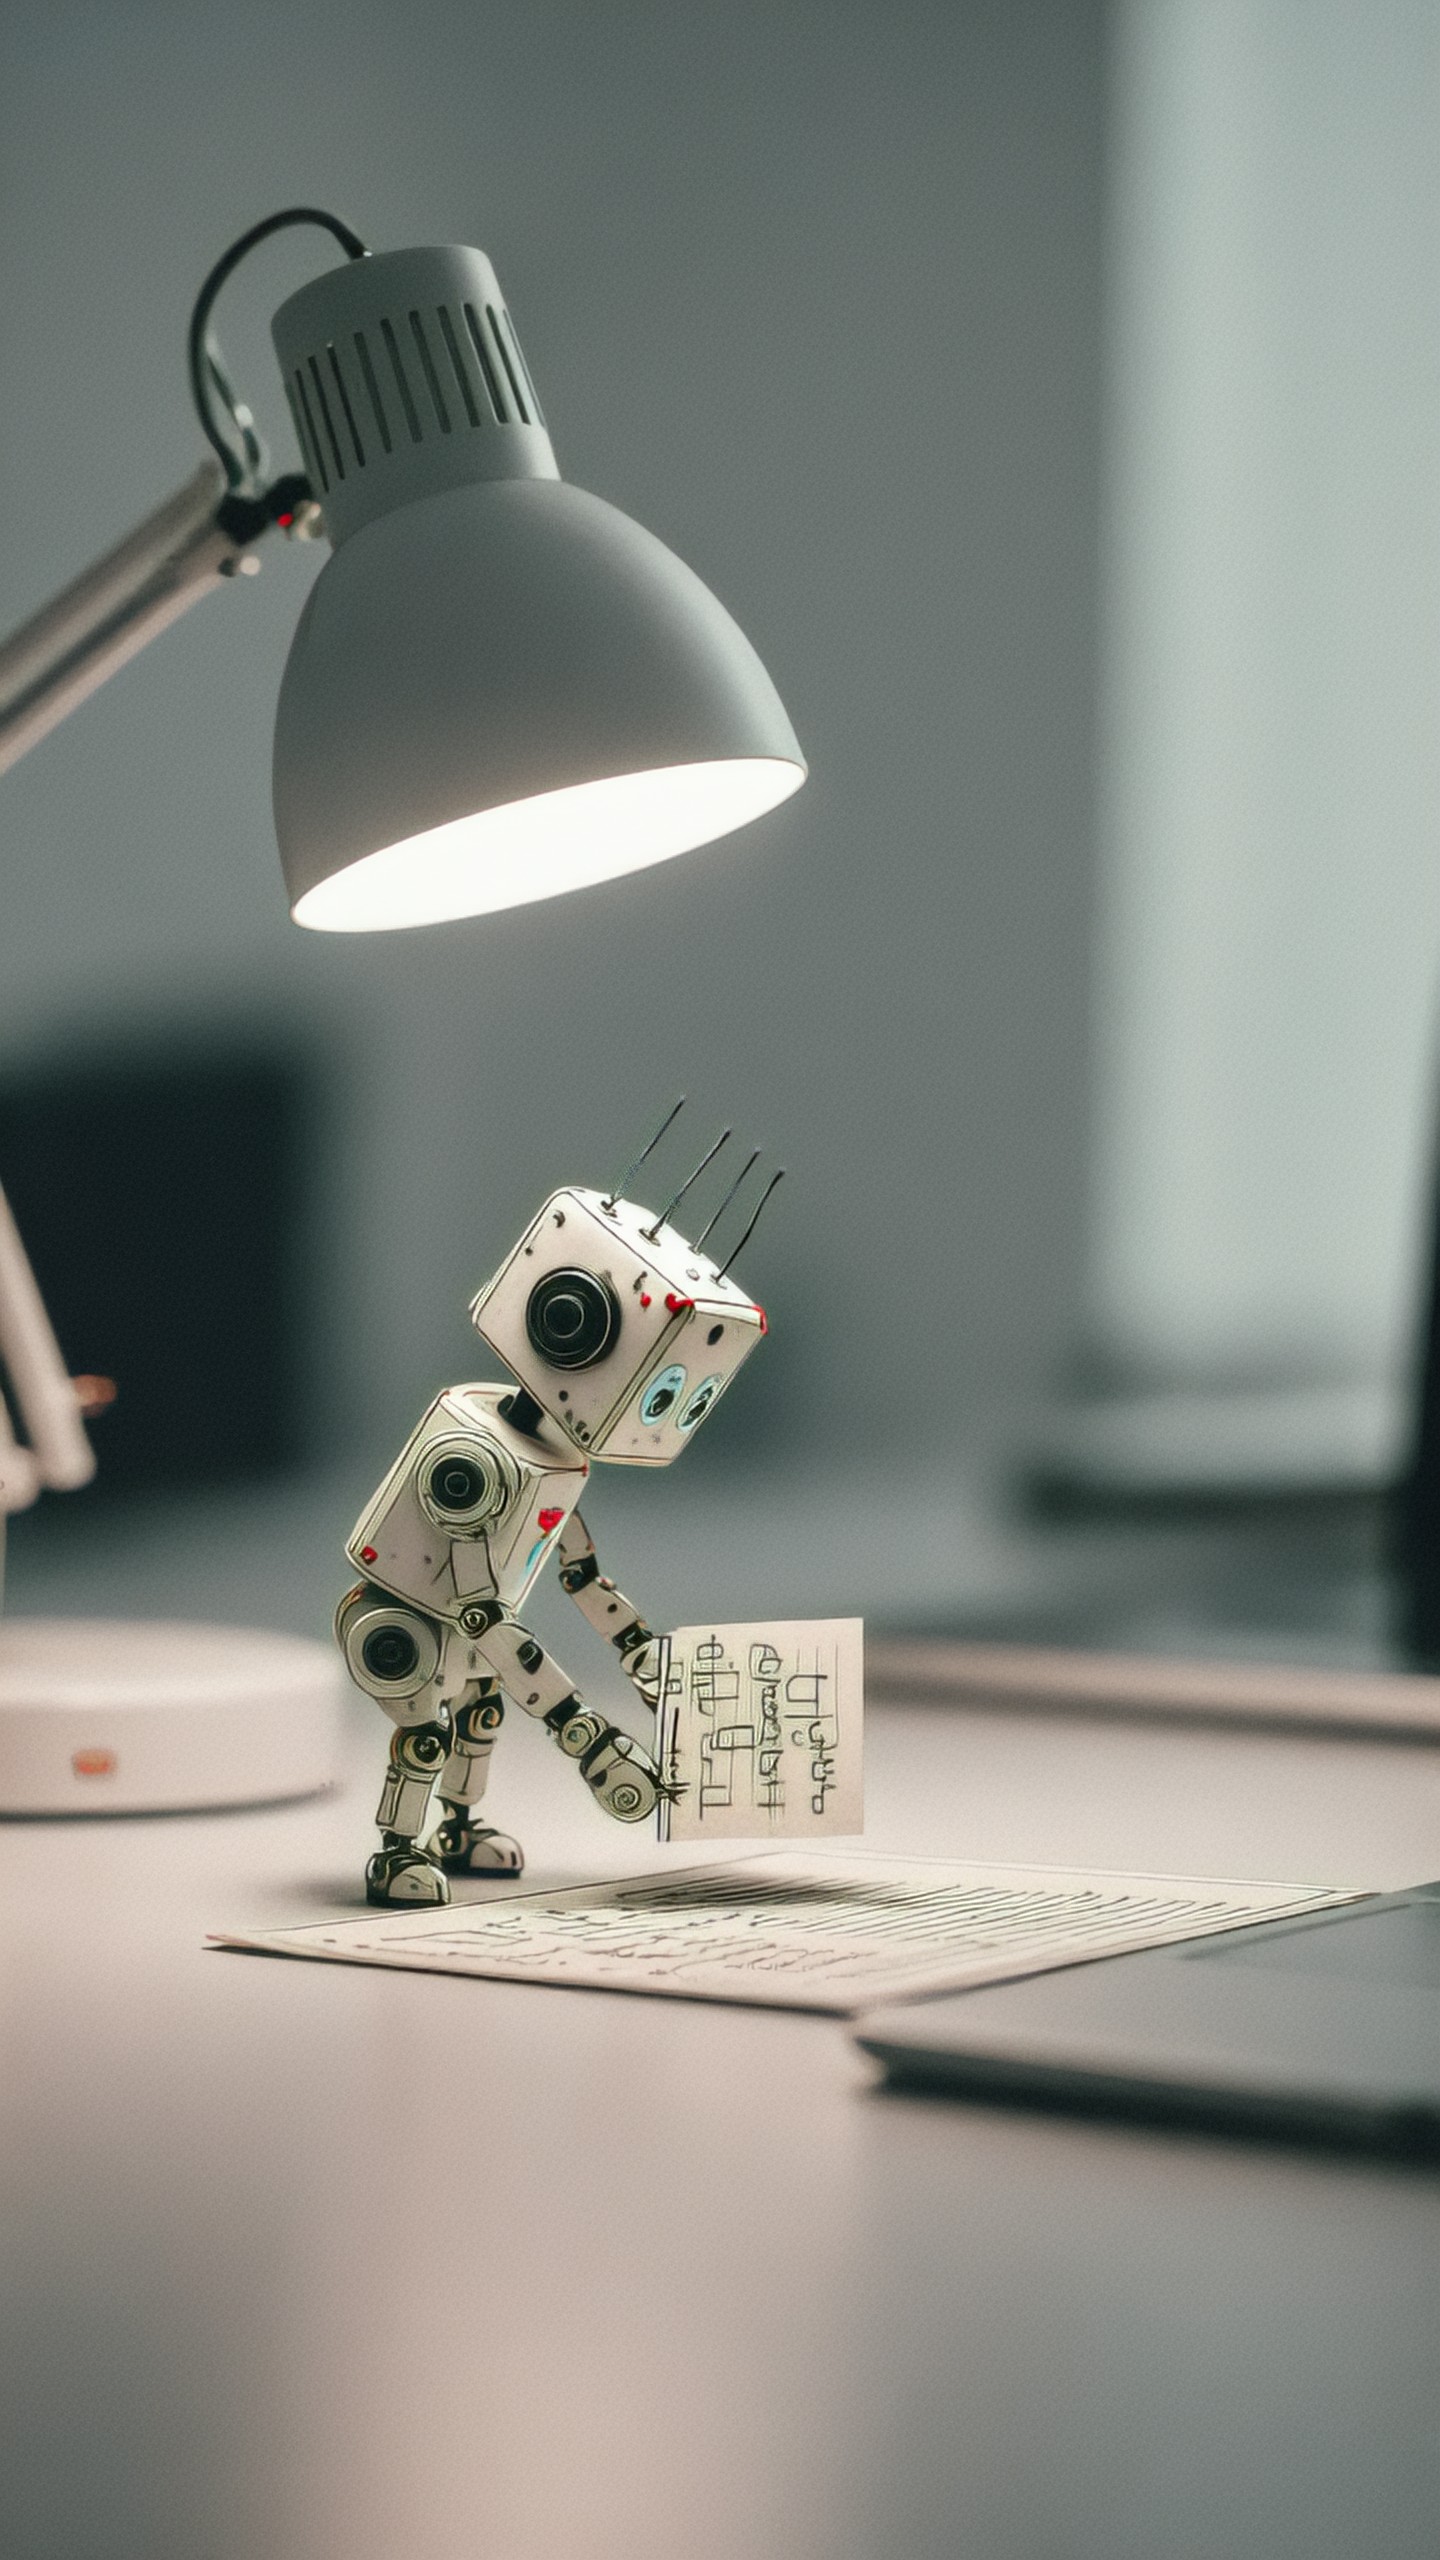
What happens inside KSampler?
KSampler is where the latent changes from noise into a structured image.
It takes:
- A model
- Positive conditioning
- Negative conditioning
- A latent image
- Sampling settings such as steps, CFG, sampler, scheduler, and seed
The sampler does not directly paint pixels. It modifies the latent representation over multiple steps. After sampling, the output is still latent data. You need VAE Decode to turn it into a visible image.
A useful prompt for testing sampler settings:
futuristic city street after rain, neon reflections on wet pavement, pedestrians with umbrellas, cinematic perspective, detailed architecture, realistic lighting, balanced contrast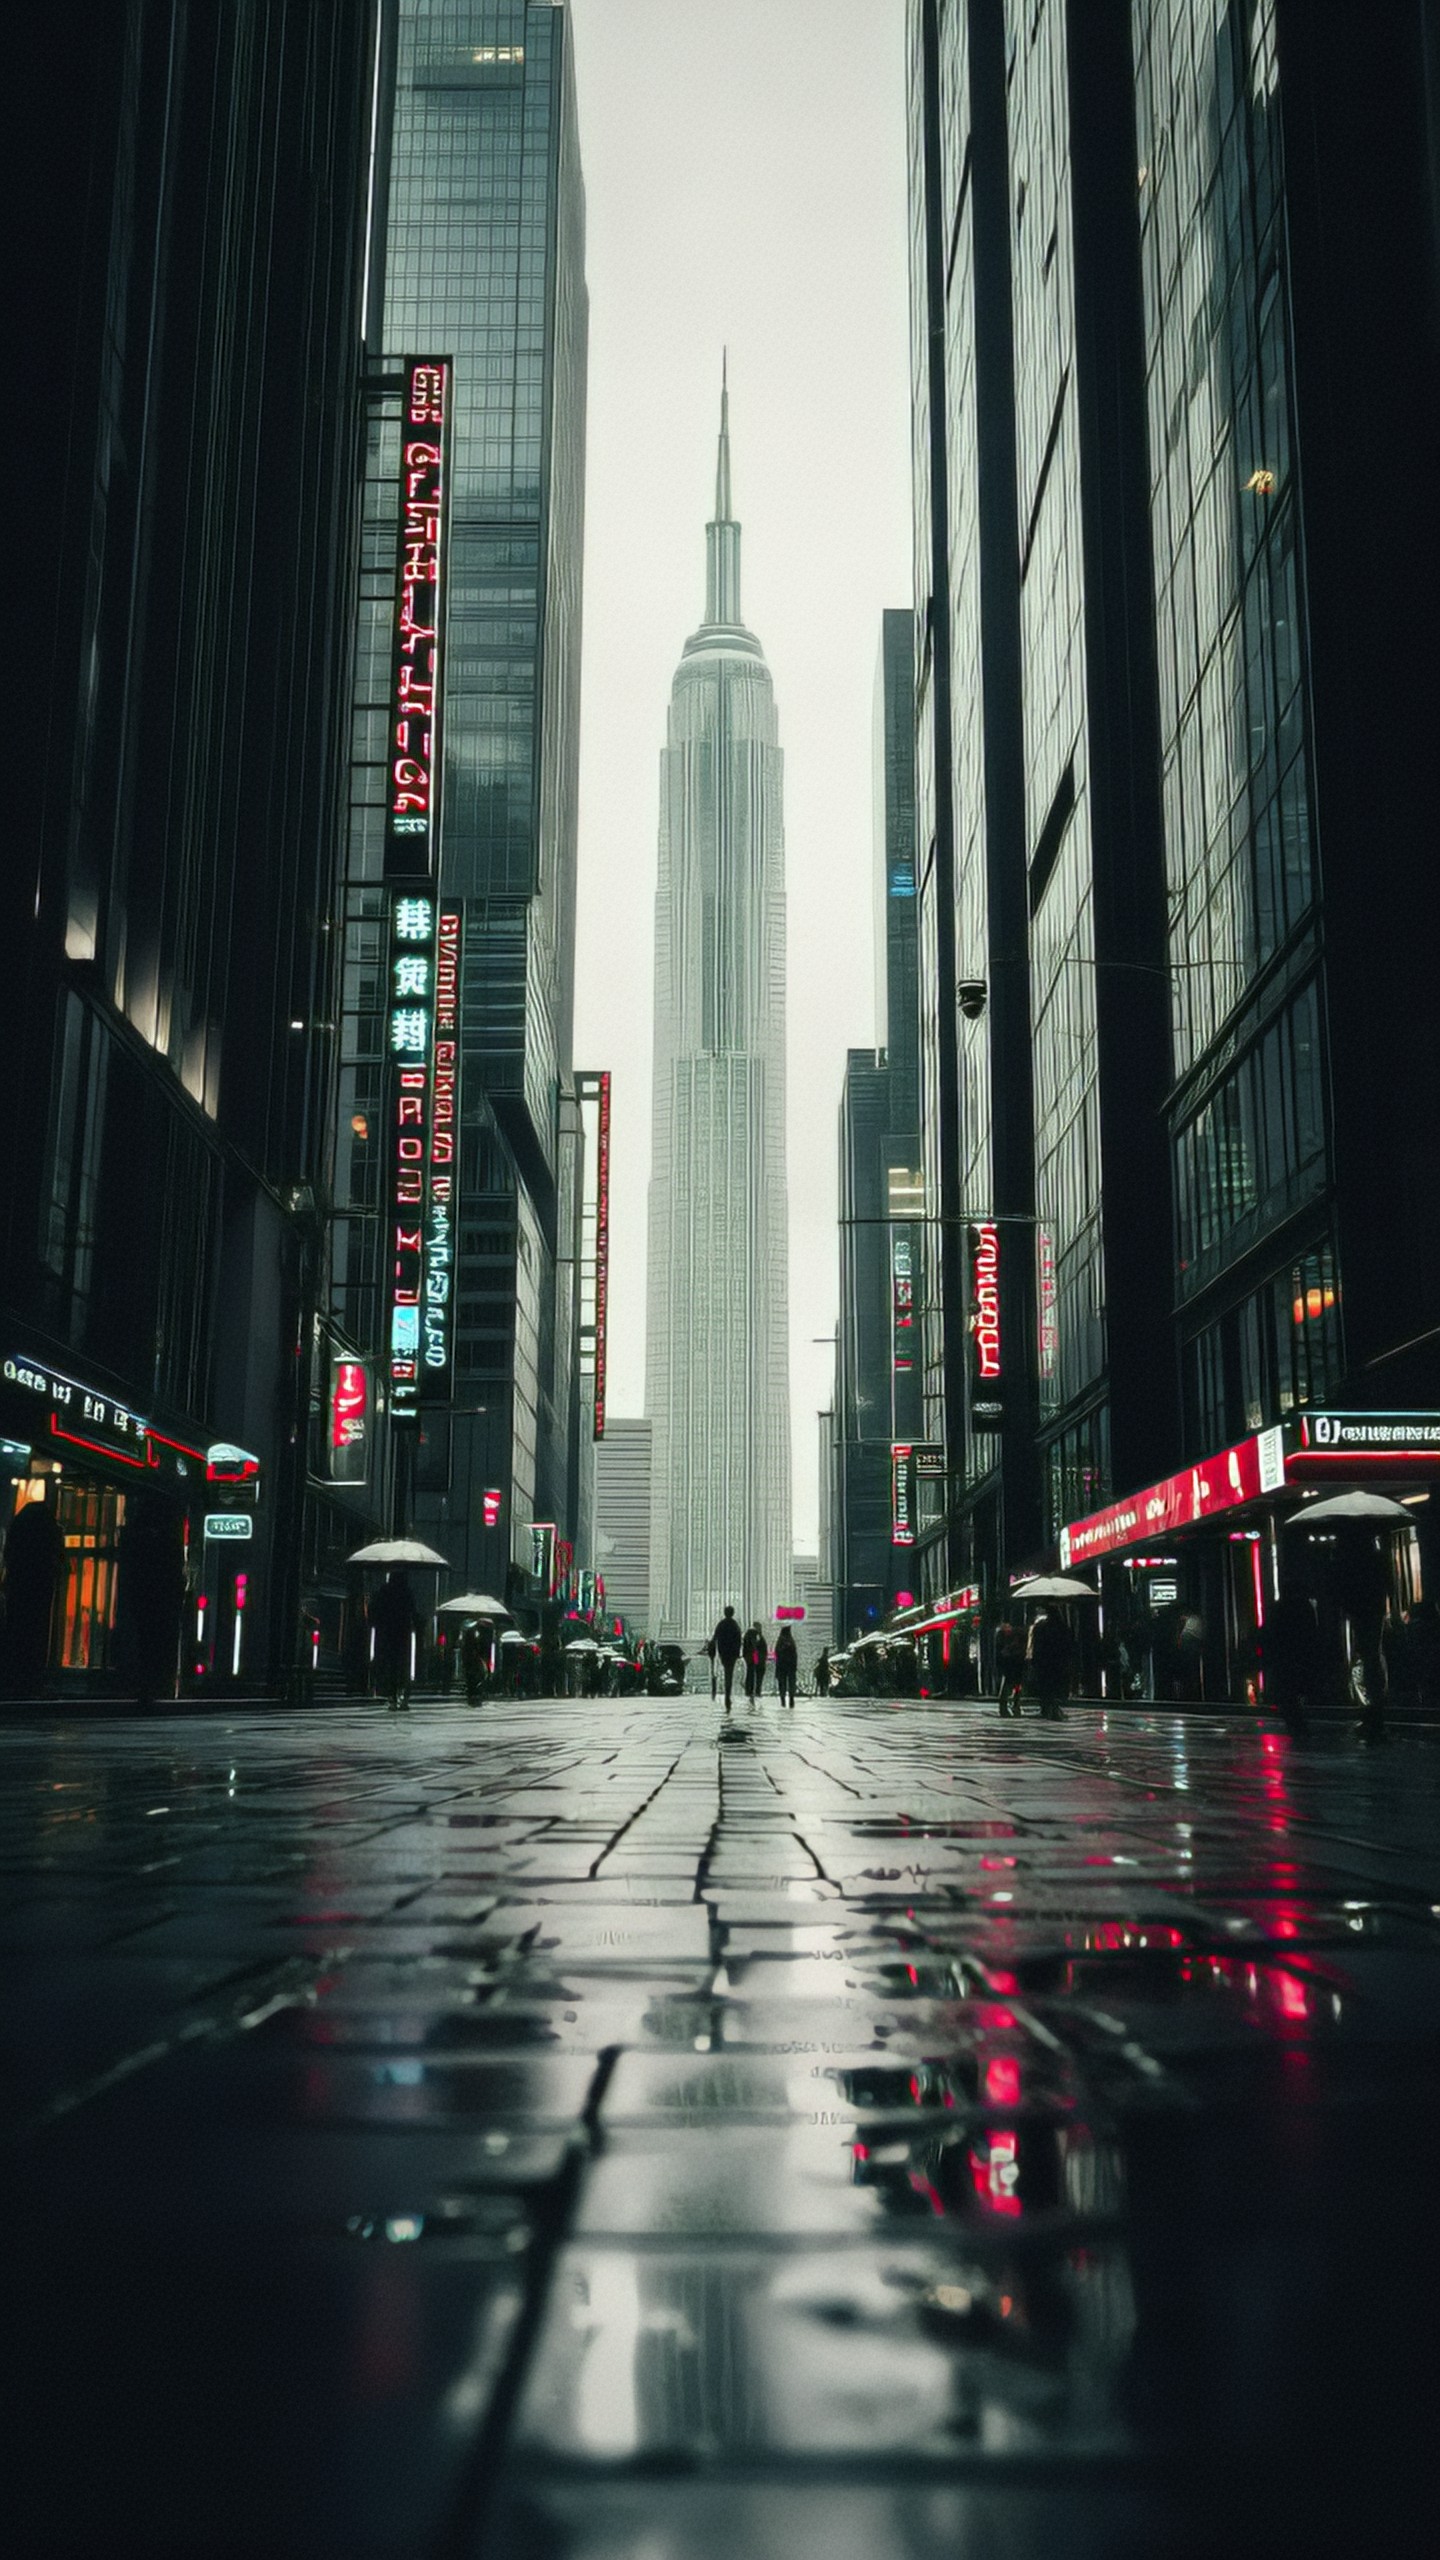
Why VAE Decode is required
The VAE is the bridge between latent space and pixel space.
- VAE Decode turns latent data into an image.
- VAE Encode turns an existing image into latent data.
If your workflow stops at KSampler, you do not yet have a normal image. If your image looks washed out, overly saturated, or strange, the VAE or checkpoint may be mismatched.
Use case: food photography generation for menu mockups.
overhead photo of a rustic bowl of tomato soup with basil garnish, toasted bread on linen cloth, natural kitchen light, warm color palette, appetizing texture, realistic food photography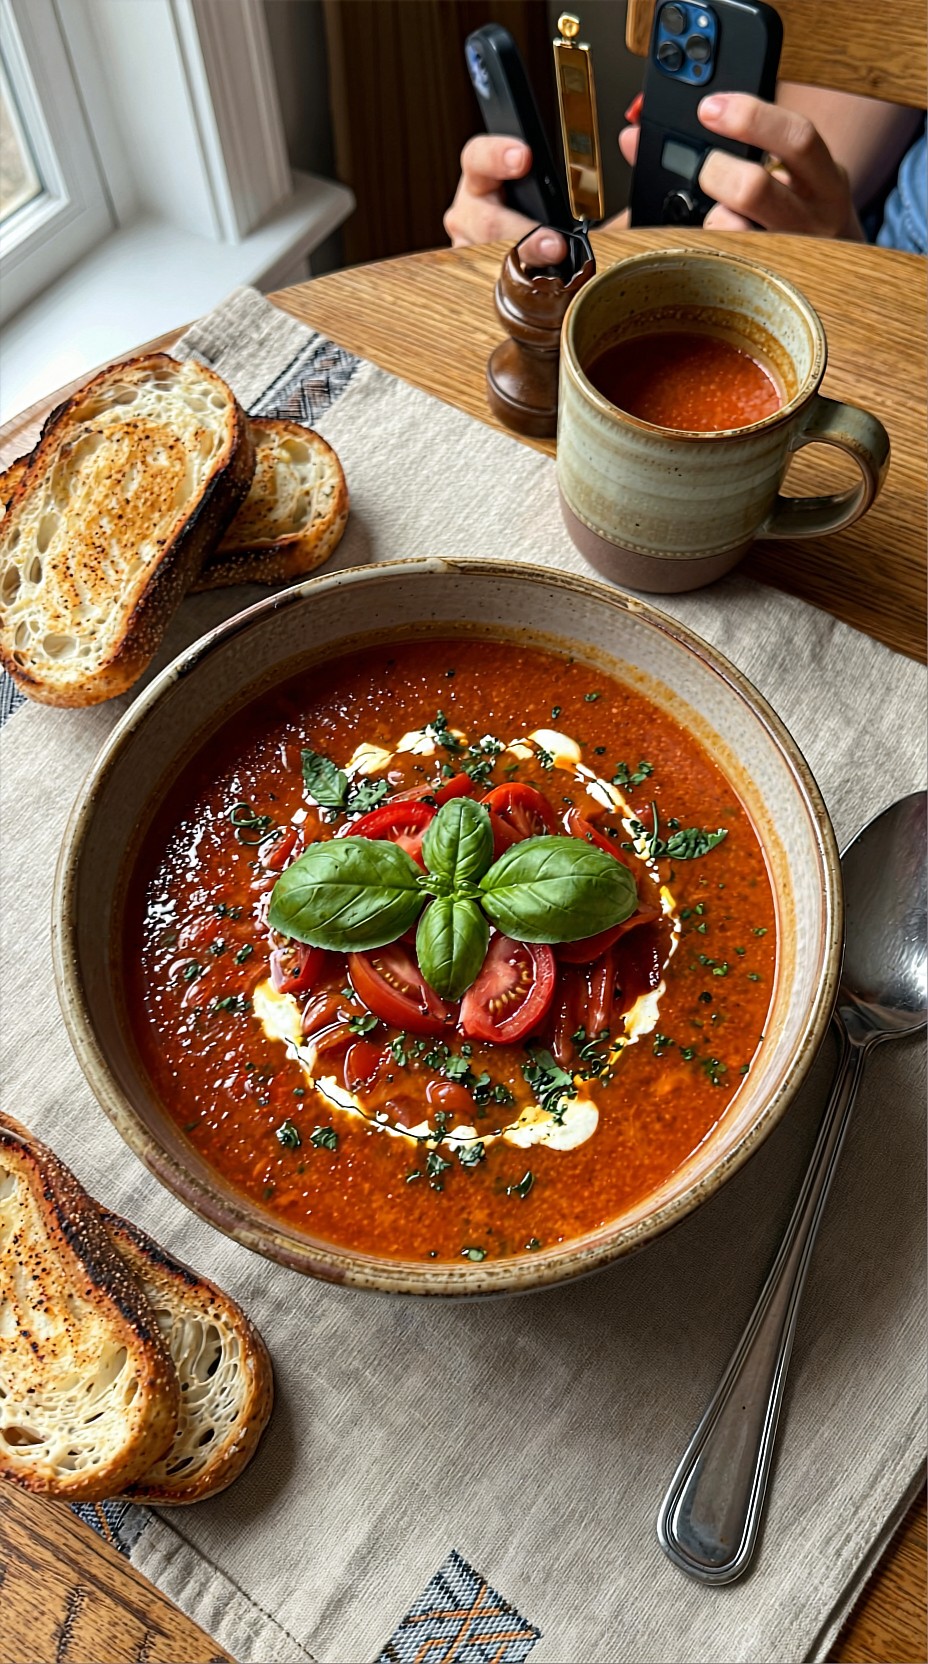
Latents in image-to-image workflows
In image-to-image, you start with an existing image instead of an empty latent.
The basic process is:
1. Load an image. 2. Encode it with VAE Encode. 3. Send the latent into KSampler. 4. Decode the result with VAE Decode.
The denoise value controls how strongly the result changes.
- Low denoise keeps the original structure.
- High denoise allows larger changes.
Use case: turning a rough room concept into a more polished interior visualization.
modern Scandinavian living room, light oak floor, white walls, low beige sofa, large window, indoor plants, soft afternoon light, realistic interior design render, uncluttered layout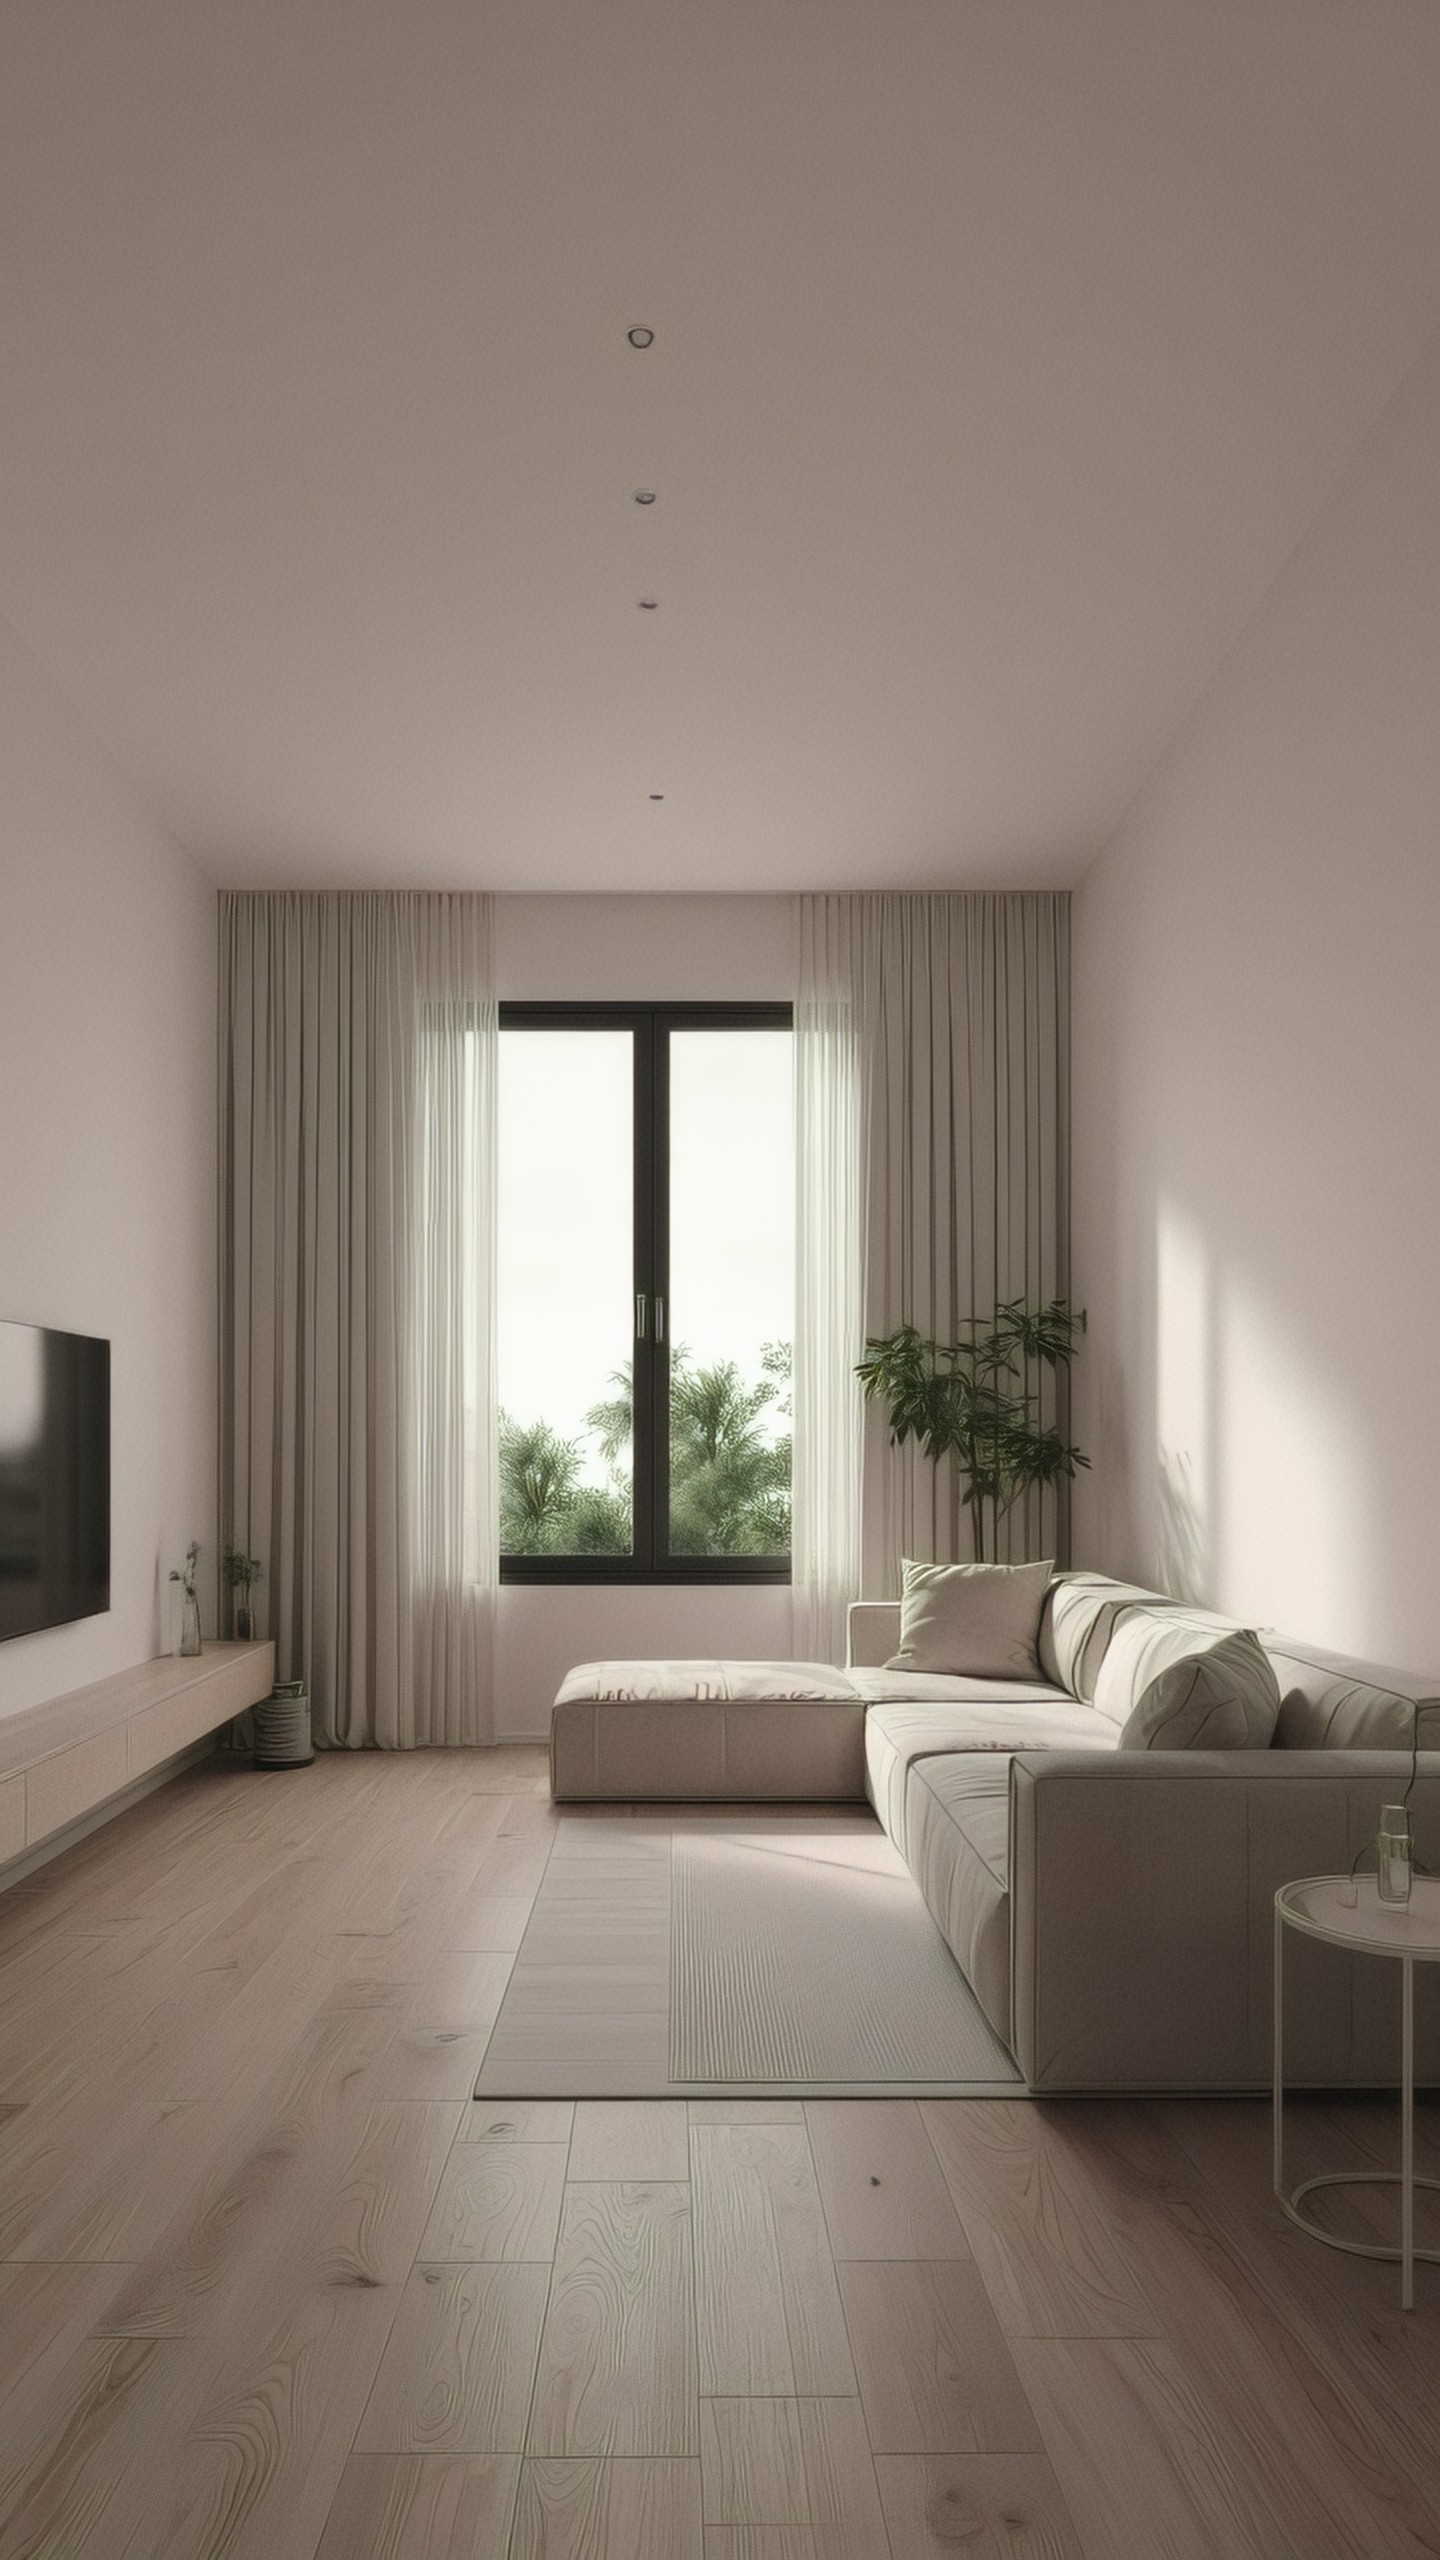
Latents in inpainting
Inpainting also uses latents. You provide an image and a mask, then the workflow updates only the masked area or focuses generation around it.
This is useful for:
- Replacing clothing
- Fixing hands or faces
- Changing background objects
- Adding props
- Removing unwanted details
The important point is that the mask guides where the latent should be modified.
Use case: replacing an object in a commercial scene.
sleek black wireless headphones resting on a walnut desk, soft morning light, laptop blurred in background, premium product photography, realistic reflections, clean advertising composition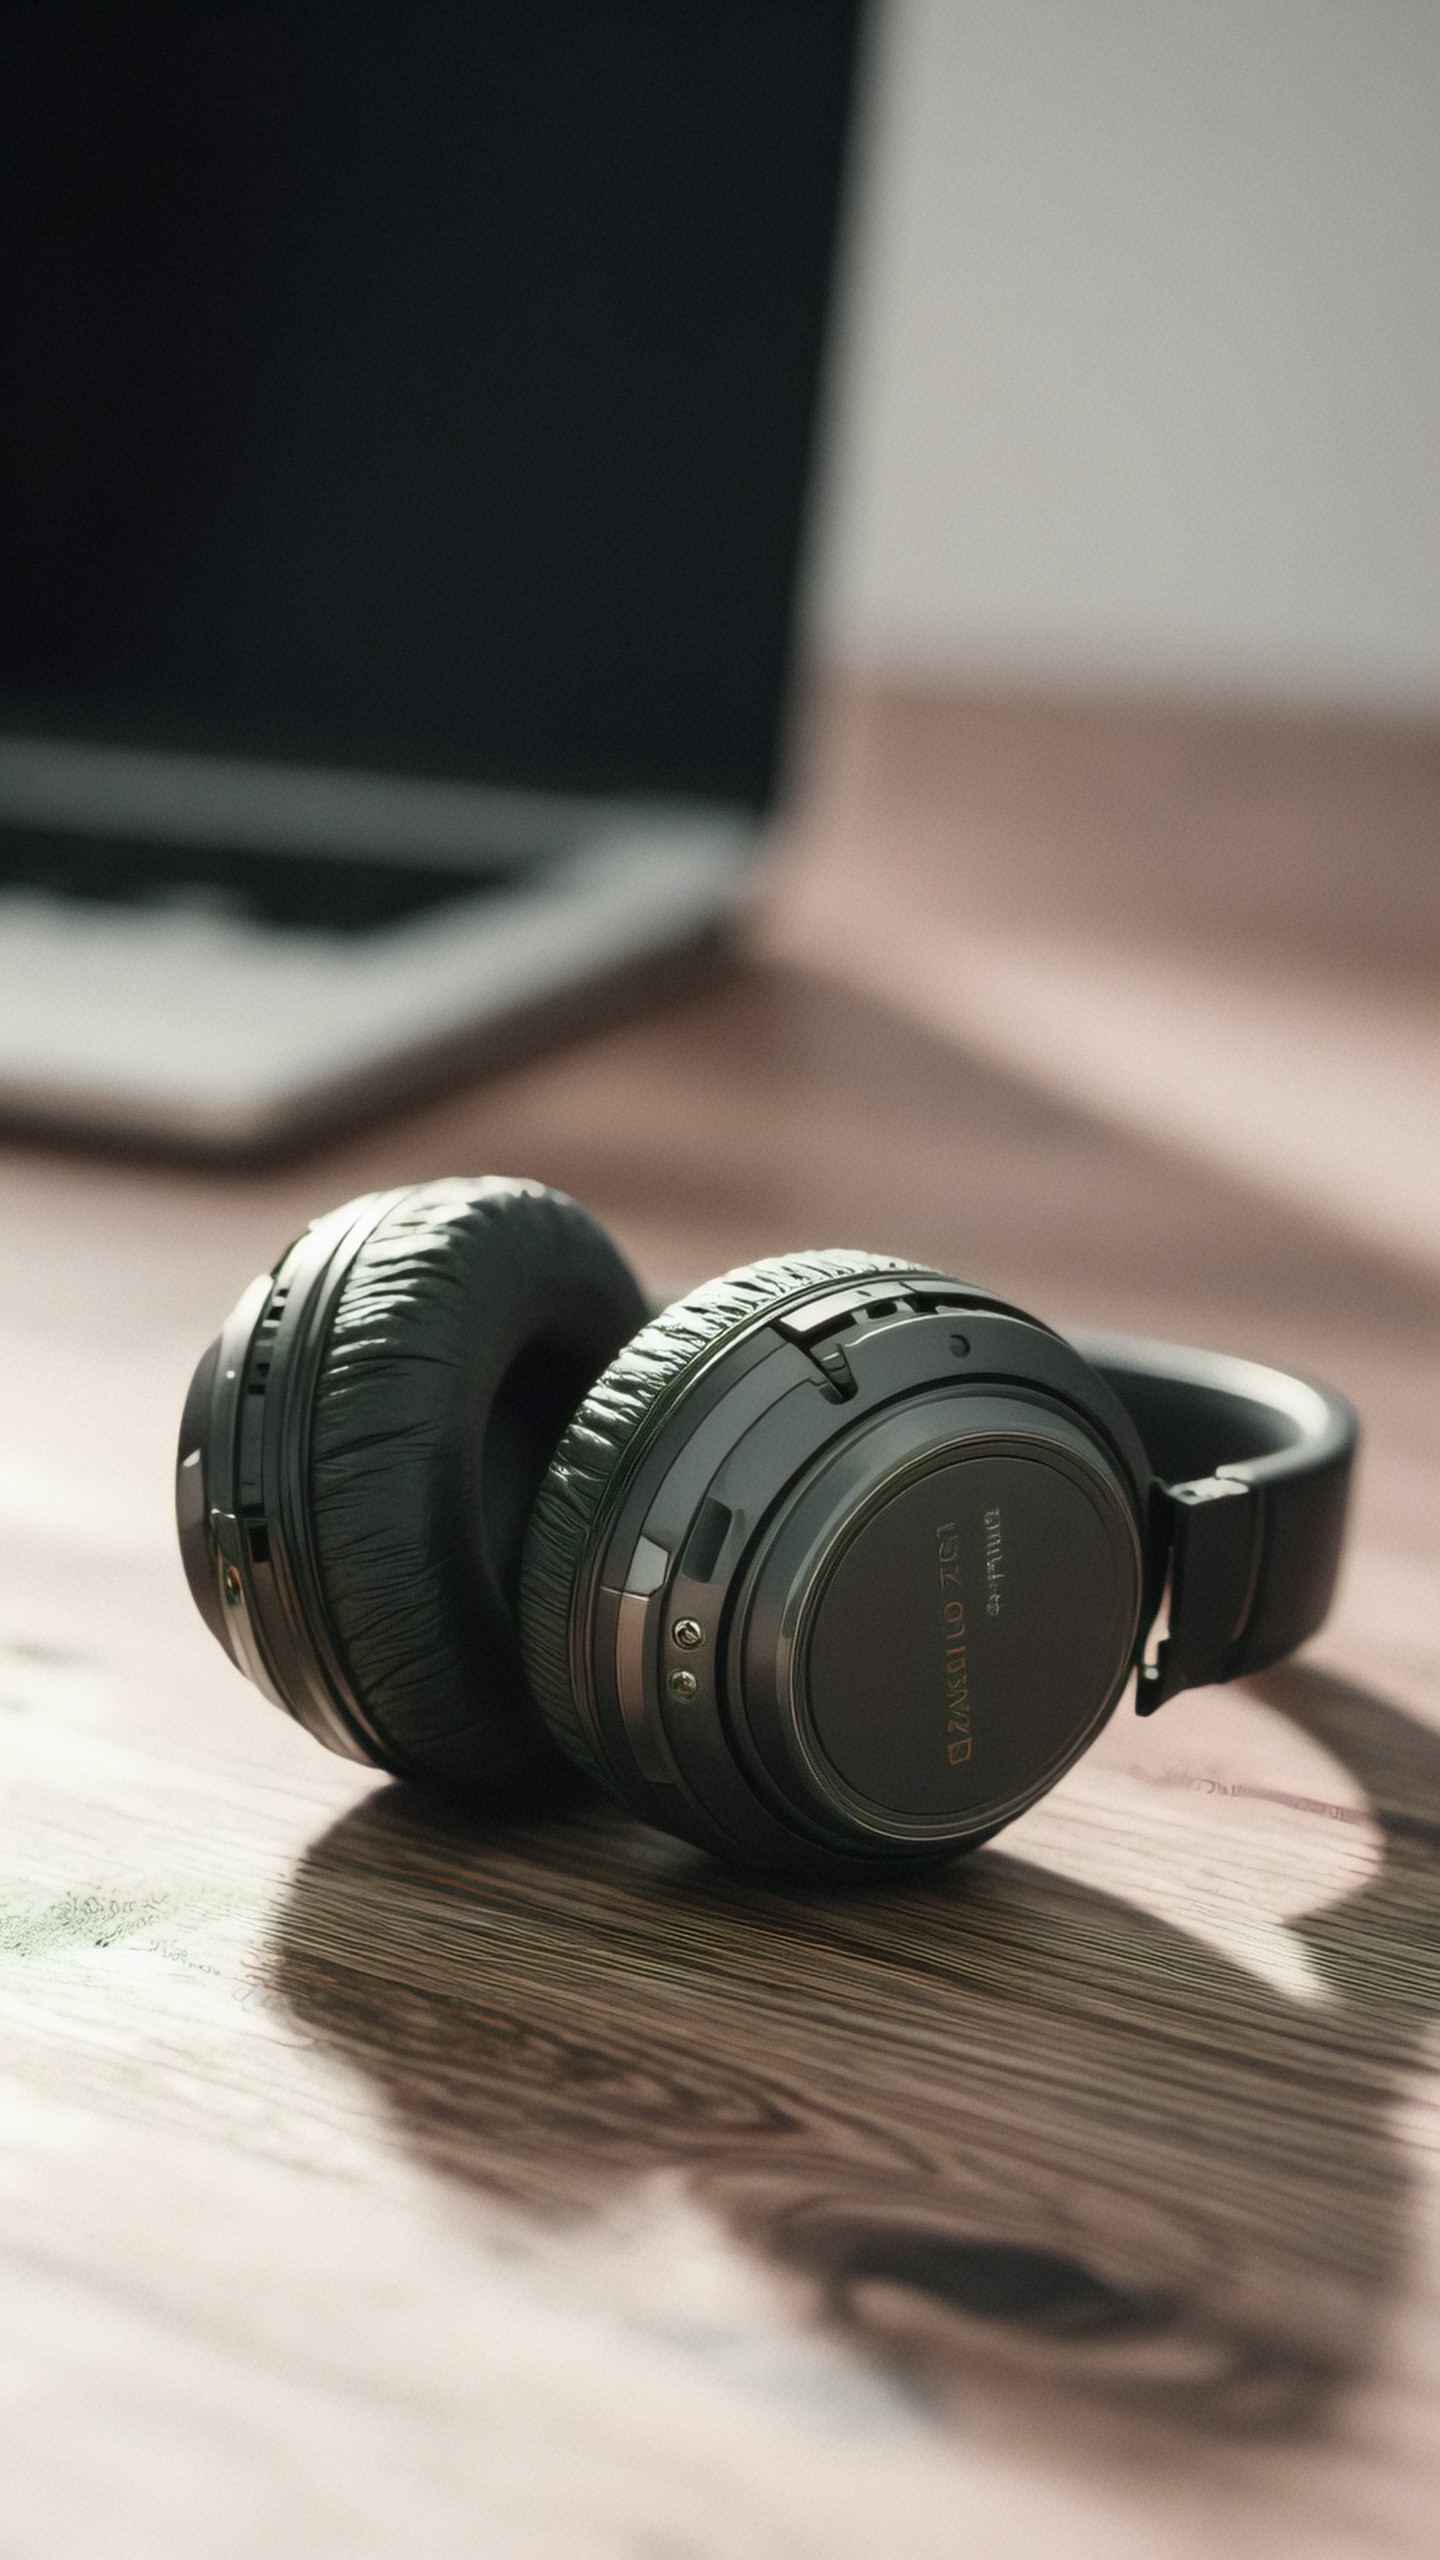
Latent upscaling and refinement
Some workflows upscale in latent space before decoding. This is different from resizing the final image in an image editor.
A latent upscale workflow might:
1. Generate a smaller image. 2. Upscale the latent. 3. Run another sampler pass with low denoise. 4. Decode the refined result.
This can add detail, but too much denoise may change the composition.
Use case: environment concept art with extra detail after a first pass.
ancient stone bridge crossing a misty forest river, moss covered rocks, early morning fog, soft sunlight through trees, fantasy environment concept art, detailed but natural composition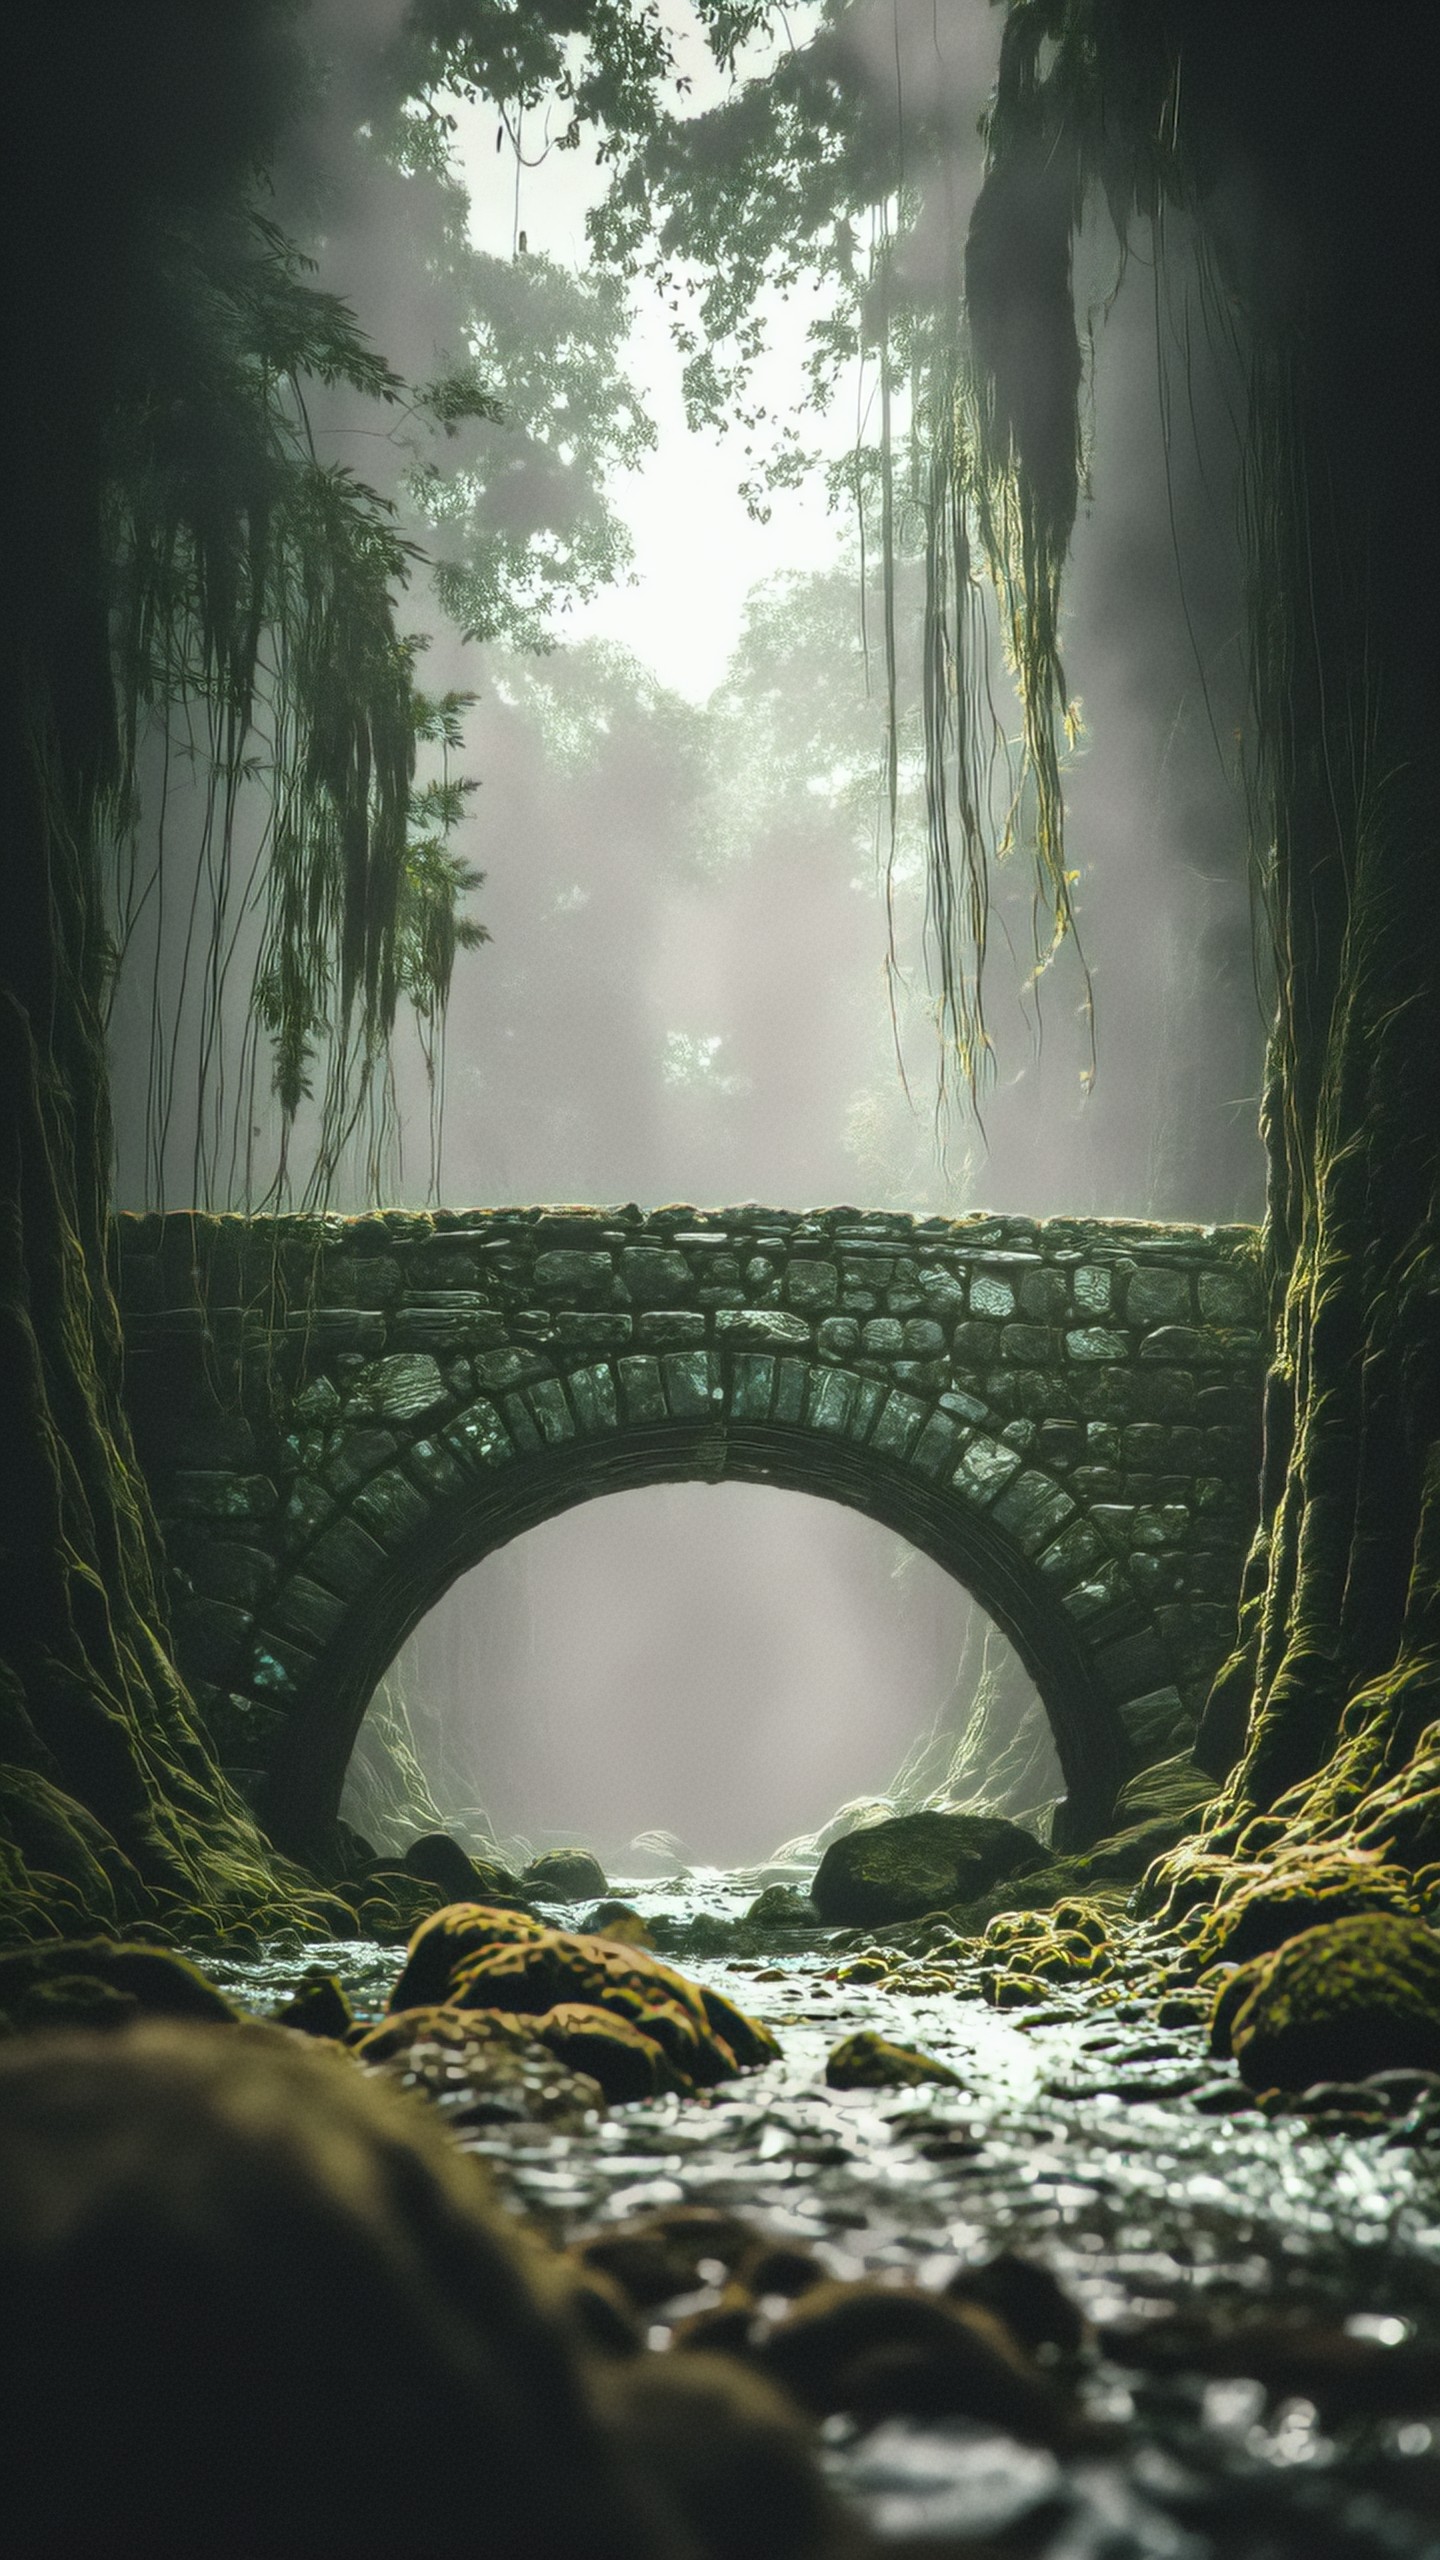
Common beginner mistakes
Connecting image nodes to latent inputs
If a node expects a latent, you cannot directly connect a decoded image unless you encode it first. Use VAE Encode when moving from image to latent.
Forgetting VAE Decode
If you do not decode the latent, you cannot save or preview the final image normally.
Using the wrong size
Very large latent sizes can cause VRAM errors. Start with standard dimensions, then upscale later if needed.
Confusing batch size with resolution
Batch size controls how many images are generated at once. Width and height control the image dimensions.
Overusing high denoise in refinement
High denoise values can destroy the original composition. For refinement, try lower values first.
A good prompt for testing consistency across batches:
small wooden cabin beside a frozen lake, snow covered pine trees, blue hour lighting, smoke from chimney, peaceful winter landscape, realistic atmosphere, wide angle composition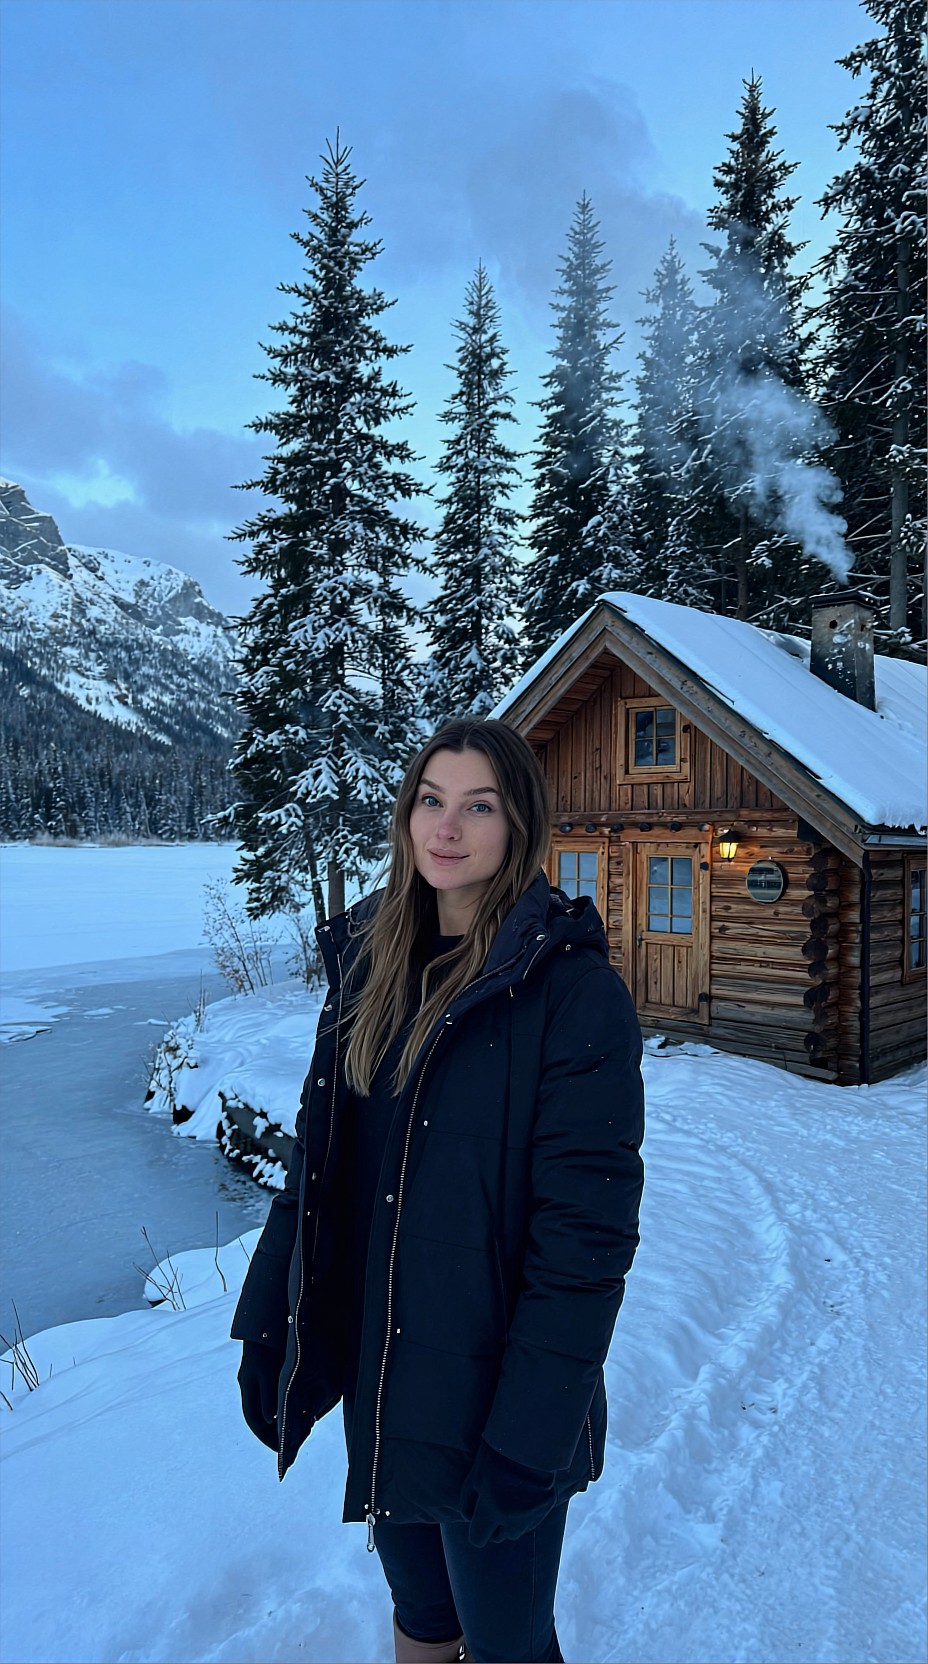
Practical use cases for latent workflows
Latents are useful because they let you control the generation process before the image becomes pixels.
Common uses include:
- Text-to-image generation from an empty latent
- Image-to-image redesigns
- Inpainting specific areas
- Latent upscaling for detail passes
- Batch generation with the same size and settings
- Composition testing with fixed seeds
- ControlNet workflows that guide pose, depth, or edges
- Style transfer workflows using encoded images
For character design, you might use a fixed seed and latent size while changing clothing or lighting prompts.
stylized character design of a young explorer wearing a yellow raincoat and hiking backpack, full body pose, simple background, expressive face, clean concept art, readable silhouette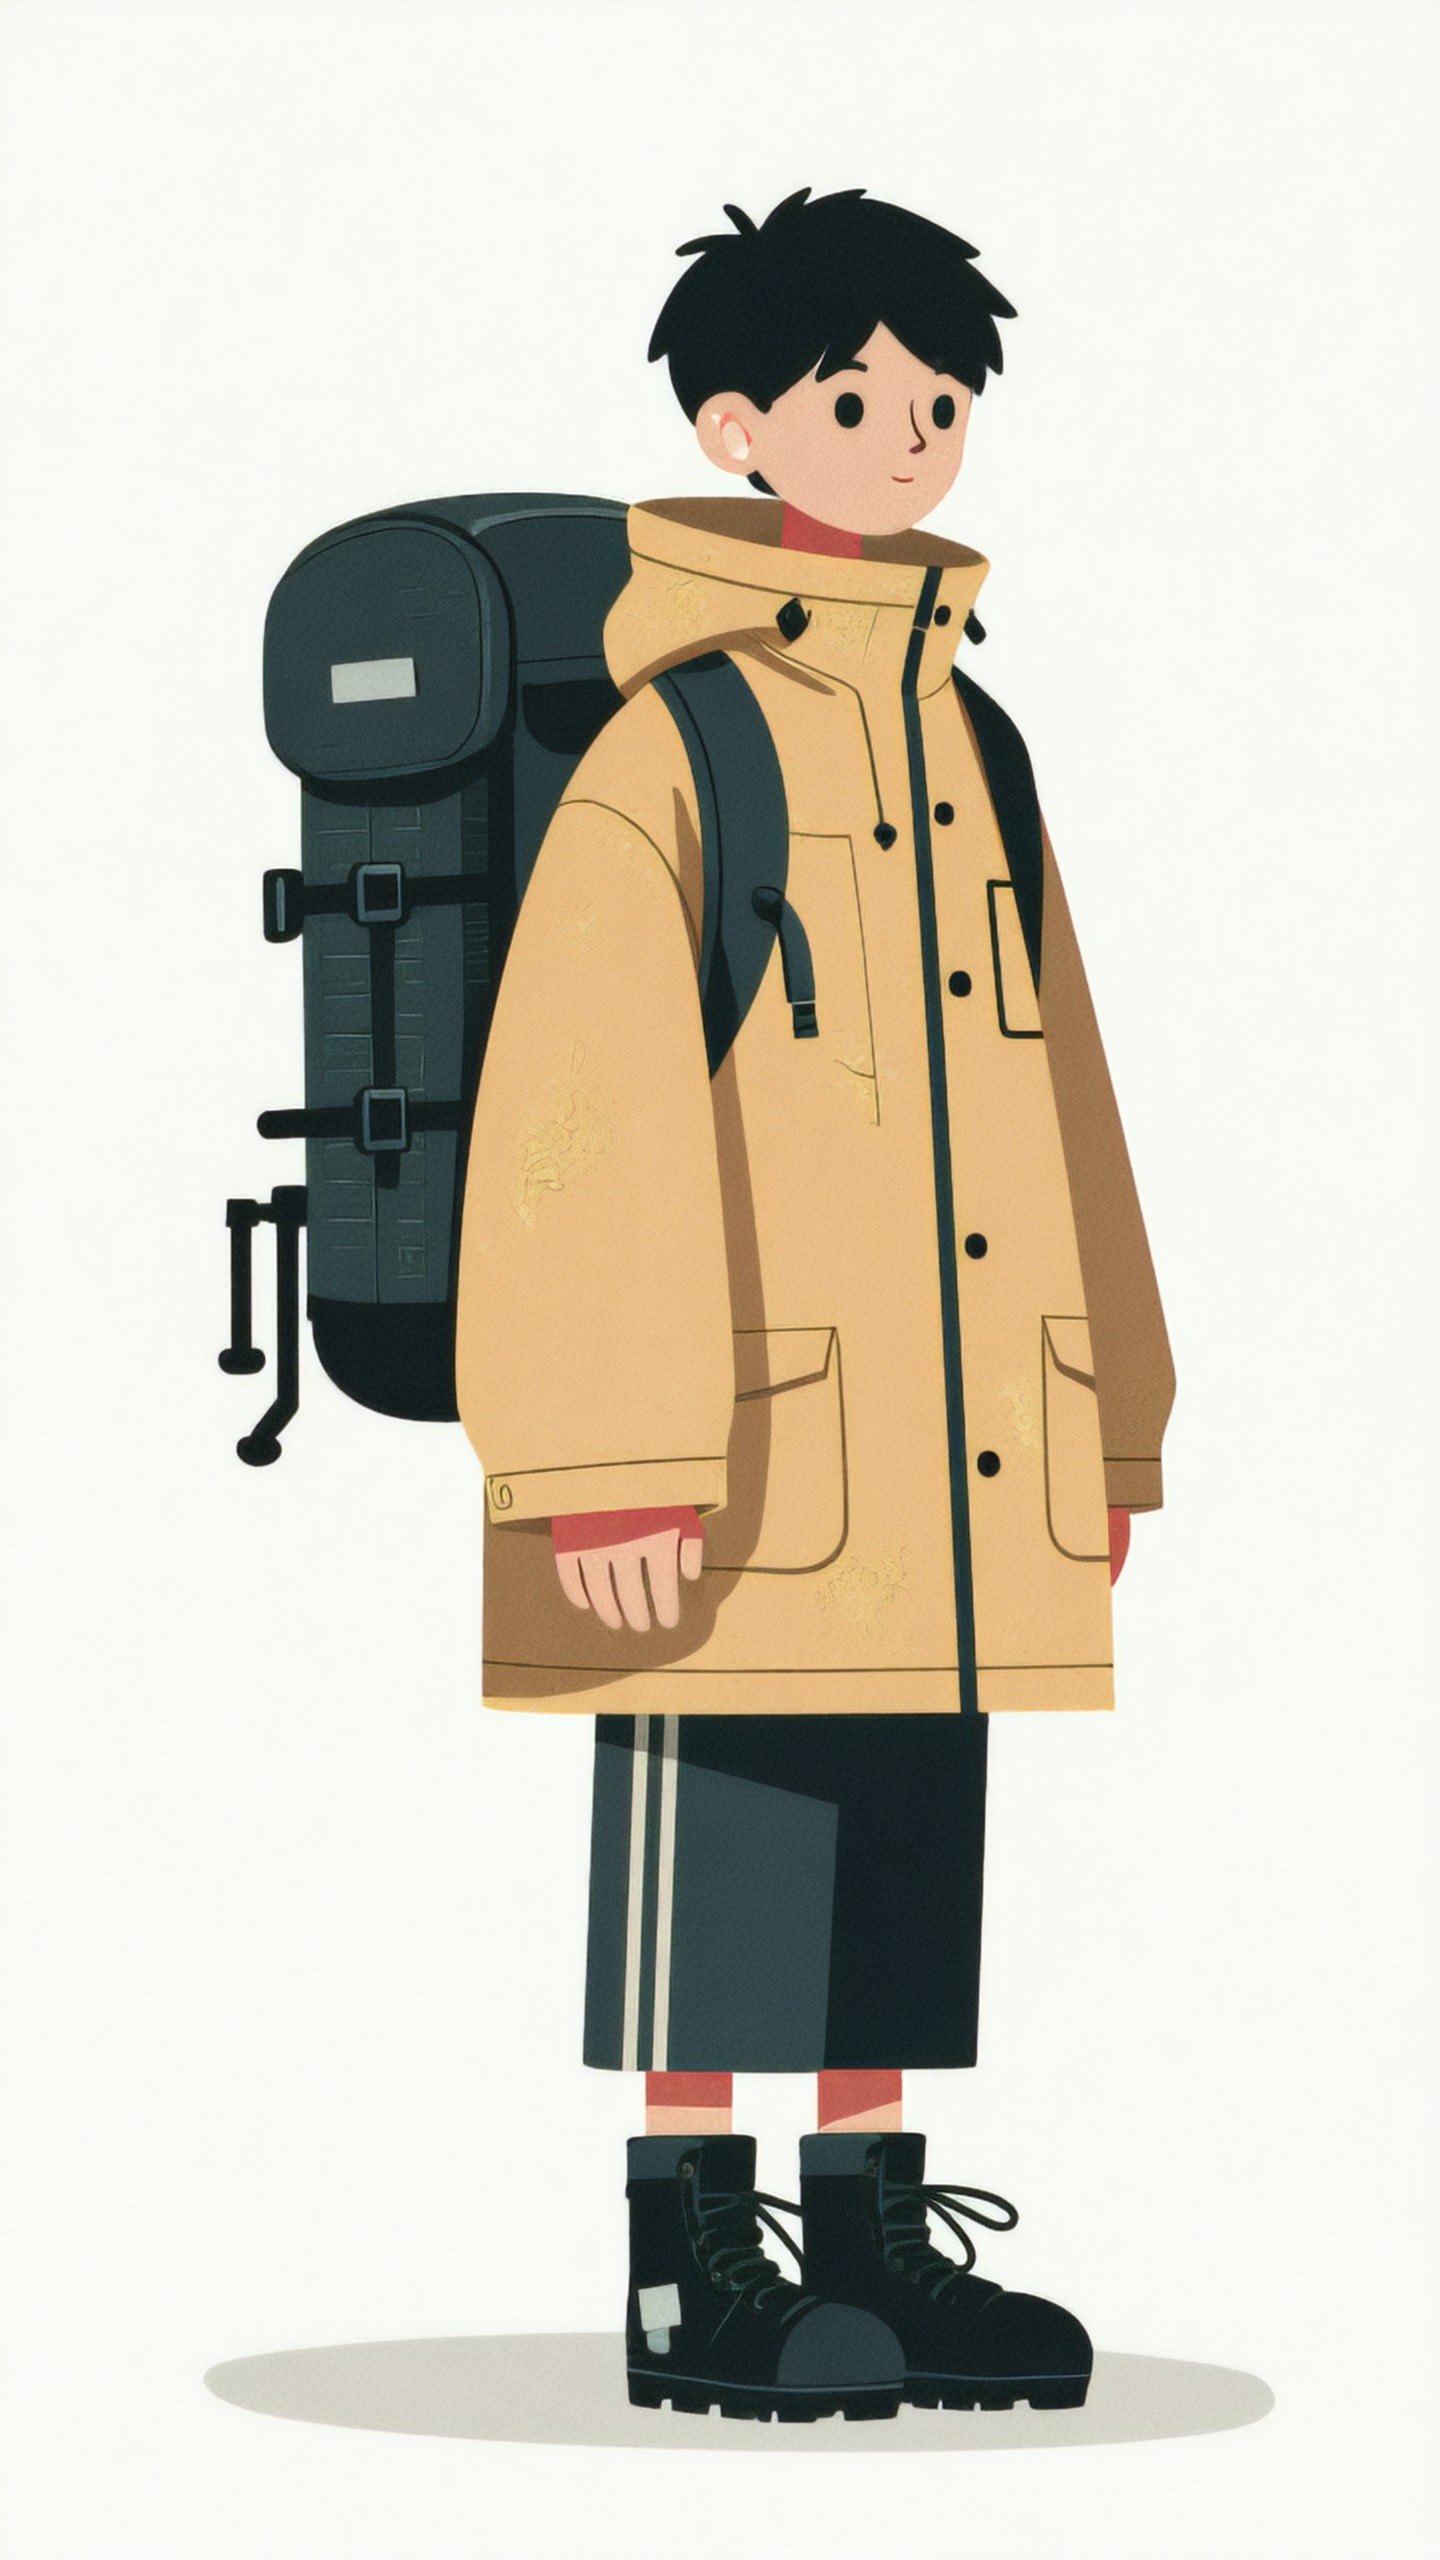
Quick mental model
Think of a latent image as the model's working sketchpad.
- Empty Latent Image creates the sketchpad.
- KSampler develops the sketch using your prompt and settings.
- VAE Decode converts the sketchpad into a visible image.
- VAE Encode turns an existing image back into a sketchpad.
Once this makes sense, ComfyUI graphs become less intimidating. When something breaks, ask one question first: is this part of the workflow expecting a latent or a normal image?
<!-- zview-hands-on-backfill -->
Practical Test Notes
What this article should verify
- Confirm that the test setup clearly separates latent-space steps from pixel-space steps, especially `Empty Latent Image -> KSampler -> VAE Decode -> Save Image`.
- Verify that changing the latent size changes composition and detail capacity before decoding, rather than acting like a simple crop or resize.
- Check that prompt conditioning affects the sampled latent structure, while decode and save steps only convert that latent into a visible image.
- Show, with at least one repeatable workflow example, which nodes expect latents and which expect normal images.
Result checks
When reviewing existing or future outputs, focus on result checks that match the prompts used in the article:
- Portrait prompt: inspect face stability, eye alignment, skin texture, hair edges, and whether lighting stays consistent across the subject and background.
- Product prompt: inspect product clarity, object silhouette, surface texture, shadow direction, and whether the mug remains cleanly separated from the beige background.
- Editorial illustration prompt: inspect style consistency, focal point clarity, desk-object placement, and whether the robot keeps coherent hands or tool-like parts.
- For all examples, what to inspect includes background consistency, noise or mushy detail after decode, and whether the final image matches the intended aspect ratio from the latent node.
Failure risks
The main failure risks come from mixing up latent and image nodes. A common beginner error is sending a latent directly into an image-only node, or decoding too early and then expecting latent edits to still work. Another weak point is image size: if the latent dimensions are poorly chosen for the model family, composition may drift, detail can soften, and memory use may rise without a clear quality gain.
Prompt structure is another likely limitation. The examples are useful, but short prompts can leave too much ambiguity around background, camera angle, material detail, or illustration style. Human subjects also carry extra failure risk, especially with hands, teeth, and asymmetry. Product scenes can fail through warped geometry or inconsistent reflections.
Practical recommendation
Use this setup if you are new to ComfyUI and need a reliable mental model for where generation actually happens. Avoid relying on it alone if you are troubleshooting advanced inpainting, ControlNet, or heavy image-to-image graphs. The detail that matters most is node type awareness: know exactly when you are still in latent space and when you have already converted to pixels.